How to Make Rustic Christmas Signs
I've made many of these signs using my vinyl cutter.
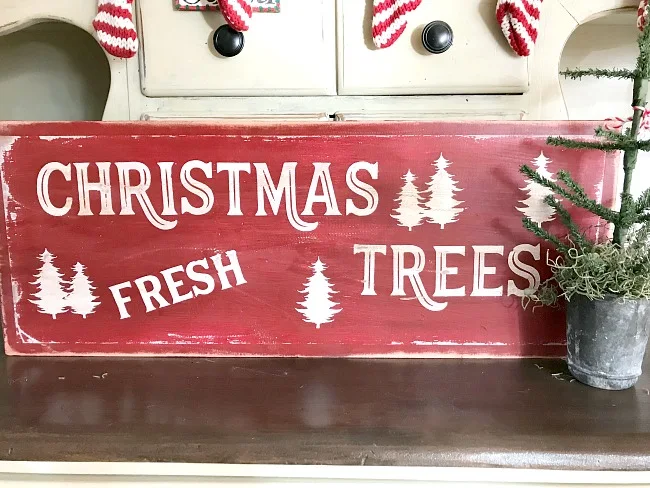
You can read about this beautiful, rustic Christmas Tree sign here.
Please visit the bold blue links in this post for the products I used and links to more Homeroad information!
But did you know that many times I was able to use the vinyl stencil I made two times?
The first time for this sign was the original Farm Fresh sign pictured above.
The second time I used the letters and trees that I weeded out of my stencil to create this beautiful sign...
To do this, first I painted my board white then laid down the leftover letters from my first sign.
I painted over everything with red paint then pull up the letters.
When all was dry I distressed the sign with a palm sander.
Two signs for the price of one!
This simple North Pole sign was an easy one, I made 3 while I was at it.
First I painted a long piece of wood white then cut it into 3 22" long pieces.
I laid down 3 North Pole vinyl stencils and stenciled with red craft paint.
When the paint was dry I used an antiquing glaze to paint on and wipe off, giving this sign a darker antiqued look.
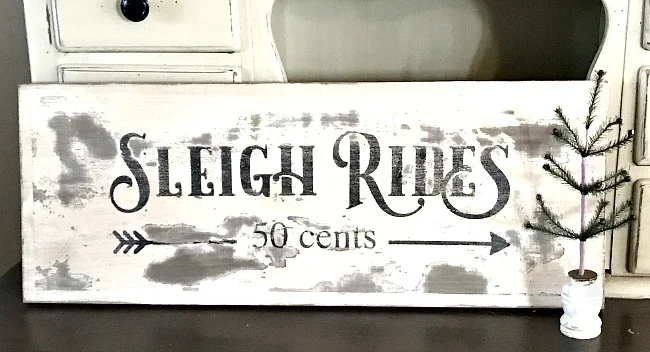
This old Sleigh Ride sign was fun to make.
First I stained the board, then painted it with a white milk paint.
When that was dry I painted a coat of Fusion Mineral Paint over the top then stenciled on my Sleigh Rides stencil.
When the sign was dry, I used the palm sander to heavily distress the sign pulling up large spots of the second coat of the paint.
I used Fusion Mineral Paint Tough Coat to seal the sign so there would be no more chipping.
This sign turned out to be one of my favorites!
Another fun sign to make using the vinyl cutter was this one and you can read about this Holiday sign here.
beautiful rustic signs.


