Dollar Store Mini Set of Drawers
Several years ago I up-cycled an IKEA set of drawers and gave it a little farmhouse style, it came out great! Today, I'm going to create a similar set of drawers using items from the dollar store.
You can read all about the set of IKEA drawers I made by visiting the bold blue lettering, as with all my posts, the bold lettering will take you to more information or supplies I recommend.
Many of the steps for this project was similar to the IKEA set but I began this project with 4 little drawers with heart cut outs from the Dollar Tree.
It doesn't matter what design on the drawers you buy, we are going to flip the drawer around backwards like I did for the IKEA project.
First, I removed the drawers and lined up the boxes on a piece of MDF board and traced around them to create a base.
I cut out the MDF with a small circular saw then traced it and made another for the top.
If you don't have access to power tools you could use cardboard or plank wood that is available at some Dollar Tree stores.
I lined up all the boxes side by side along the MDF board and attached them with wood glue.
I added the top and attached it the same way then used a bar clamp to hold them all together and my fancy weights to weight down the top.
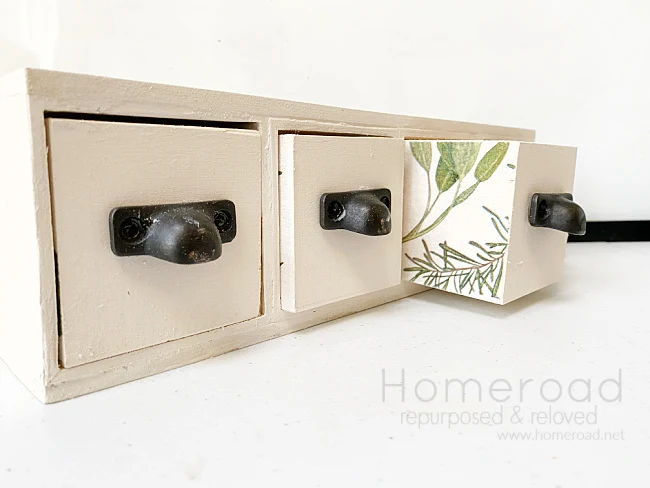
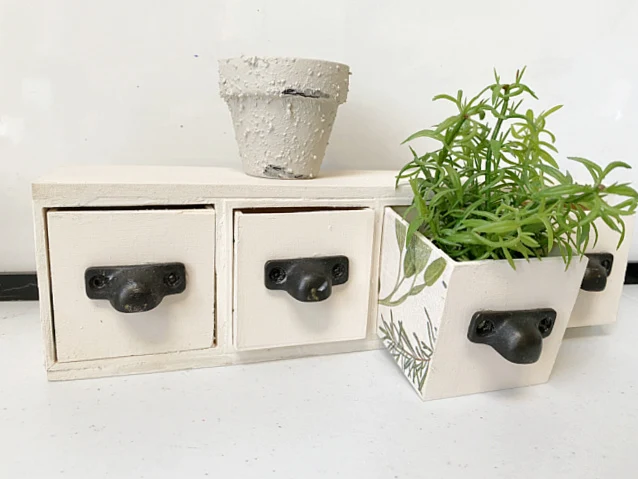
Next, I painted the drawers with an ivory chalky paint.
I painted all sides except the cut out side which will be in the back.
On the (back) front of the drawer I added a tiny drawer pull or little knobs like these.
The screws I had were too long for the drawer so I used hot glue and crazy glue gel on the pull to attach them to the front of the drawer.
I used a few drops of oil rubbed bronze paint to fill in the holes on the pull.
When the paint dried I cut apart a decorative napkin then peeled off the printed layer.
I only needed one napkin for this project.
I used Mod Podge to coat the drawer sides, lay on the napkin layer, then Mod Podge over the top of the napkin.
When the Mod Podge dried I laid down a sheet of parchment paper and used the cutest little iron for crafts.
I just love this little iron, it works so much better then a large iron for crafting.
The iron reactivates the Mod Podge and smooths out any bubbles that may form.
I used this process on the small step stool I made a while back and it worked amazingly!
When the glue for the row of boxes dried I sanded the front of the boxes with an electric sander to try and get the boxes to have a smooth surface.
I then painted the row of boxes.
After I painted I sanded the front of the boxes one more time because as you can see... it needed it!
Now it was time to return the little drawers to the inside of the boxes and create an adorable little set of drawers.
Hint: You should number the drawers and the boxes because every box and drawer is just a tiny bit different.
Don't even ask how long it took me to figure that out!
To make the drawers glide a little smoother I rubbed the edges of the drawers with a candle, use a white candle if you painted with white so as not to mark up your paint.
These little drawers are great for make-up or little treasures.
Visit this post to see yet another set of repurposed IKEA drawers I also had fun making.
Please pin ---->>
Thanks so much for visiting and before you go please sign up for the Homeroad emails so I can send my latest DIY tutorial straight to you!


