Basement Makeover Ideas on a Budget
If you have an old basement with the laundry downstairs like me, you may want ideas to update and refresh your space. This project has been on my mind for years and now that I finally got around to it, I am thrilled!
We live in a 60 year old colonial with a basement that we never refinished.
My laundry and my workshop are in the basement so I spend a lot of time down there.
As you read please visit the bold blue links and the READ MORE sections for more Homeroad information and the products I used to make this project.
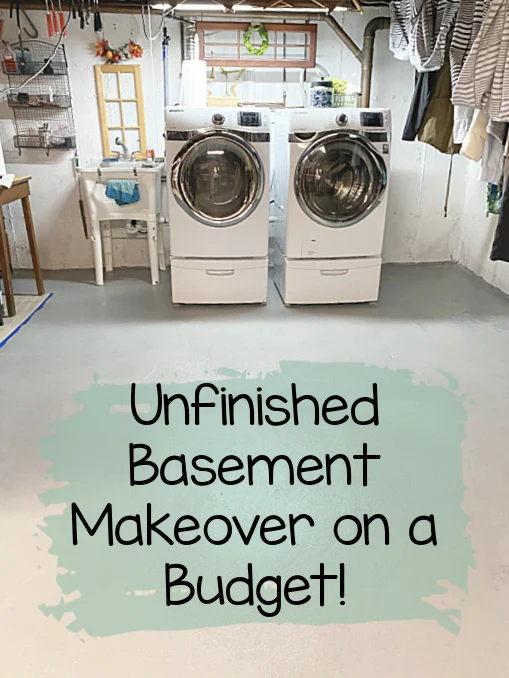
Today I'm going to repaint the cement floor and create inexpensive ideas to give our basement a facelift.
After finally updating our garage and painting the floor, I was on a roll so started this project as soon as I finished the last one.
I began by piling everything from the laundry side of the room into the other side of the basement.
This was no easy project since under the stairs there were many boxes of out of season clothes and things my kids left when they moved out.
Next, I used Rustoleum DryLock waterproofing cement paint and went around the edges of the space with a brush.
I taped a large paintbrush to the end of a pole so there would be less bending when doing the edges of the basement.
Next, I used a roller on a pole and rolled out the cement paint.
Oh and did you know you can paint a slop sink and make it look new again?
I finished the area at the stairs and let it dry for 4 hours.
When I went back downstairs I began moving things back.
I added shelves to the space under the stairs and transferred everything that was in bags and boxes into clear plastic bins.
Now it was time to paint the other side of the room.
I am skipping my workshop space for now because I recently added a metallic brick rug to the space.
I cleared the other side of the room and rolled out another coat of cement paint.
Most of the room only needed one coat but I rolled out the remainder of the paint in the can on the high traffic areas.
When that area was dry I moved everything I had to keep back into the space.
A lot of stuff went into the trash or donated.
My wooden IKEA storage shelves on the left are covered with fabric right now to make the space look less cluttered.
I ordered new shower curtains to cover the shelves that will match the ones I used to section off the storage under the stairs.
I used 4 shower curtains in total.
I am using a vinyl mat I bought at Home Depot under a table in the space and hung a hanging light over the table.
Vinyl is so much better than an area rug if your basement has any moisture or a hairball cat like we do!
Next, I'm going to tackle the stairs.
These stairs have never been painted and were in big need of a good clean-up.
I began by painting the risers black using Fusion Mineral Paint in coal black.
I let that dry then sanded the treads of the steps with an electric sander.
I then went back with my favorite stain, Rustoleum Transformations Decorative Gel in Java Brown on the treads and the sides of the stairs.
I painted every other step and let it dry so I could get up and down.
I also used the Coal Black paint on the railings.
I applied the stain with a rag and it dried very quickly.
At this point you can seal the steps with a floor sealer but I am choosing to add carpeted stair treads instead.
At the bottom of the steps and at the newly painted slop sink I wanted a washable mat but couldn't find one so I fashioned a couple of my own by cutting up a cute yoga mat.
The basement looks clean and fresh now and I won't mind spending as much time as I do doing laundry!
Please pin for later --->>
Update 2 years later: What worked and what didn't-
First of all, I would not have used a gel stain on the stairs, a stain with a sealer would make them easier to clean.
Secondly, the vinyl mat I got mildew under it because the basement can get damp. The wetness stained the concrete paint and we needed to repaint in that area.
Overall, this makeover has lasted the test of time. There are a few spots we need to go back over with more paint but generally it lasted great!
Thanks so much for visiting and before you go please sign up for the Homeroad emails so I can send my next DIY tutorial straight to you!


