Sherpa Christmas Trees
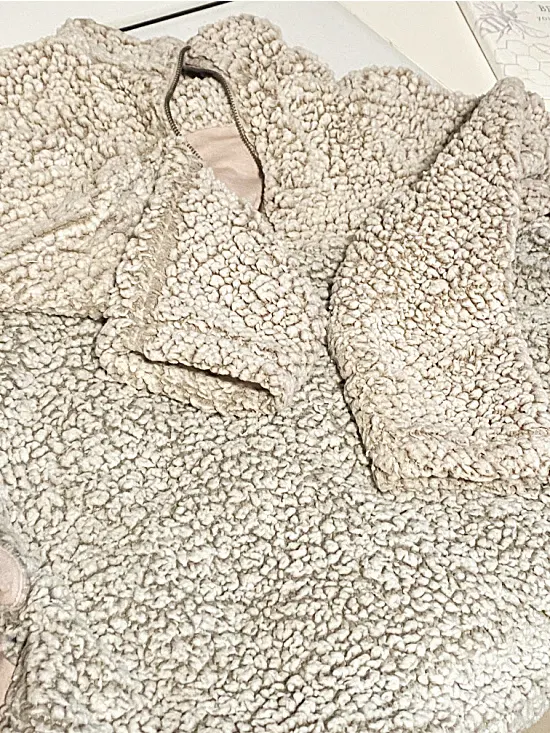
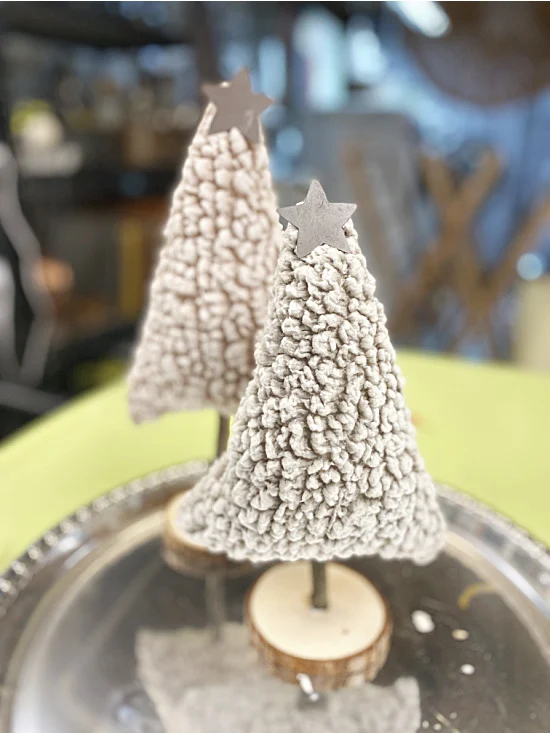
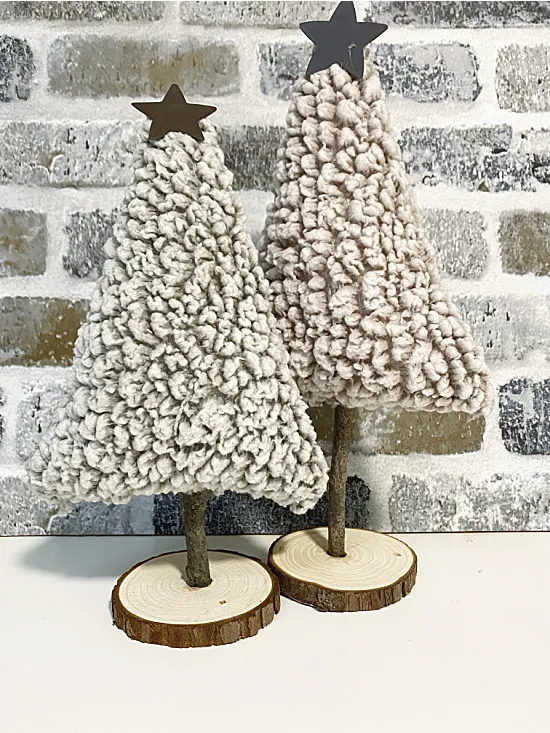
I've been working with a Sherpa jacket I found in the donation pile. I've made many different projects this season including these adorable Sherpa Christmas trees...
This was such an easy project!
All you need for this project is:
- Sherpa fabric
- pillow stuffing
- sticks
- wood slices
I began by cutting up the leftover scraps from my latest Sherpa projects.
As you read through this post please pay attention to the bold blue links for more Homeroad information and the products I used for this project. Also please sign up for the emails for more DIY projects sent straight to you!
There are many Sherpa jackets and shirts available at the thrift stores right now if you don't have one in your own donation pile.
You can also find Sherpa yardage on Amazon.
I cut out 2 triangles, put the right sides together, and then hand sewed them around 2 of the sides.
I turned the trees right side in then stuffed them with pillow stuffing.
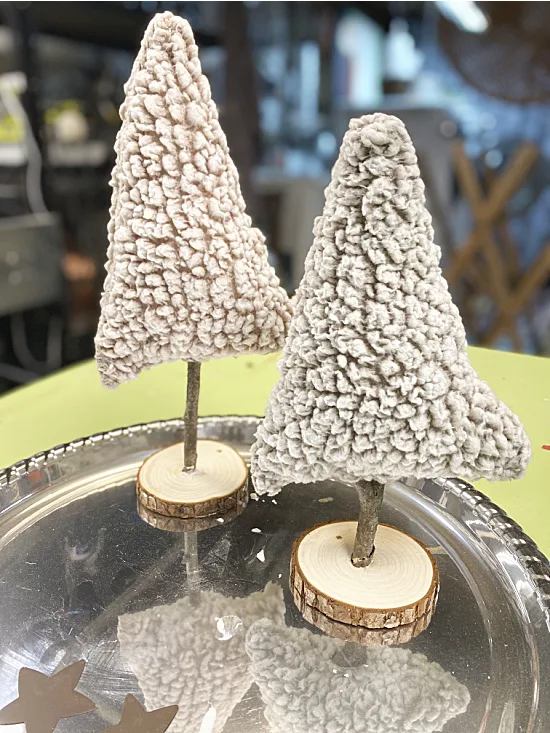
Next, I made the stems using sticks from my yard.
I drilled a hole into the center of a wood slice and glued a stick from the yard into the hole.
I stuck the stem into the bottom of the Sherpa tree then sewed around both sides of the stick.
READ MORE: SHERPA PROJECTS
At the top of the tree I hot glued a metal star.
I told you this was an easy project!
The trees can be made in all different sizes.
Take a look at the other projects I made this year using the same Sherpa jacket.
READ MORE: CHRISTMAS TREES
Thanks so much for visiting and before you go please sign up in the pop up for the Homeroad emails so I can send my next DIY tutorial straight to you!


