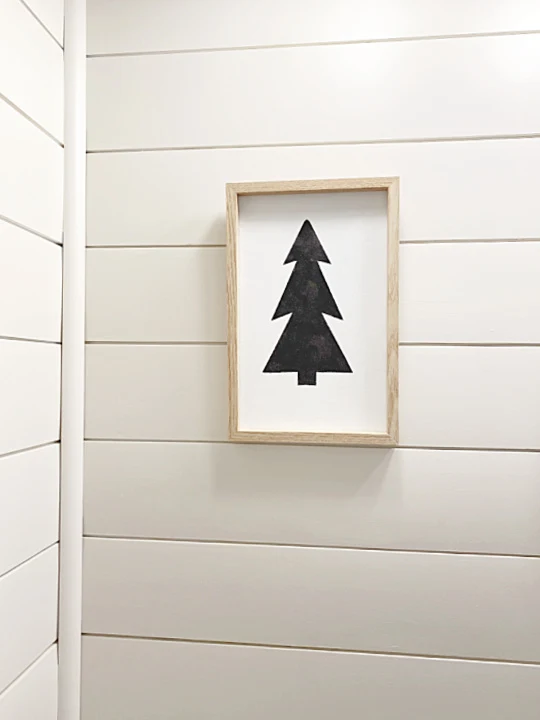
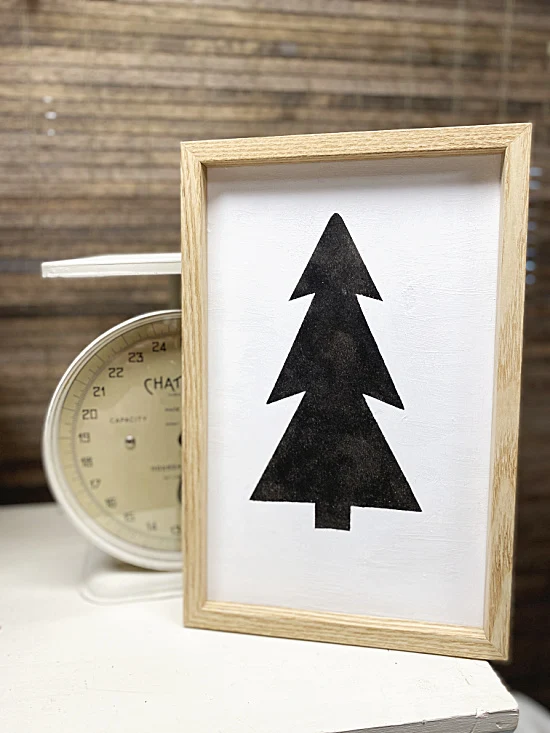
Black and White Stenciled Christmas Tree
When I saw this black Christmas tree in a photo of someone's bathroom I knew I had to make one for myself! Little did I realize until I started just how easy it was to do...
I started out with a framed picture from the Dollar Tree.
As you read this post please pay attention to the bold blue links for more Homeroad information and the products I used for this project.
I don't even remember what the picture used to be but it had a removable frame.
I began by painting over the design in the frame with white chalk paint.
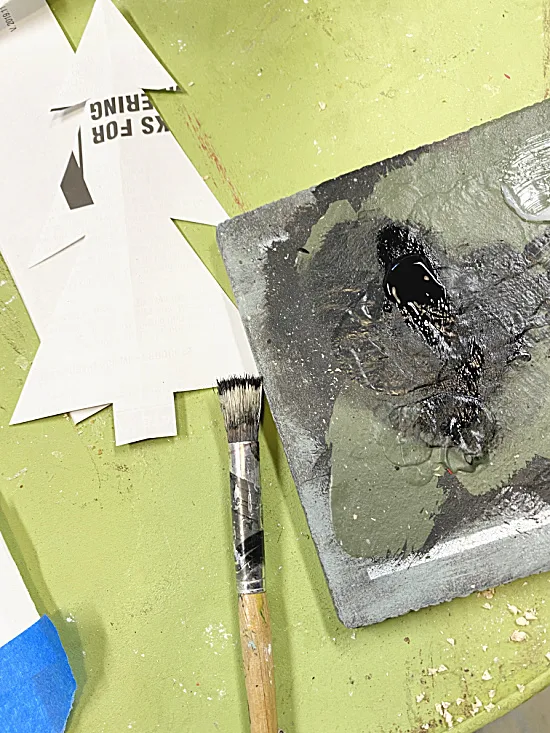
When that was dry I cut a piece of scrap paper to the size of the backing board I removed from the frame.
I then cut a simple Christmas tree design into the paper.
I did this by just randomly cutting but if you'd like you can google a Christmas tree design and trace it onto your paper.
I used painter's tape to tape the outer edge of the Christmas tree onto the backing board.
I used black craft paint to stencil in the design onto the board.
I was very careful to hold the paper tree stencil down as I stenciled and didn't use too much paint on my brush.
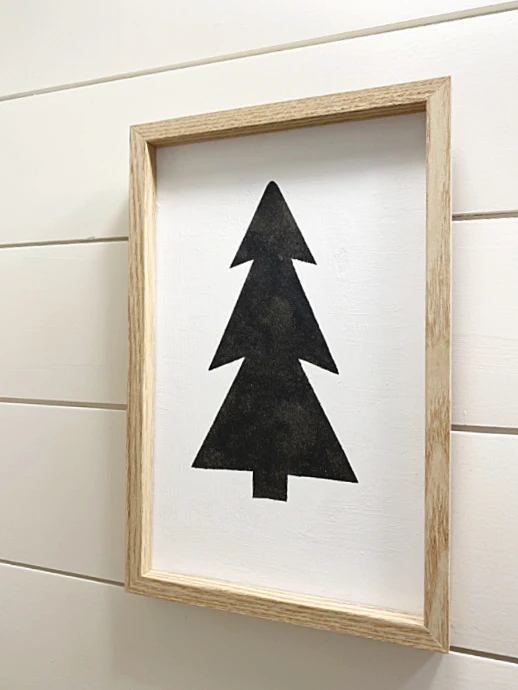
Next, I removed the stencil, stuck it back into the frame and voila!
That was all it took to transform a Dollar Store picture into one that I love!!
It was just what I wanted and it was $1.00!
If I had it my way I would only use black and white in my whole house!
Right now we are in the process of renovating our kitchen and I am well on my way to the black and white dream!
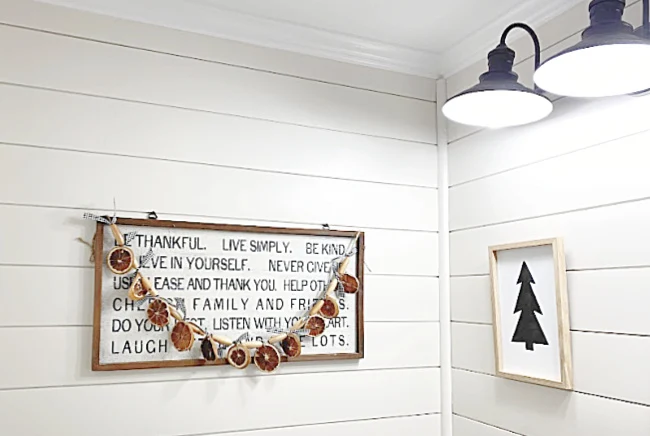
We did this shiplap bathroom a few years ago.
The orange slice garland was another Homeroad DIY project.
Thanks so much for visiting and before you go please sign up for the Homeroad emails so my next DIY tutorial will go out straight to you!


