DIY Christmas Lantern
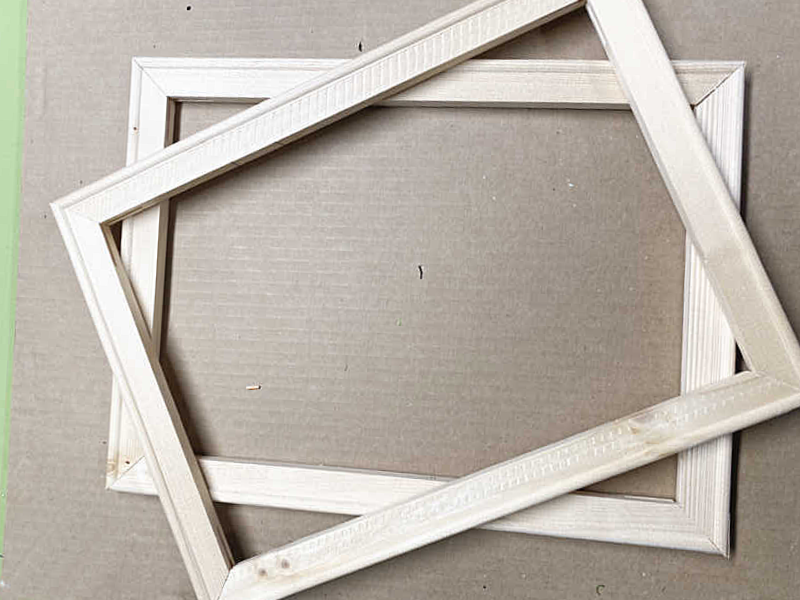
A while back my daughter was cleaning house and was throwing away a bunch of painted canvases. You just know I grabbed them out of the trash and saved them for another day...
I wrote a post about how to deconstruct an artist's stretched canvas a while back.
As you're reading through this post please be sure to stop at the bold blue links for more Homeroad information and the products I used for this project.
I ended the post saying that one of these days I'd figure out what I wanted to do with them.
That day is today...
I began by cutting some of my reclaimed pot rack wood into four 6" pieces.
The size you use will be determined by the size of the frames you are using and the size of the lantern you want to make.
For me, it's a huge lantern!
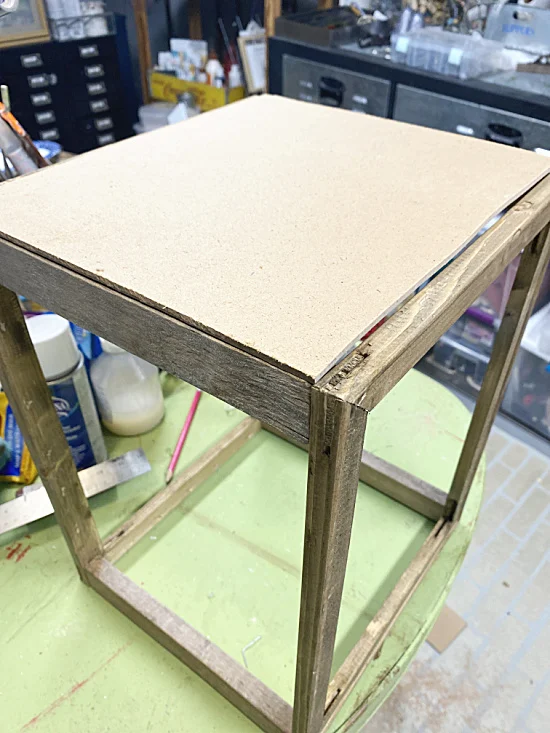
I nailed and wood glued the cut pieces to my frames to attach them into a rectangle.
Next, I cut a piece of thin wood to be my lantern base and I nailed it to the bottom of the lantern.
I brought the piece outside and spray painted it black.
I've got a lot going on in this workshop, the fan is to help dry the paint.
When the paint dried I added 2 eye screws to the top of the lantern to create a handle.
For the handle I'm using this fun burlap ribbon with tiny bells I bought at Marshall's many years ago.
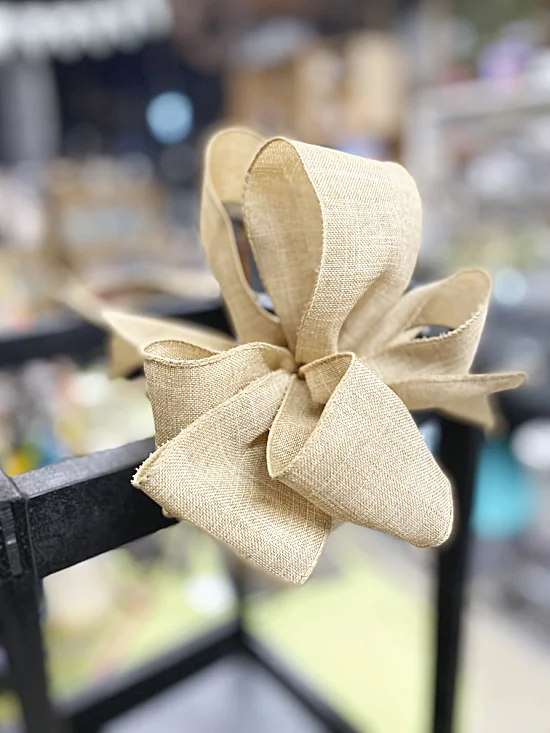
I made a bow from a wired burlap ribbon and attached it to the side.
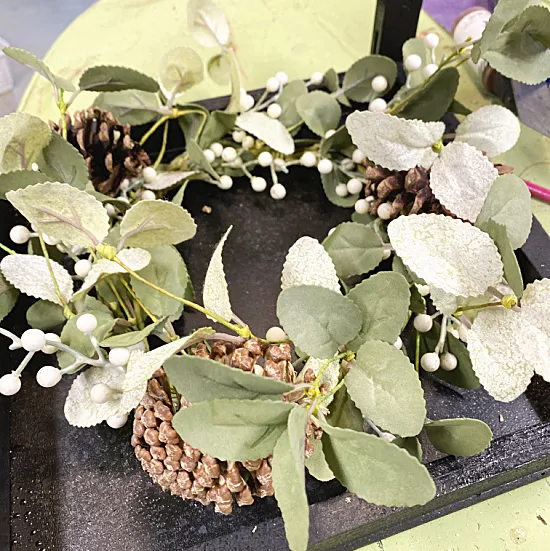
Next, I found a wreath with berries that fit inside the lantern and added pinecones.
The last thing to do now is to find and candle and add it to the center of the wreath!
You can use a battery powered candle or a real candle in a jar since there is no top to the lantern and shouldn't be a fire hazard.
I knew those frames would come in handy some day!
This adorable large lantern will sit on my front porch for the Christmas season!
Thanks so much for visiting and before you go please sign up for the Homeroad emails in the pop up above so I can send my next DIY tutorial straight to you!
Read More: DIY Lanterns


