Grain Sack Fabric Christmas Cone
This idea was a complete experiment that I created as I went. Sometimes those end up to be my favorite projects...
I began with a scrap piece of grain sack fabric.
Please pay attention to the bold blue words on this post for more information about Homeroad projects and the products I used to make this pouch.
I used the rest of this fabric on a headboard/pillow project recently.
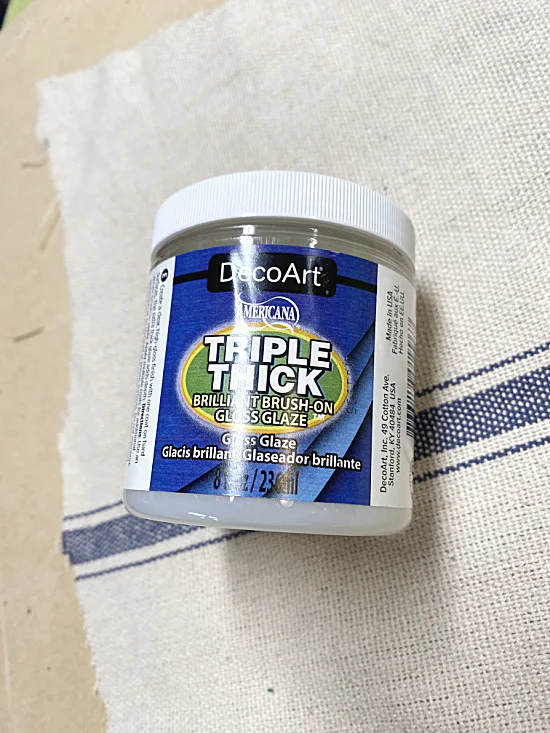
I painted one side of the fabric with Triple Thick.
The more coats you do, the thicker the fabric will get.
I've used Triple Thick on many Homeroad DIY projects.
Today, I'm trying it on fabric.
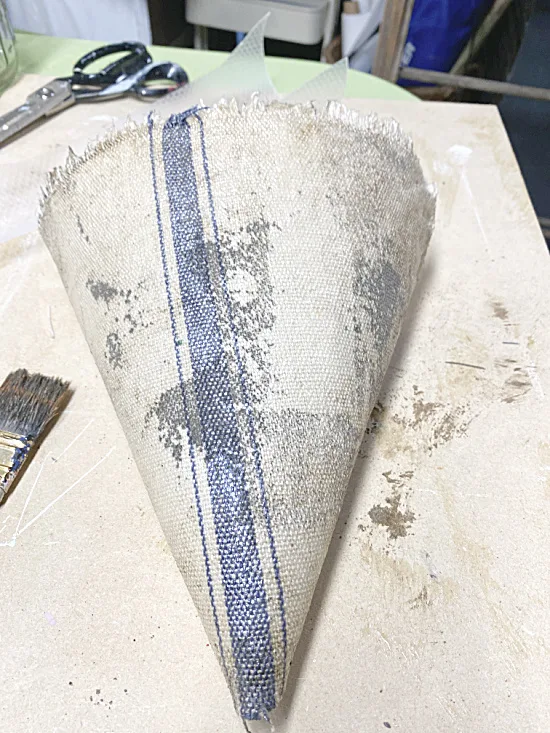
I let the fabric dry as I laid it over a piece of plastic shelf liner bent into the shape of a cone.
When the fabric was dry I decided I liked the plastic cone idea so I hot glued the fabric around the cone.
Since the fabric now had a semi hard finish, I decided to give antiquing glaze a try.
I painted it on then rubbed it off.
The glaze gave the fabric cone a distressed look.
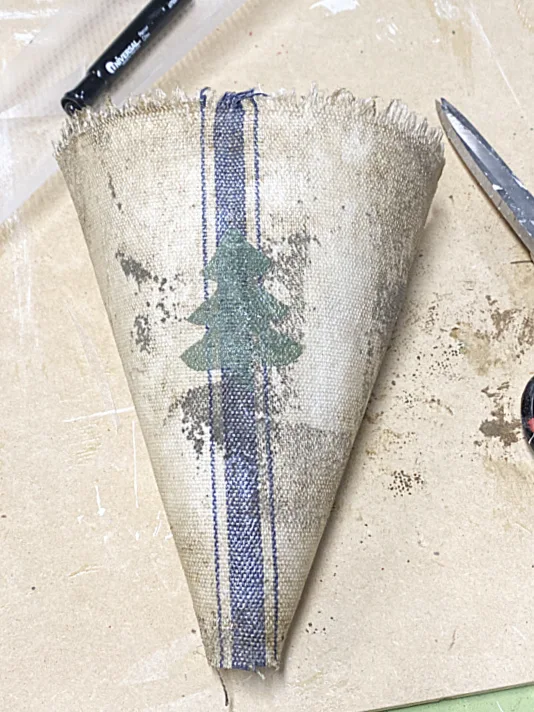
Next I decided the cone needed a small Christmas tree stencil to give it a holiday feel.
You could certainly leave off the stencil or switch out the stencil to make the cone for any time of the year.
I added a rebar wire hanger by punching a small hole into 2 sides of the cone.
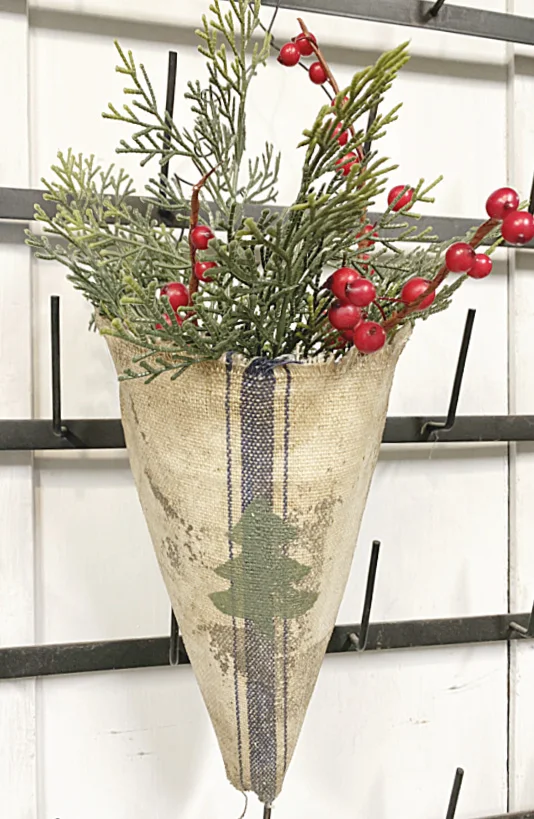
Now it was time to fill it with pinecones, berries and greenery.
I added a small red bow on the side of the wire hanger.
This vintage looking fabric cone came out great!
I can't wait to make another one for every day decorating, maybe filling it with lavender or boxwood greens.
Thanks so much for visiting and before you go please sign up for the Homeroad emails so my next DIY tutorial will be sent straight to you!


