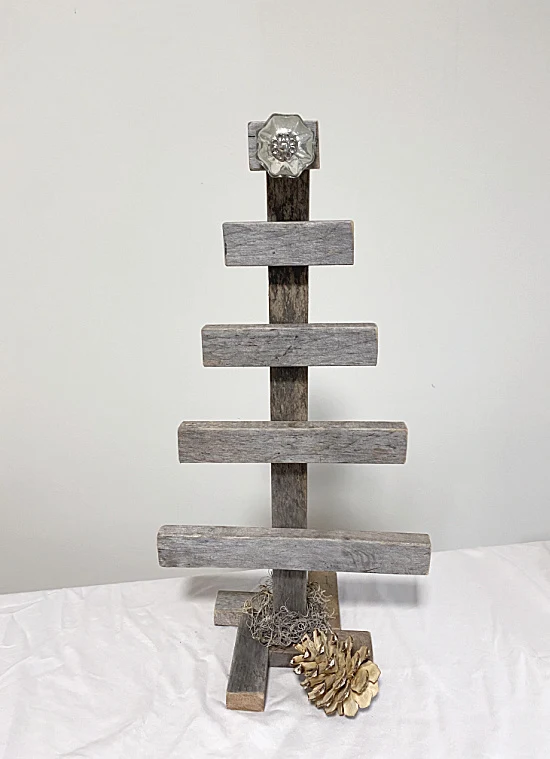
Reclaimed Wood Rustic Christmas Tree
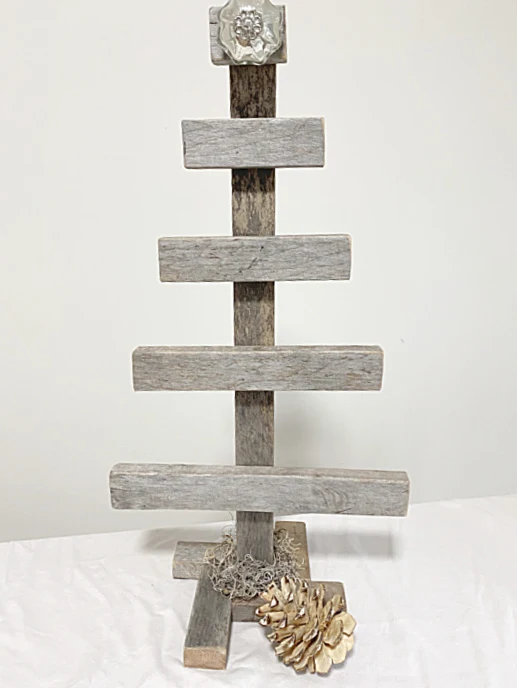
This reclaimed wood project was easy to make and adorable either plain like it is or decorated with your own ornaments...
photo sourceI love making scrap wood Christmas trees here on Homeroad, over the years I've made so many!
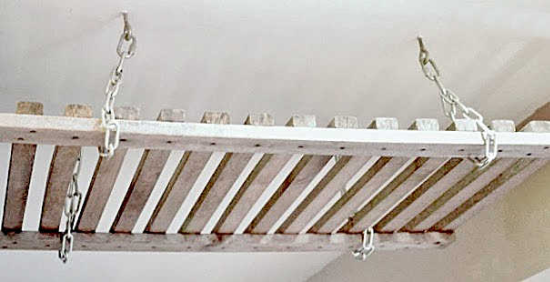
I began with scrap wood leftover from a DIY pot rack I had made a while back for my kitchen.
If you've been following along, you may have seen the Christmas Pallet Pouch I made using some of this wood.
While you're scrolling through this post, please pay attention to the bold blue lettering for more Homeroad information and the products I used to make this.
I began by cutting my wood into pieces with a 2" difference.
The top one was 2", next 4", 6", 8", and 10".
I used one piece of wood for my stem and starting with the 2" piece at the top, I wood glued and nailed the pieces in place.
I left a space between each branch.
If you have specific ornaments you'd like to add to this project, leave enough room between the branches for your ornaments.
I am making a very plain tree for myself because I like things simple!
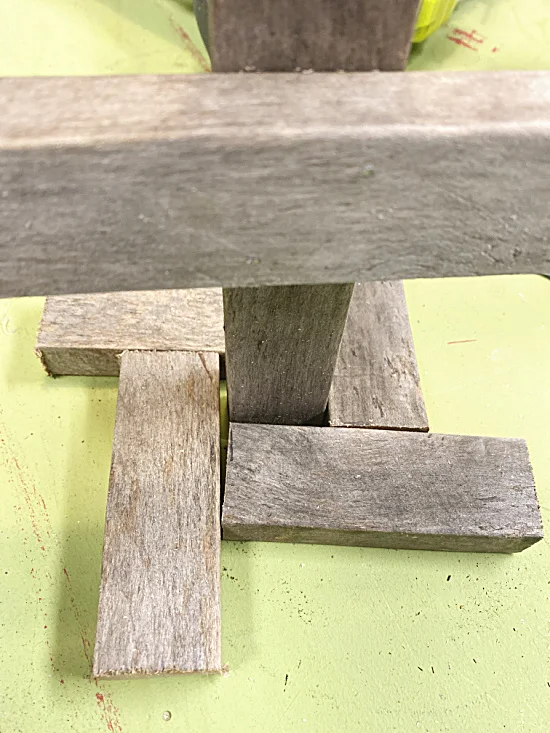
Once the branches were all in place I made a base for my tree.
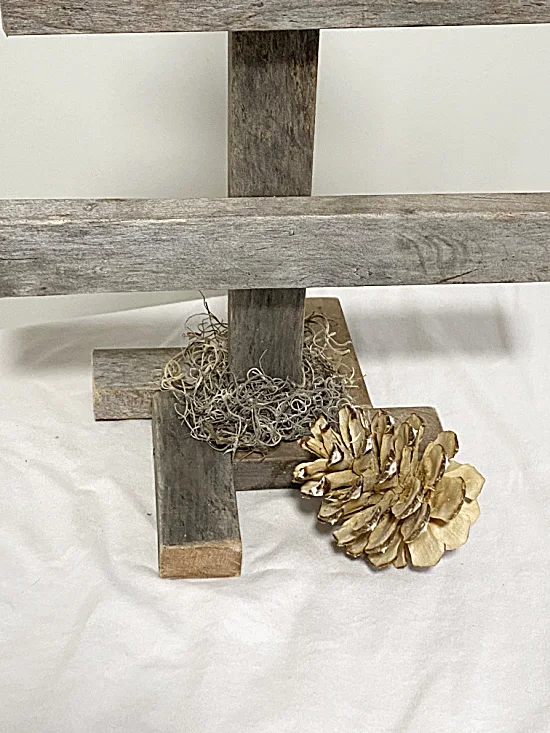
This can be done in a number of different ways, I am arranging 4" pieces around the stem and attaching them with wood glue and screws.
Now that the tree is made you can add a star at the top.
This can be done by gluing on a rusty star to the 2" piece at the top or by using a knob like I did.
I drilled a hole in the top piece of the tree then screwed in a mercury glass knob using E6000 to secure it.
At the bottom of the tree I added Spanish moss using hot glue.
The tree stands by itself and like I said can be made any size you'd like.
I just love the simplicity of this one but you can add a few ornaments if you'd like.
Thanks so much for visiting and before you go please sign up for the Homeroad emails in the pop up so my next DIY tutorial will go straight to you!


