Wooden Stars for Christmas
Today I'm making stars from a repurposed wooden roller shade I took down a while back. This was a super fun project with a surprise for even me at the end! ...
A while back I repurposed a wooden shade I took down from my daughter's room.
Let me tell you that shade can make a LOT of projects!
As you're scrolling through this post please pay attention to the bold blue links for more Homeroad information and the products I used for this project.
I began with 3 long pieces of the wooden slats and cut them in half with a clipper.
You will only need 5 for this project.
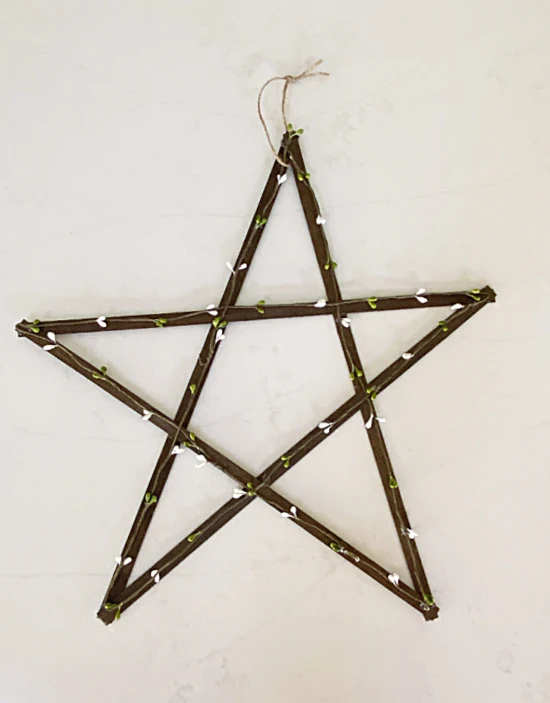
I laid the strips down in the shape of a star making sure all the corners touched then hot glued them at the corners and at every place they overlapped.
That's it, you can leave your star like that and hang it from a piece of jute twine or you can decorate it.
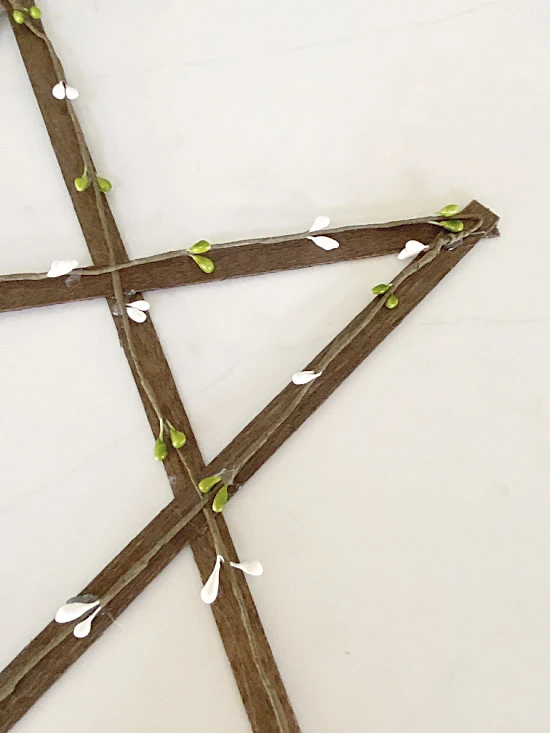
The first one I made, I used a thin wired pip berry garland and glued it on top of the wooden slats all around the star.
The next star I decorated with just a few tiny sprigs of greenery and berries with a messy bow on one side.
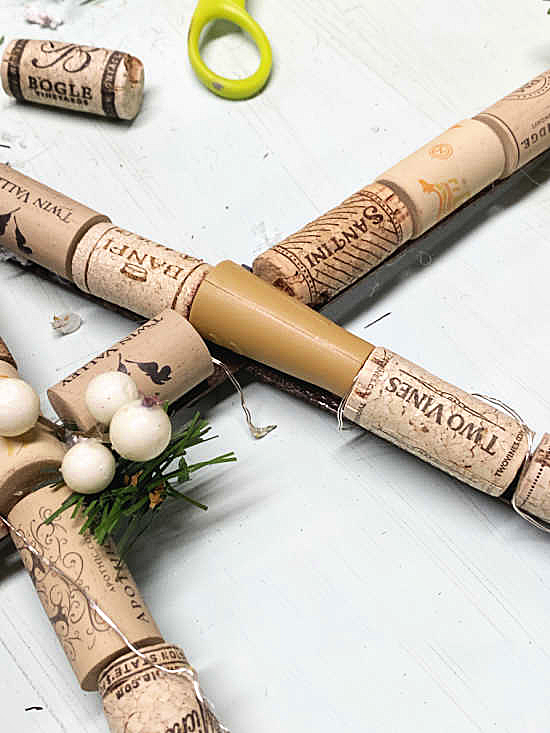
The last star, and my personal favorite, is covered with wine corks.
I have a huge collection of wine corks thanks to the drinking habits of myself and some of my very favorite friends 💛.
In a few places I needed to cut the cork with a small saw to make them fit.
I also had a few round circle corks I added on the ends.
When the corks were all in place I cut a few pieces of greenery and berries and added them to some of the awkward places.
And wait for it....
In place of one of the corks I used a cork light!
Did you see it?
I should maybe put some kind of stamp or lettering on it to disguise it better...
The cork light has a tiny switch and it lights the center of the cross up at night!
I love this one!
It's the perfect gift for those wine loving friends!
Thanks so much for visiting and before you go please be sure to sign up for the Homeroad emails above so my next DIY tutorial will go out straight to you!


