DIY Dollar Store Christmas Garland
Have you been out looking for Christmas garland yet this year? Maybe you're completely decorated already? I just started and my house renovations are almost finished...
I went to a few different stores and couldn't believe the prices for a simple garland without red berries!
Sixty nine dollars?
For a few feet of garland that's going to get dusty anyway?
Nope!
So I did what any good DIYer would do, I gathered the parts to make my own!
As you're reading through this post please pay attention to the bold blue links for more Homeroad information and the products I used for this project.
I began my shopping at Five Below and grabbed 2 magnolia garlands.
They were five dollars each and looked well, real enough!
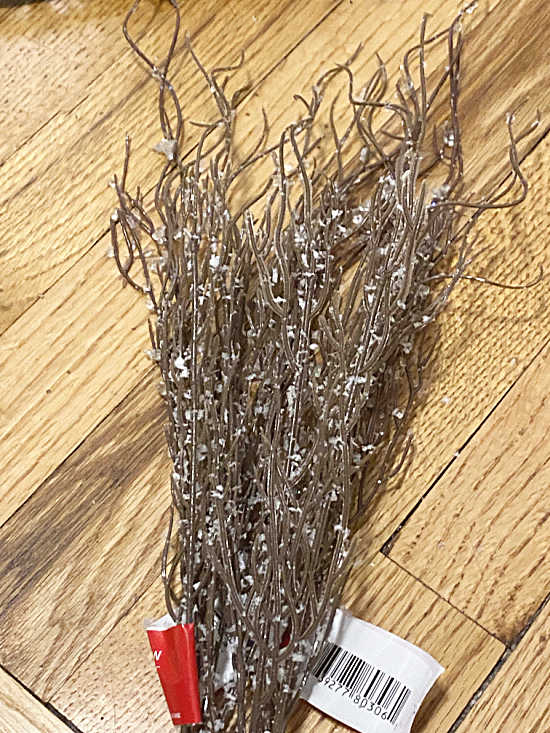
Next, I went to Dollar tree and bought 2 lengths of pine garland and faux twigs with ice.
I also purchased a bag of $3.00 pinecones from Target.
Are you adding it up?
That's less than $20 for two 6 foot garlands.
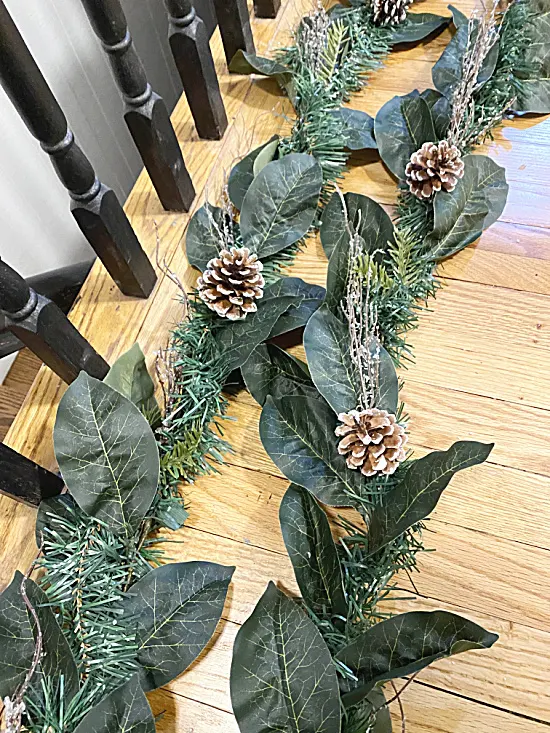
I began by laying out the magnolia leaf garland on the floor.
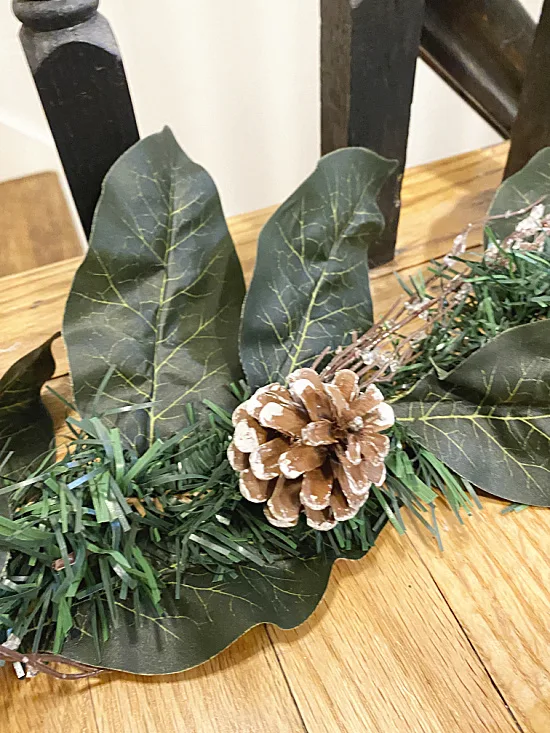
I wrapped the pine garland around the magnolia strand all the way from one end to the other and back again.
Next, I cut the twigs with ice into 3 parts and wired them to the garland using floral wire.
Lastly, I wired pinecones about every 6" down the length of the garland.
There is construction dust all over my painted railings, try not too look too closely!
That's it!! They look just like I had hoped they would!
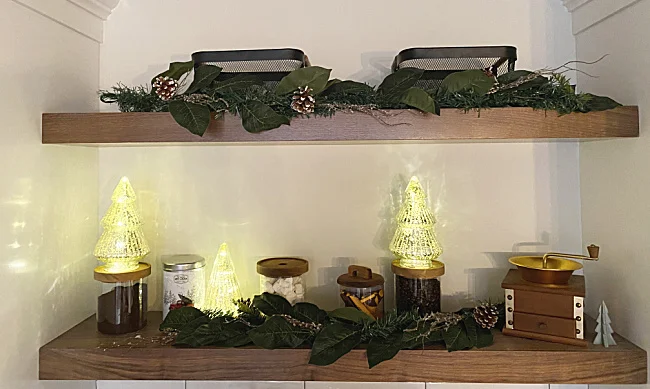
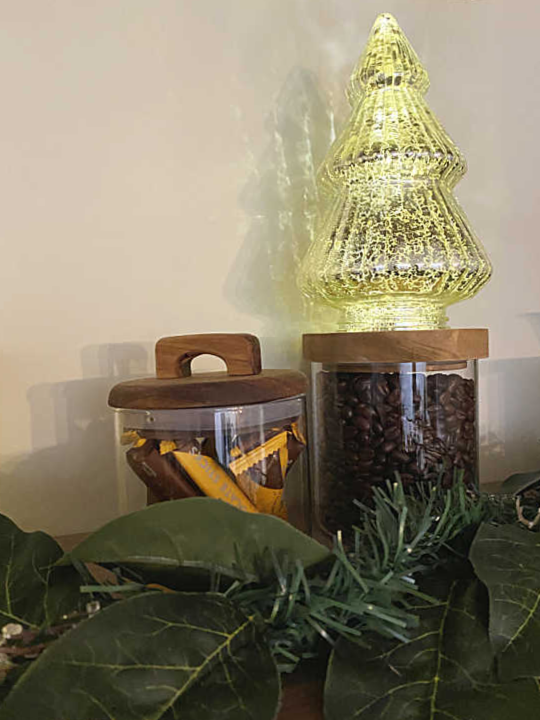
I cut one of the 6' lengths in half and added the pieces to the shelves on the coffee bar in my almost finished kitchen.
I added lighted $3 mercury glass Christmas trees from Target and I got the look I wanted for less!
The other six foot length of garland will be headed to my mantel just as soon as the mantel is finished!
Just a side note... renovations are not for the faint of heart! 🤦🏻♀️
I hope this shows you that it is easy to get the look for less without spending crazy prices!
Thanks so much for visiting and before you go please take a minute to sign up for the Homeroad emails in the pop-up above so my next DIY tutorial will go out straight to you!


