Neutral Folded Book Page Christmas Tree
Here is a fun and easy project you can make while watching TV! Who doesn't like to keep their hands busy while watching a good movie? ...
First, you'll need an old paperback book.
They older and yellower the better as far as I'm concerned.
As you scroll through this post please pay attention to the bold blue links for more Homeroad information and the products I used for this project.
I began by tearing off the covers.
How fat the book you use is up to you, when the folding makes the tree the size you want, you can tear off the rest of the book.
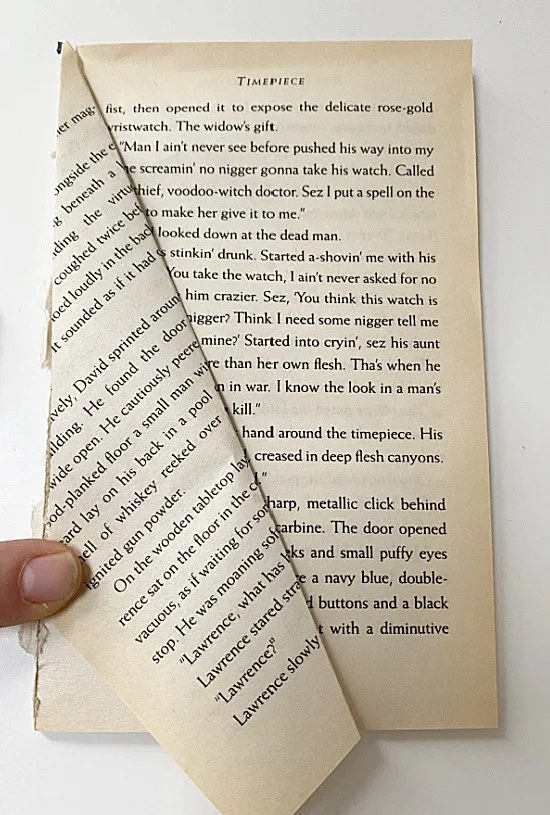
First, you're going to fold the first page like this.
Next, you fold the same page one more time.
That's it, move onto the next page.
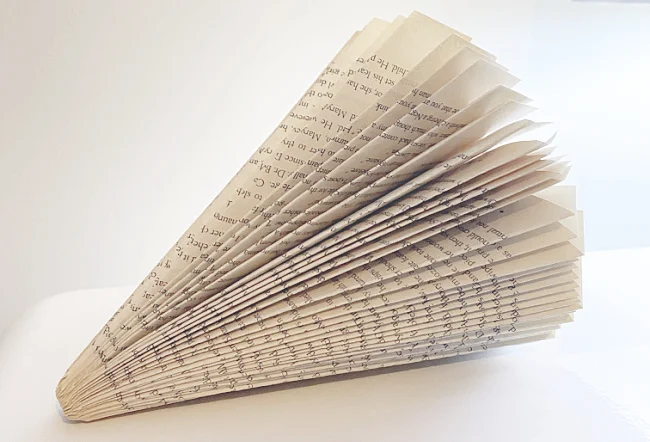
Do the same thing to every page until your tree is thickness you want.
Be careful at the top to have crisp corners so the top of your tree is neat.
When the tree is finished it should look like this.
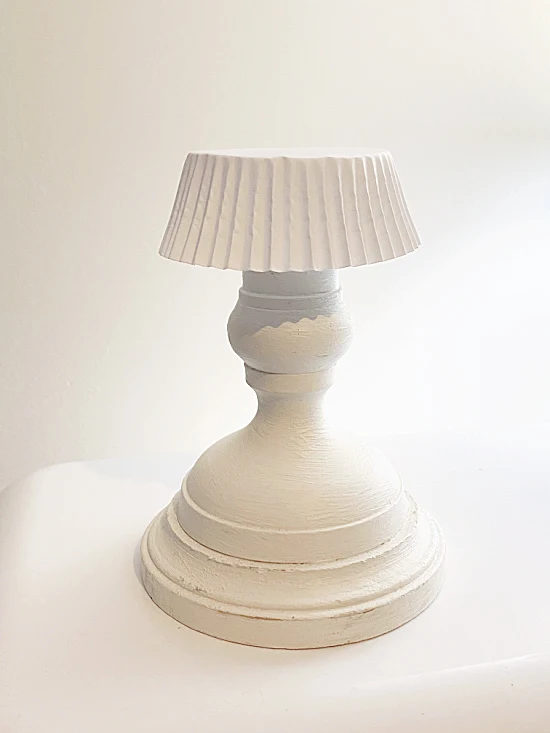
Next, you are going to need some kind of stand.
I'm using a metal candlestick that I painted antiqued white.
You can also use a wooden candlestick.
I used one white cupcake liner and hot glued it to the top of my candlestick, this just gave my tree a little extra design.
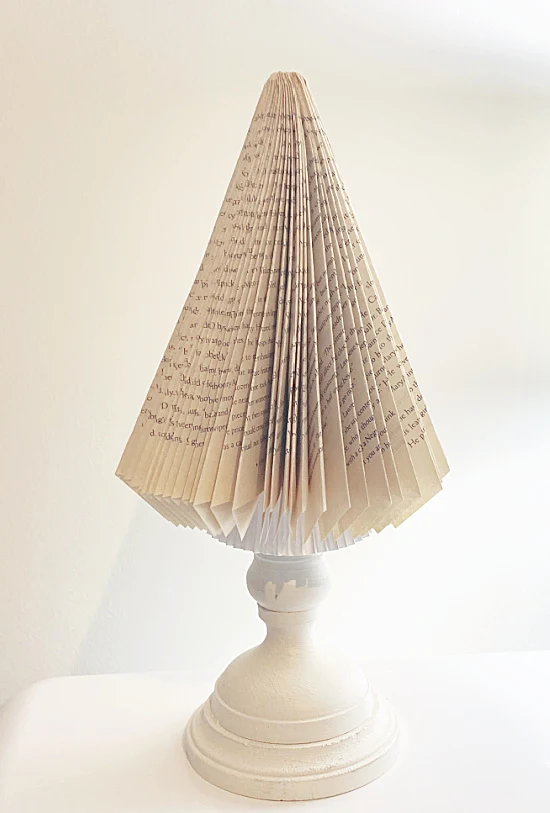
Then I glued the tree to the top of the cupcake liner.
If you fold your pages correctly you should end up with a little skirt at the bottom with an indent to glue it to the candlestick.
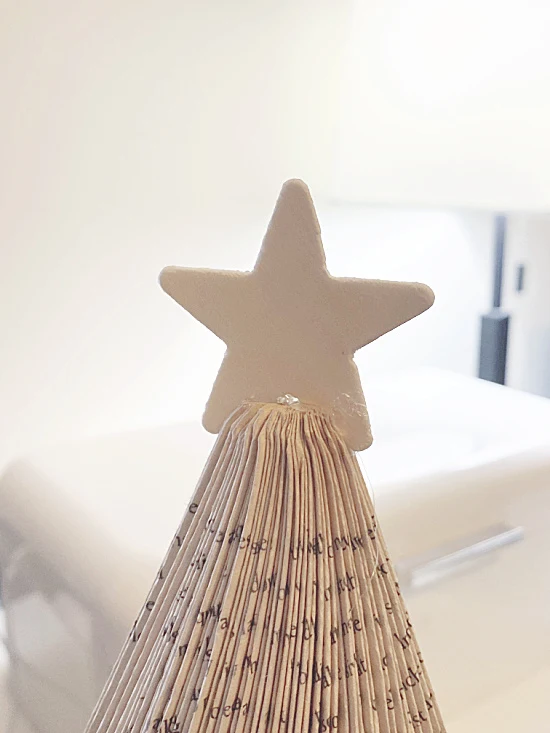
At the top of the tree I used an unfinished wooden star.
A little dab of hot glue held the star in place at the top of the tree.
Don't miss the folded book Christmas card holder I made using the same technique!
You can decorate the tree with pearls and garland or leave it plain like I did.
I love the neutral look and I got most of it done while watching The Invisible Man!
I'm even thinking that undecorated, this could stay up all winter!
And now for my personal favorite one...
A folded book tree with a lamp base and matching metal star!
Thanks so much for visiting and before you go please sign up for the Homeroad emails so my next DIY tutorial will go out straight to you!
READ MORE: Book Page Projects


