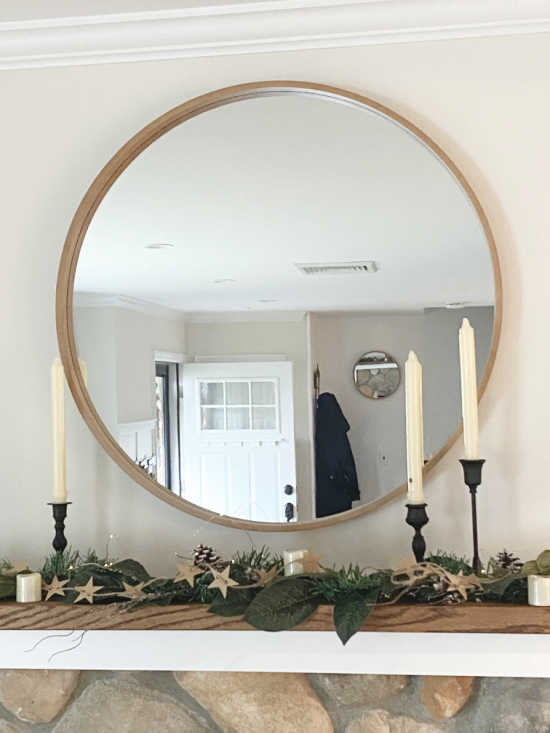
DIY Black Matte Candlesticks
Every once in a while I get together with my oldest daughter for a project. Today we gathered a few thrift store items and a great can of metal paint...
If you've been following for a while you may know my daughter Kasey, she has done a whole bunch of home improvement projects on various apartments and homes.
I've documented many of them including a few kitchen updates on a budget.
As you scroll through this post please pay attention to the bold blue links for more Homeroad information and the products I used for this project.
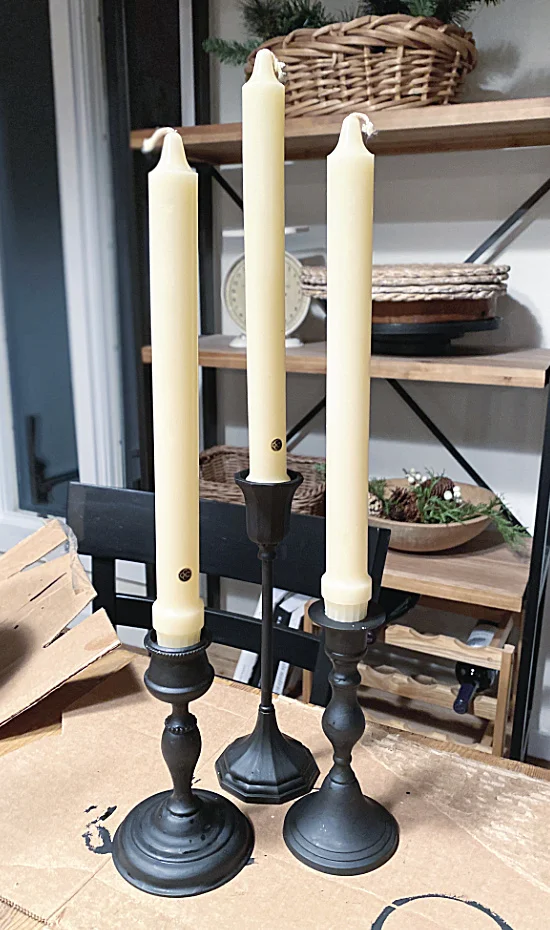
Today I wanted the look of those tall black taper candle holders without paying the price.
I've been gathering candle holders from various thrift stores in our area and now it's time to make them rock!
We are using a paint that Kasey used on her front storm door called Rustoleum Protective Enamel in flat black.
It also comes in a spray paint.
Did you even know you can paint your storm door?
She did a beautiful job, used this paint and to date has no scratches!
Today I'm using the paint on my candle holders.
Please try to ignore the huge mess on my counter tops! 😆
The candle holders I found were aluminum, pewter and brass and the paint worked great on all of them.
They look shiny at first but trust me they dry to a beautiful matte black and you can't even scratch it if you try!
See what I mean...
While we were at it I painted a ceramic pot I found at the thrift store.
The purple color was definitely not in my neutral color spectrum!
I did like the cement like base it had so I decided to try the paint on the pot and see what happens.
When the paint dried it dulled to a black matte color and I couldn't be happier!
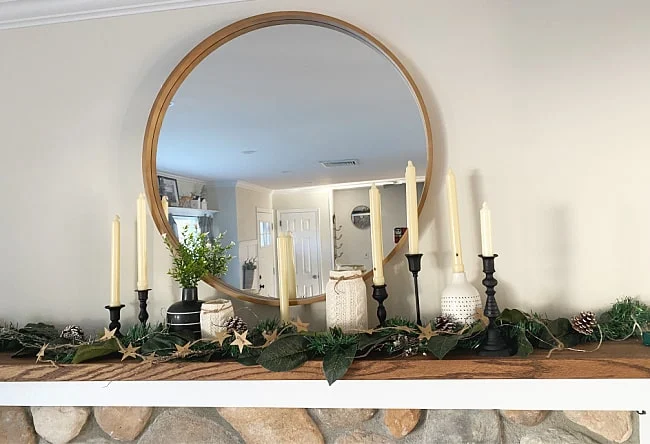
So why spend the $25+ for a set of black taper candle holders when you can get the look for about $6.
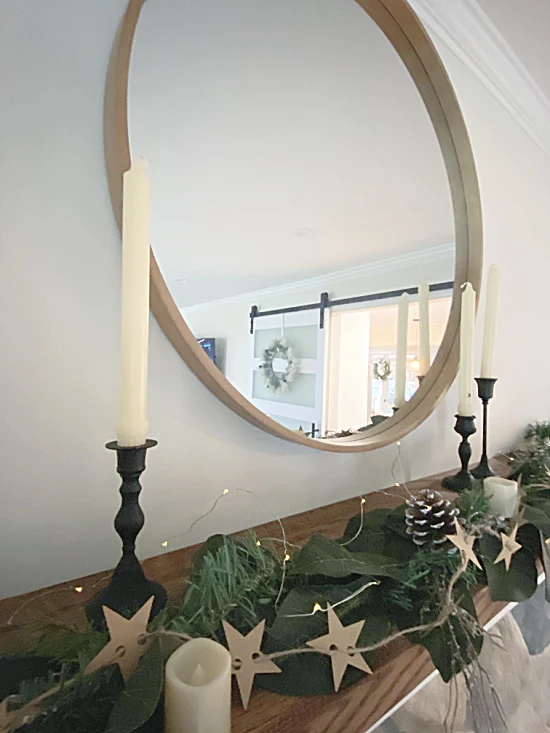
The paper stars on the mantel below are great for any time of year and were an easy DIY project too!
The greenery was another DIY project using dollar store supplies for Christmas!
Read More: Thrift Store Transformations
I'm adding and painting more candlesticks as I find them!
Thanks so much for visiting and before you go please sign up for the Homeroad emails so my next DIY tutorial will go out straight to you!


