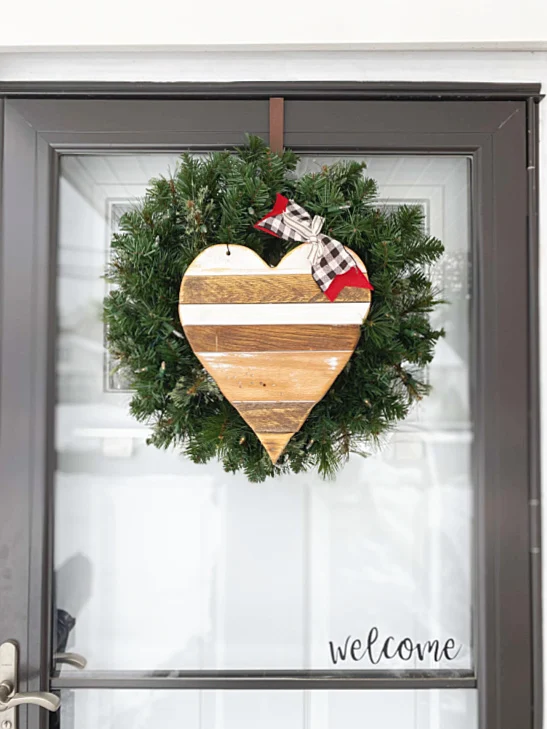
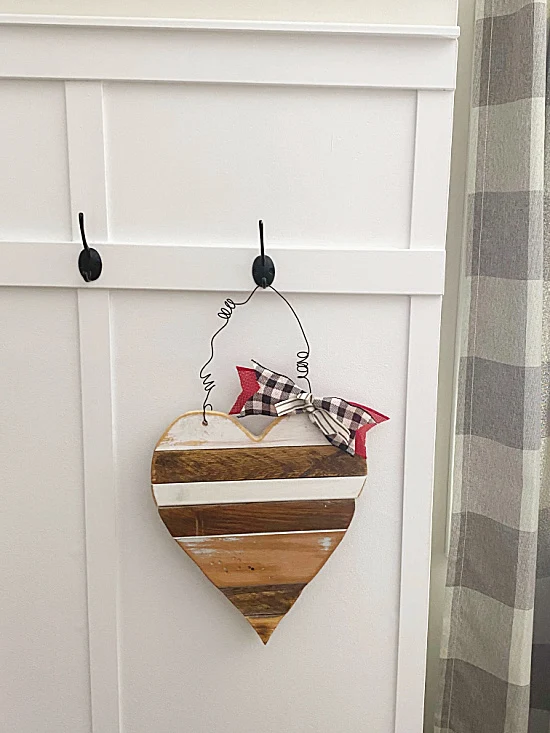
Reclaimed Wood Valentine Heart
Today I'm gathering a pile of reclaimed wood and constructing a heart for Valentine's Day. I'm down in the workshop just messing around to see what I can come up with.
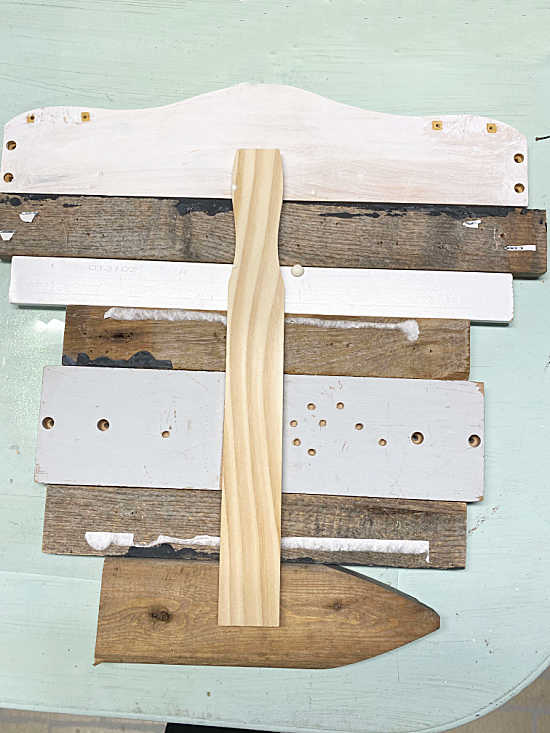
The first thing I did was to lay the pieces of wood I found on the table.
The pieces were basically all about the same thickness.
It looks like a big mess, I know!
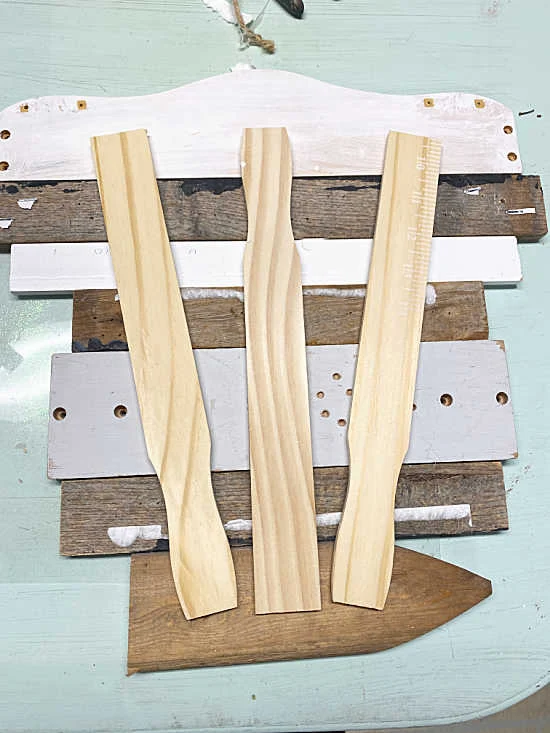
Once I lined up enough boards I flipped them all over.
As you scroll through this post please visit the bold blue links for more Homeroad information and the products I used for this project.
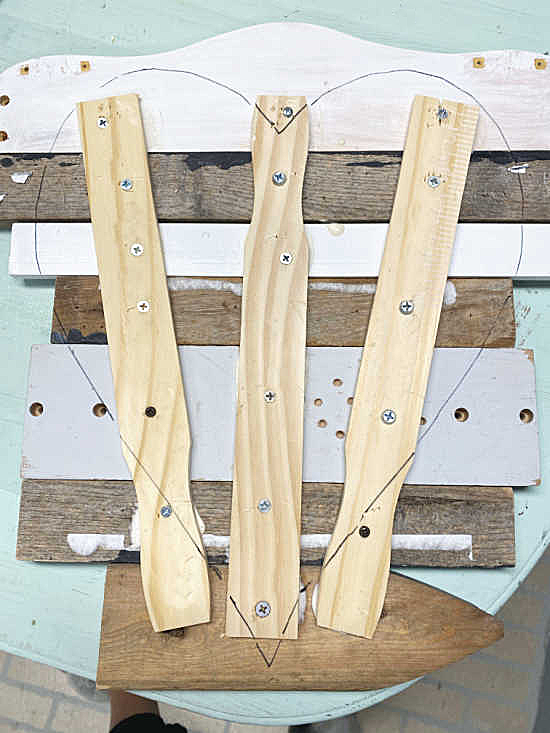
I attached paint stir sticks to the back of the wood pieces with wood glue and screws to secure the pieces of reclaimed wood.
I would have used my nail gun with small brads but I was out of the brads so screws were my 2nd choice.
I created a heart template with paper and traced it onto the wood pallet.
I used a scroll saw to cut out the heart.
You can also use a hand jigsaw for this project but a "perfect" heart shape is difficult to cut with the supports on the back.
Next, I sanded the edges and the top of the heart using a coarse sandpaper pad on my electric sander.
Once I got the wood sanded down, I drilled 2 holes in the top of the heart.
I rubbed hemp oil onto the heart to bring out the brilliance of the different woods.
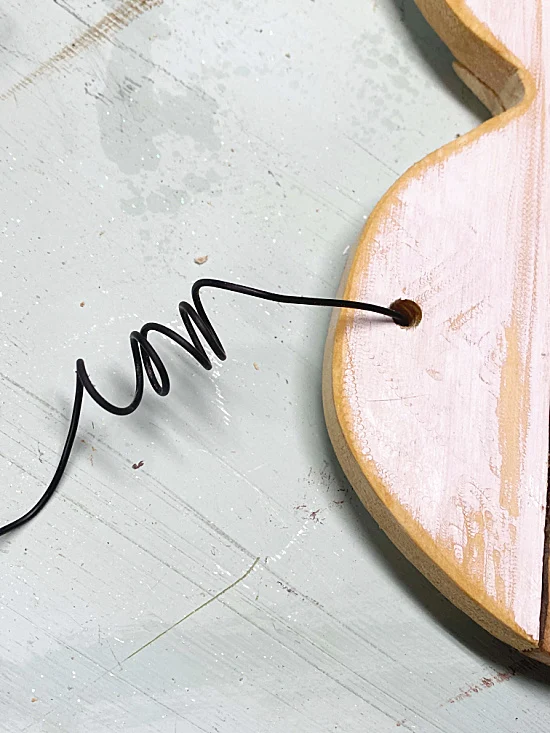
I inserted rebar wire into the holes and created a wire knot on the back.
I used a pencil to coil the wire down its length then attached the other end of the handle.
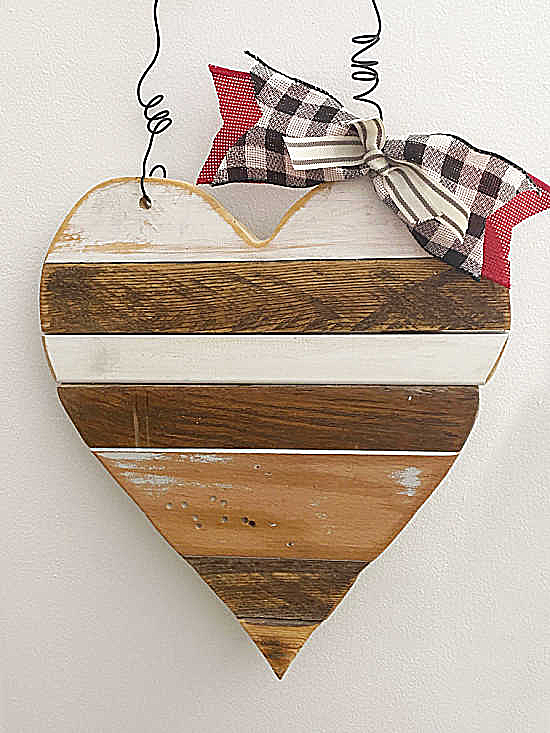
I made a messy bow using scraps of ribbon and attached it with thin wire.
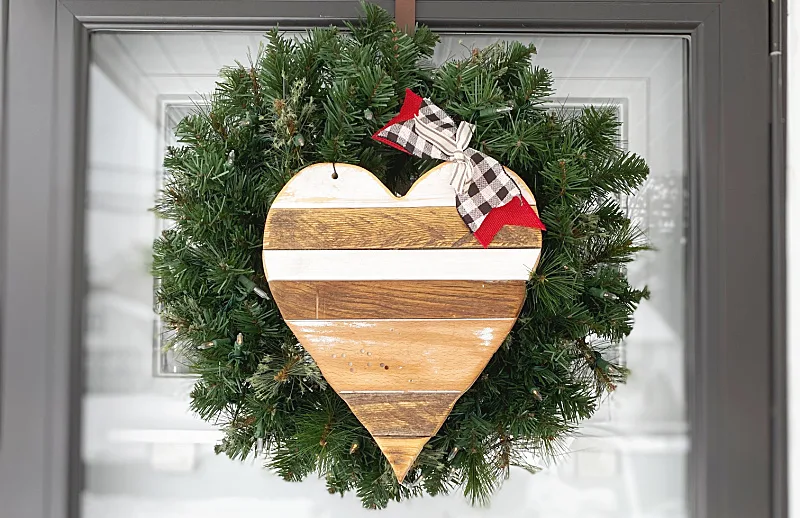
Now I can hang the Valentine pallet heart anywhere!
It looks great on the board and batten wall in my living room.
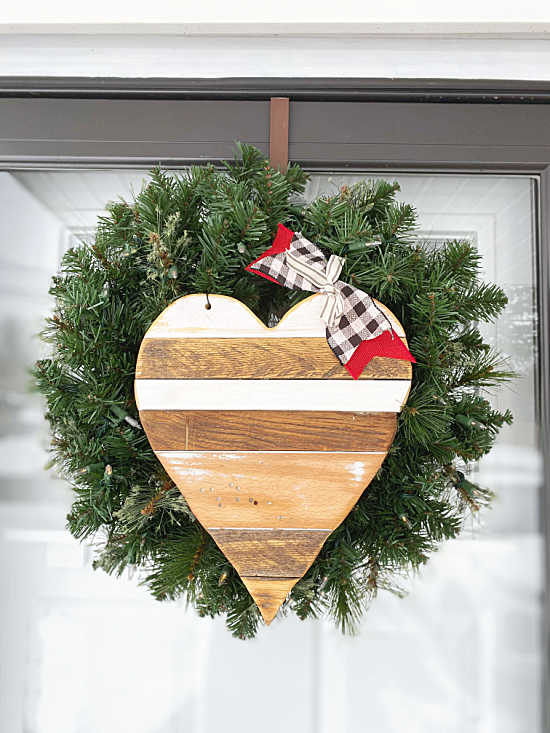
It can also be hung on a wreath on the front door.
READ MORE: DIY Valentine Projects
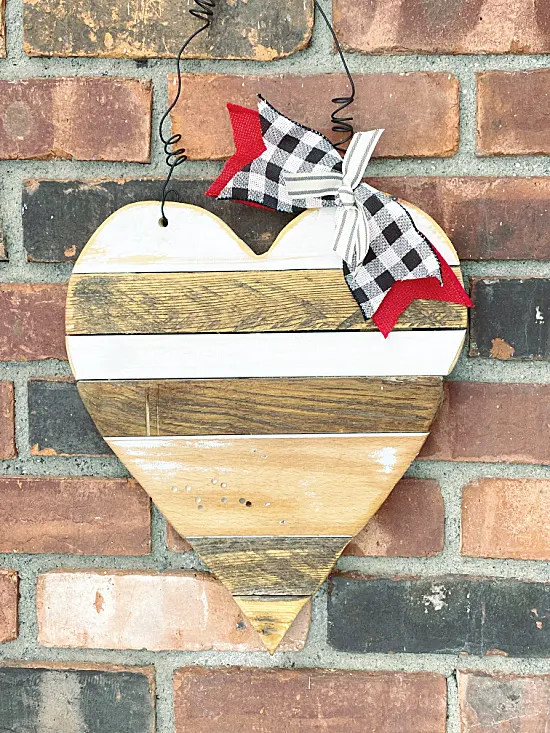
It looks great hanging on the brick too!
Here is another rustic heart I made for Valentine's Day.
Here is another wooden pair of polka dotted hearts.
You can add a stencil that says love, a house number, or nothing at all like I did.
Thanks so much for visiting and before you go please sign up for the Homeroad emails so my next DIY tutorial will go out straight to you!

