Decoupaged Easter Bunny Tag
Here's an easy project for Easter that uses a few easy to find supplies and can be customized in your style.
I began by cutting out a tag shape from a piece of thin MDF board.
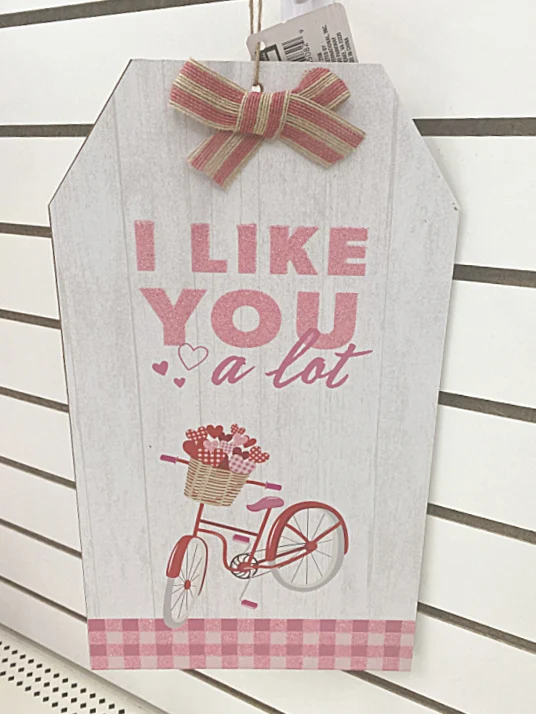
If you are not able to cut your own tag, there are many tag shaped signs at the dollar store like the one below, that you can use by just repainting.
As you scroll through this post please pay attention to the bold blue links for more Homeroad projects and the products I used for this project.
I painted my tag shape with white craft paint.
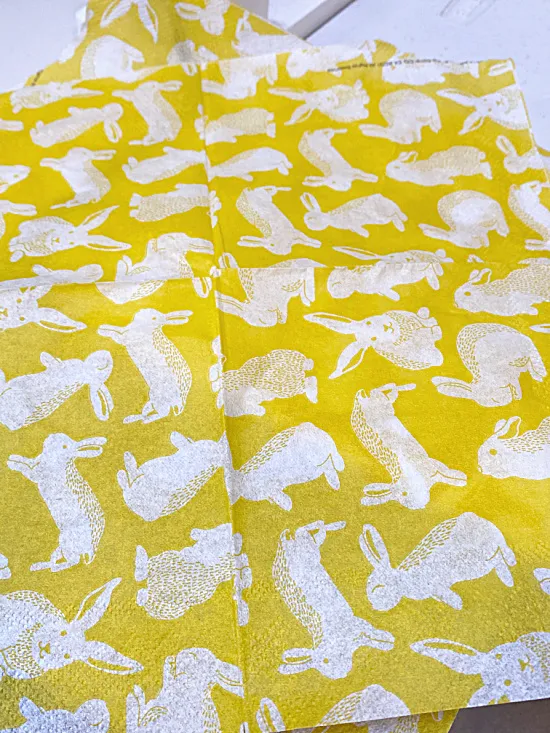
Next, using this adorable bunny napkin I found at Marshalls, I separated the layers and used only the top printed layer for the next step.
I painted a coat of matte Mod Podge over the white paint on my tag.
I waited for the Mod Podge to dry then put the top layer of napkin on.
Next, I covered the napkin with parchment paper and used a craft iron to iron over the parchment.
I use this small craft iron for so many projects!
This step re-activates the Mod Podge and the napkin sticks down perfectly with minimal bubbles and wrinkles.
The edges of the tag were distressed with a Distressed ink pad which gives it an antiqued look.
Now I moved on to my supply of scrap book paper scraps.
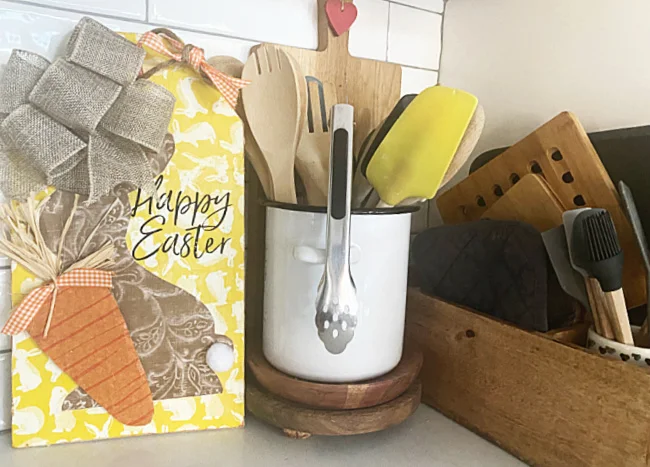
I cut out a bunny shape and glued it down onto the tag with a glue stick.
I added a white pom-pom to the tail and a burlap bow to the top.
I added a DIY decoupaged carrot, also made from a napkin, to the top of the bunny.
I used my vinyl cutter to add Happy Easter to the tag, you can use a sticker or write it free hand if you don't own a vinyl cutter.
If you don't own a vinyl cutter, I highly recommend the Cricut Joy which is a small vinyl cutter that can be used with your phone. It's all you'll need for small projects of all kinds!
READ MORE: CRICUT PROJECTS
My Easter tag is hung with a jute and orange gingham tie to finish it off.
READ MORE: EASTER PROJECTS
I just love this pretty tag that would be perfect to hang on a wreath for Spring.
Thanks so much for visiting and before you go please sign up for the Homeroad emails so my next DIY tutorial will go out straight to you!


