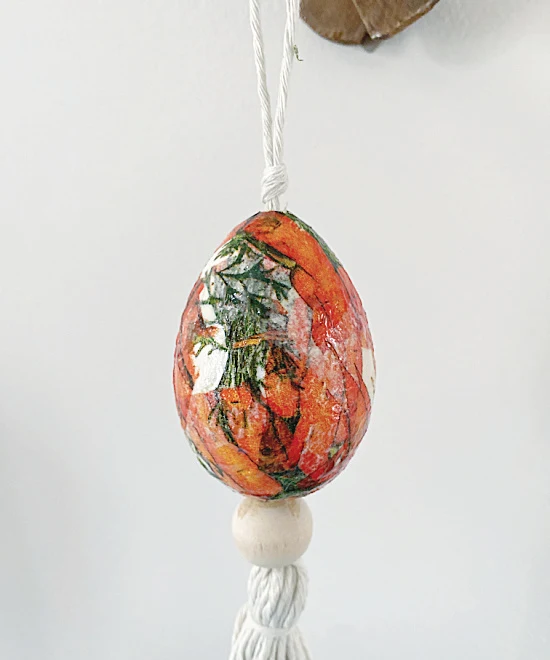
Decoupaged Egg Tassels
These adorable egg tassels are easy to make from an inexpensive paintable egg kit and can be used to decorate many things.
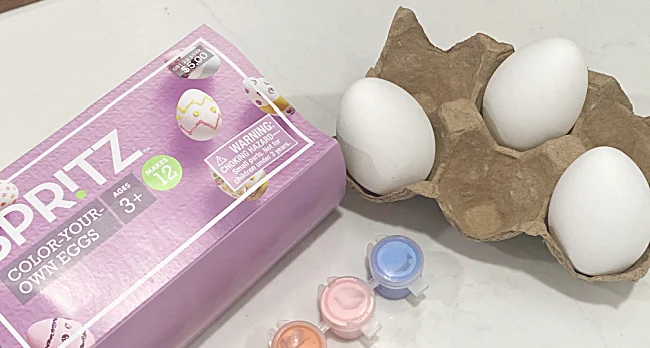
I started with this painting egg kit I found at Target at one time.
As you scroll through this post please pay attention to the bold blue links for all the details on these projects!
The eggs are hollow and plastic.
I began with these supplies:
The Mod Podge I'm using for the first step is a matte Mod Podge.
The decorative napkins are from Marshalls but you can use any pattern.
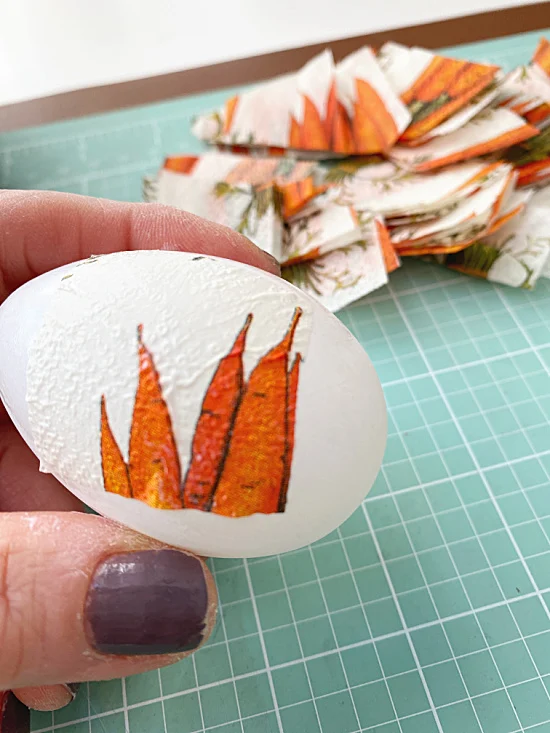
I began by peeling apart the napkin into 3 pieces.
I'm only using the top printed napkin ply.
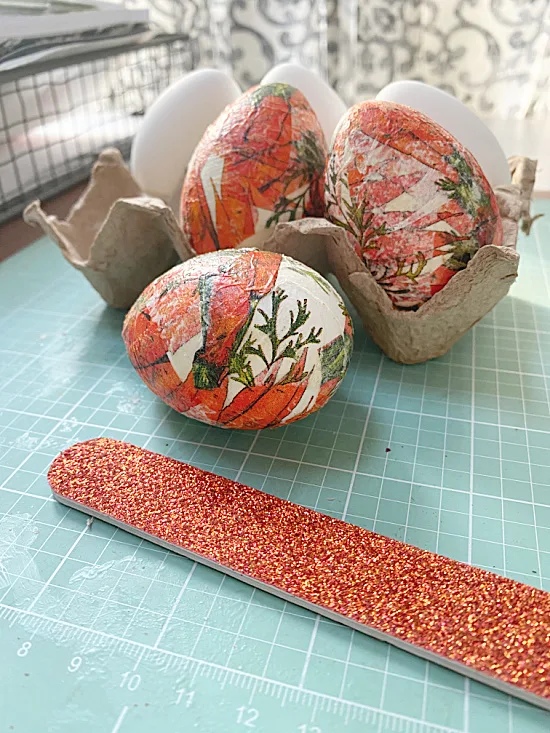
I cut the napkin into small squares and began gluing them to the eggs using the matte Mod Podge.
The napkin pieces are overlapped as I painted the Mod Podge under and over each piece.
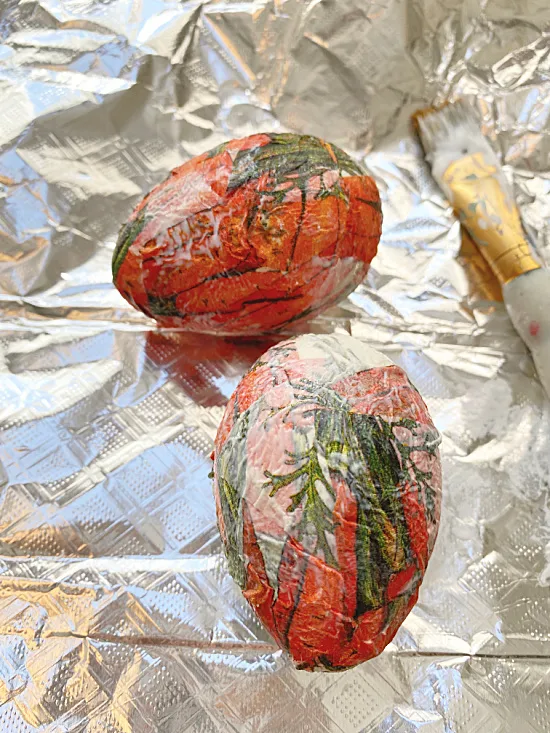
I let the eggs dry on a piece of aluminum foil so they wouldn't stick to the surface.
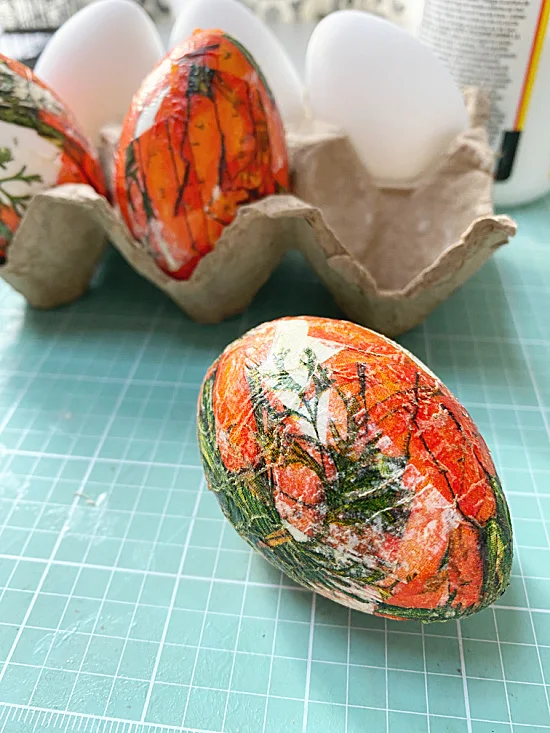
When the eggs dried I sanded them lightly with a large emery board to remove any bumps.
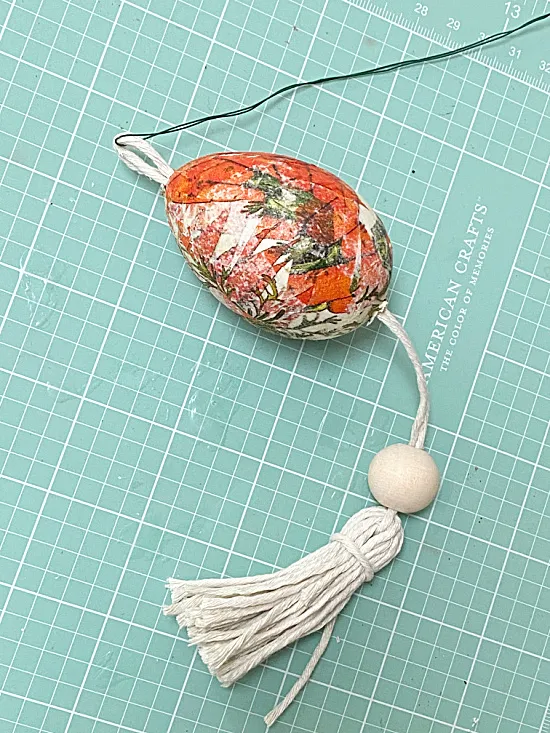
I used cotton twine for this part, wrapping it around 3 fingers 20 times.
I put a longer piece of cotton twine through the tassel and tied another small piece around the top of the tassel.
Next, I cut straight across the bottom of the tassel.
The top and bottom of each egg was pierced with a sharp scissor to make a hole.
I added a wooden bead to the tassel then made a "needle" from thin wire to drag the longer piece of twine through the egg from bottom to top.
At the top of the egg I tied a knot at the top of the egg and then a knot higher up to form a hanging loop.
It was at this point that I used glossy Mod Podge to give the eggs 2 coats and a beautiful shine.
I hung the eggs by the loops to dry.
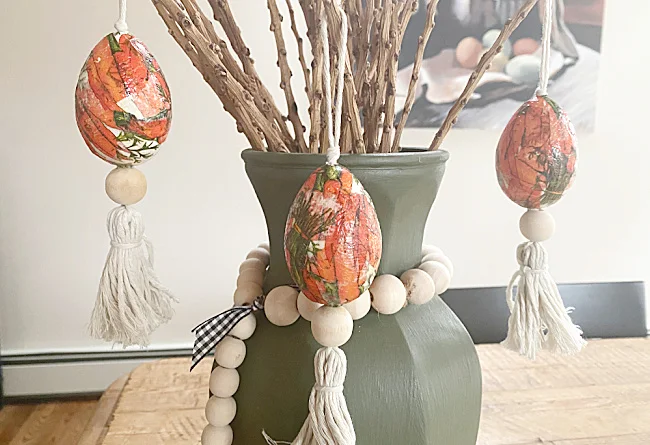
These eggs are perfect to decorate a wreath.
You can also hang them from branches.
You can read about how I made the textured vase and where those beautiful sticks came from too!
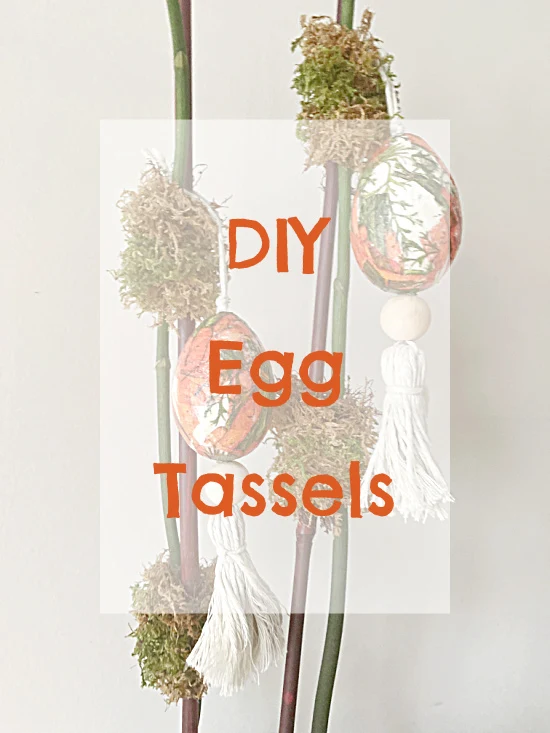
My favorite way to display them is on a few sticks with moss in a pot.
READ MORE: EASTER PROJECTS
I hope you'll like these easy to make hanging egg tassels.
Thanks so much for visiting and before you go please sign up in the pop-up for the Homeroad emails so my next DIY tutorial will go out straight to you!


