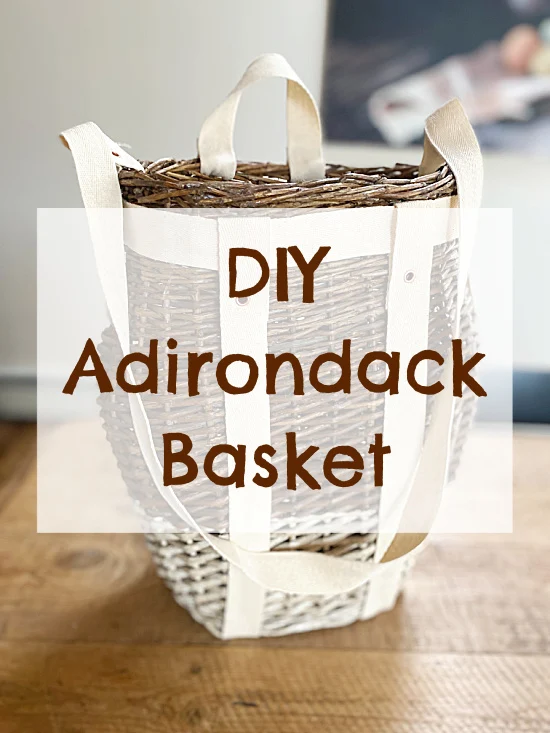
DIY Adirondack Backpack Basket
I've always loved the look of the Adirondack backpack baskets but I've never found one at a good price. Today... I'm going to show you how to fashion your own!
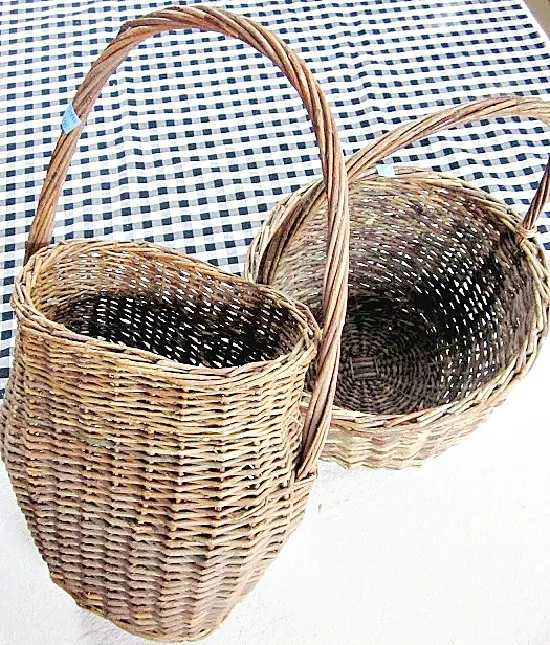
I began with a fairly flat basket from the thrift store.
As you scroll through this post please pay attention to the bold blue links for all the details on these projects!
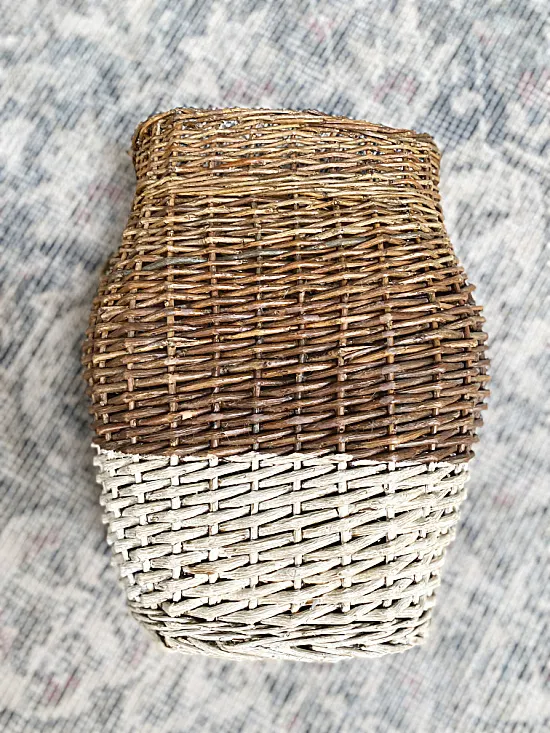
At one time I painted this basket for a Homeroad project.
Then later I turned it into a winter basket for the front door.
Then finally, I turned it into one more project for flowers.
I think it's safe to say I love this basket and definitely got my monies worth!
Today I'm refashioning it one more time and I just love the way it came out.
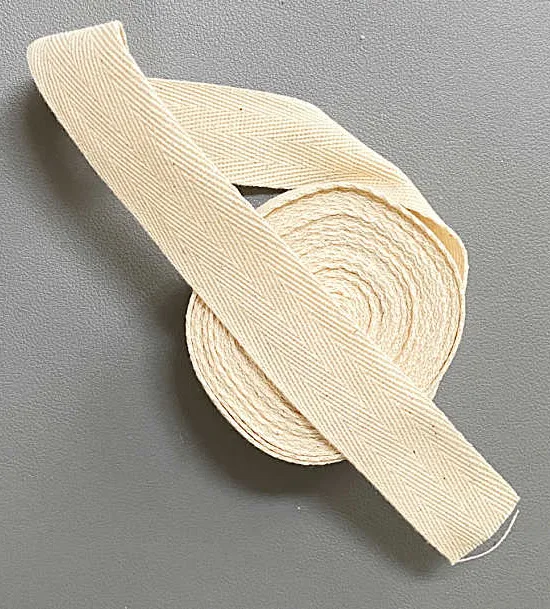
I purchased 1" cotton twill tape from Amazon.
The twill tape comes in many colors, I chose the beige to match my neutral style.
The 5 yard package I bought was just enough for this project.
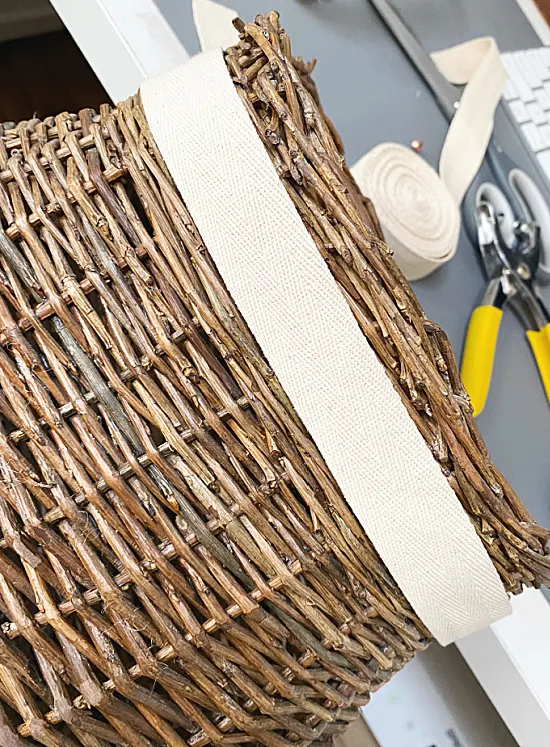
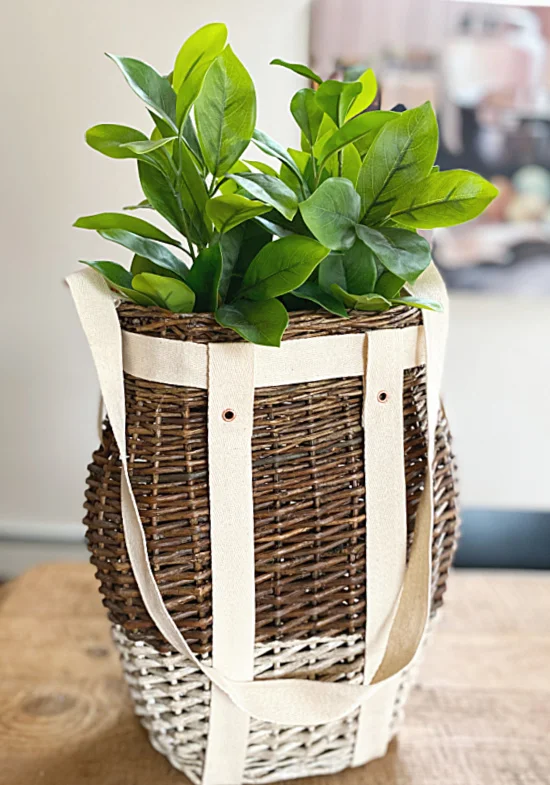
I began by wrapping a piece around the top of my basket with a few inches extra and cut it off.
Next, I wrapped a piece of the twill tape around the top piece, under the basket and up the back of the basket.
I left enough twill tape to wrap it and hot glue it on both sides.
Make sure you fold the end of the twill tape over so it doesn't unravel.
I hot glued the straps to the bottom of the basket so they wouldn't move.
On the front straps I added small copper grommets for decoration.
You could also use copper brads instead of grommets which I like even better!
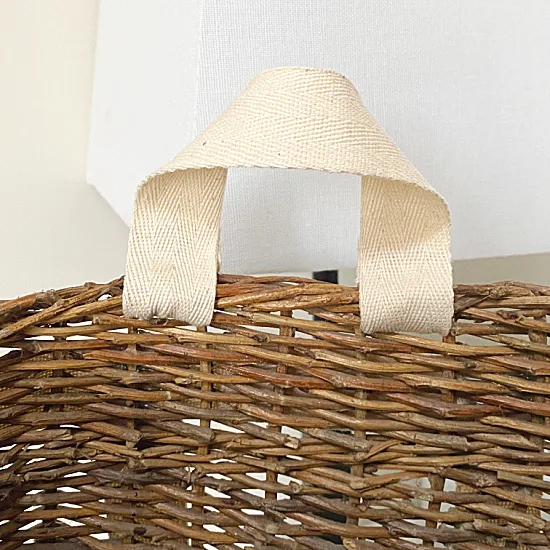
Next, I cut a piece of twill tape about 6" long for the handle on the back.
I folded the edges and hot glued it together.
Now it was time for the side straps.
I inserted it on one side of the basket, ran it up and around the basket, then hot glued it together.
I added copper grommets to the side pieces as well.
The grommets are really just decorative, you can skip this step if you'd like.
That's it!
READ MORE: BASKET PROJECTS
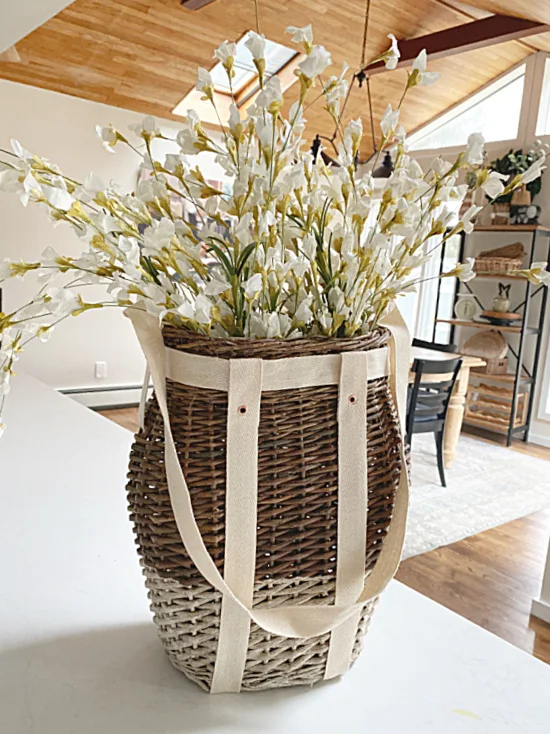
Five yards of inexpensive twill tape turned this old basket into the Adirondack basket I've been wanting... on a budget!
I hope this shows you that you can creatively make what you see for much less.
Thanks so much for visiting and before you go please sign up for the Homeroad emails so my next DIY tutorial will go out straight to you!


