DIY Moss Covered Planter
Recently I loved the moss covered planter for Spring at PB and I knew I could make it... only better!
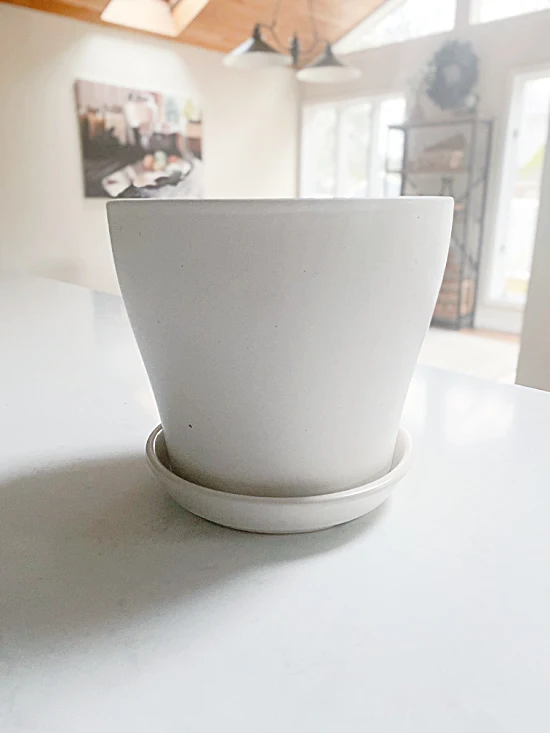
My project began with this white matte finished planter.
As you scroll through this post please pay attention to the bold blue links for all the details on these projects!
You can also paint a terra cotta pot matte white and let it dry.
This planter had an attached dish at the bottom but you can use one without and attach a dish with E6000 glue.
My planter was delivered with a plant in it but the plant didn't last as long as this planter will.
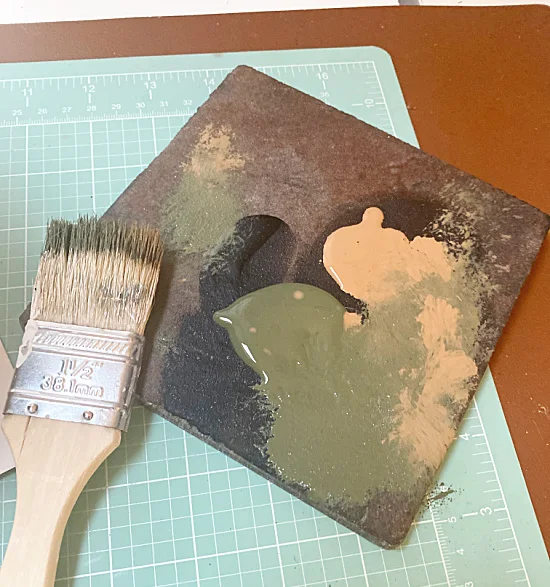
I began by pouring a tiny bit of Bayberry by Fusion Mineral Paint and a light brown craft paint onto a tile.
You can find a similar moss colored craft paint on Amazon.
I'm using one of those chip brushes that you didn't really get clean last time and it's still a little stiff...
I dipped the stiff brush randomly into both colors and stippled it onto the pot.
I stippled on the paint a little bit darker toward the bottom of the pot.
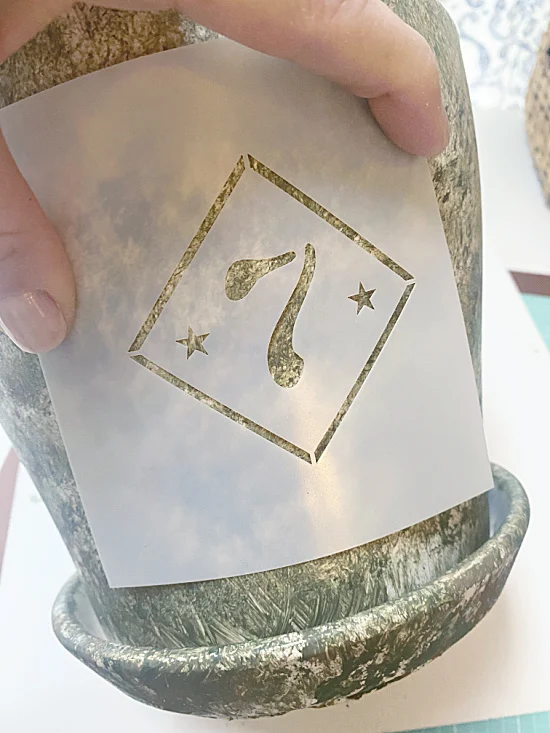
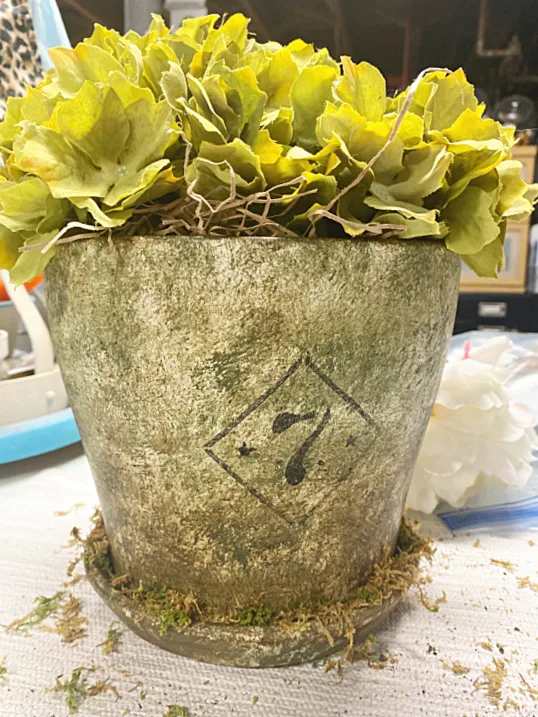
When the paint dried I stenciled on a Vintage crock stencil from Old Sign Stencils with a light coat of black craft paint.
This set comes with many different designs and numbers that recreate the look of old pottery.
Next, I used dark furniture wax and brushed it over the pot, heavier at the base and lighter toward the top.
I didn't rub in the wax and it gave the pot a very old world look over the stippled paint.
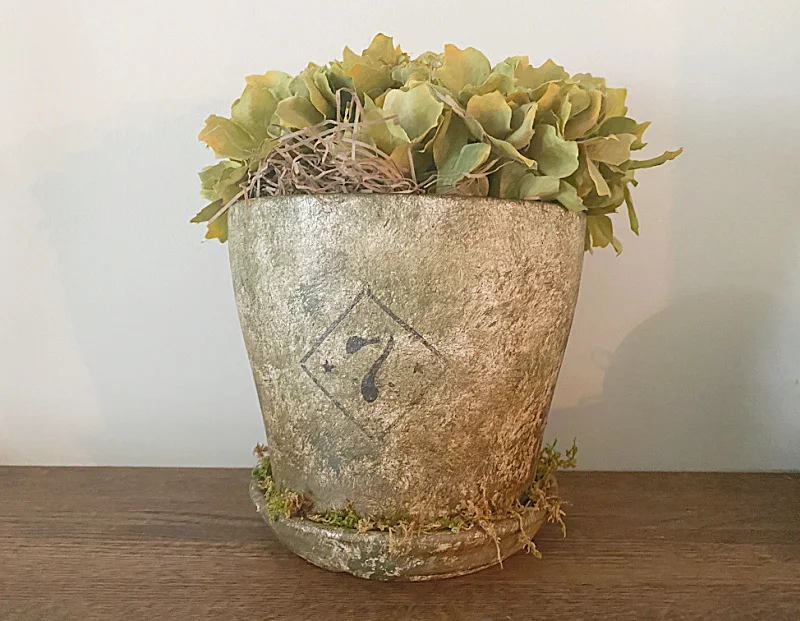
Lastly, I used real moss and pushed it into the attached base of the planter.
You can hot glue the moss into the base if you'd like.
The color of my pot matched the real moss exactly!!
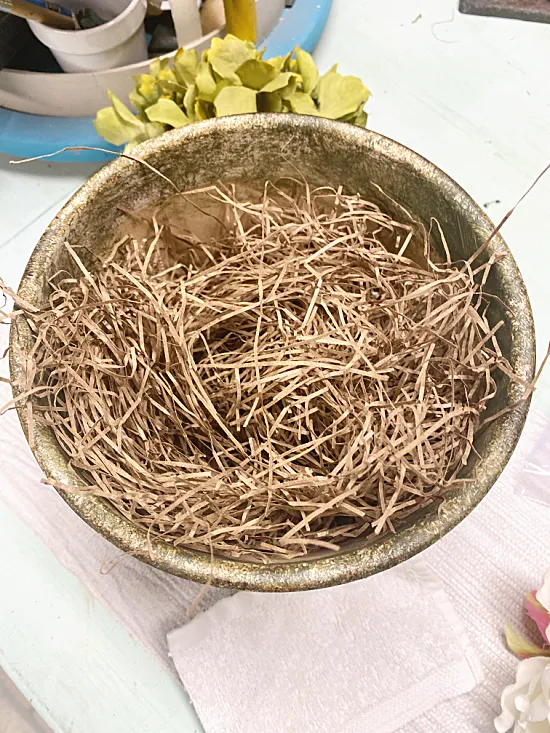
I filled my pot with shredded paper filler and faux hydrangeas that matched the moss.
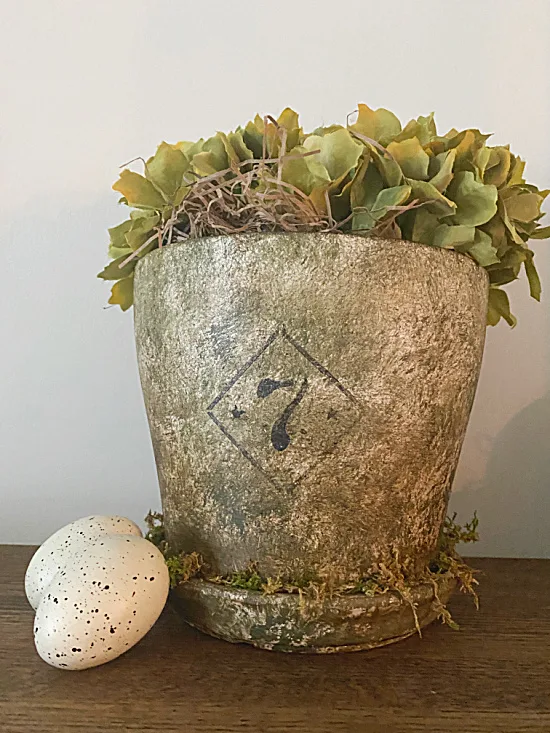
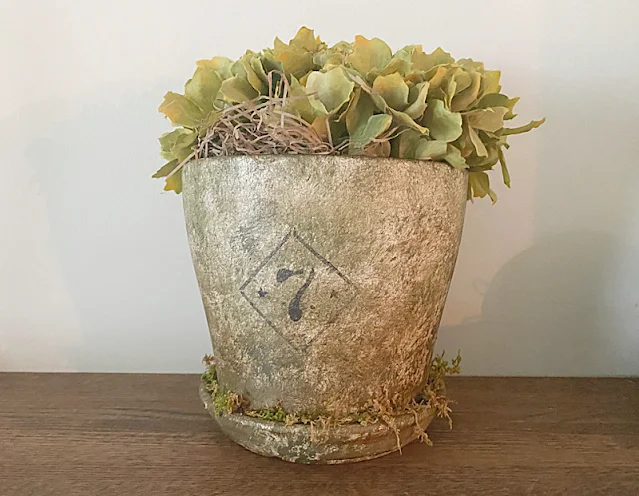
This generic planter just got a whole new look!
It legit looks like an old world, moss covered planter!
Thanks so much for visiting today!
Before you go please sign up for the Homeroad emails in the pop-up so my next DIY tutorial will go out straight to you!

