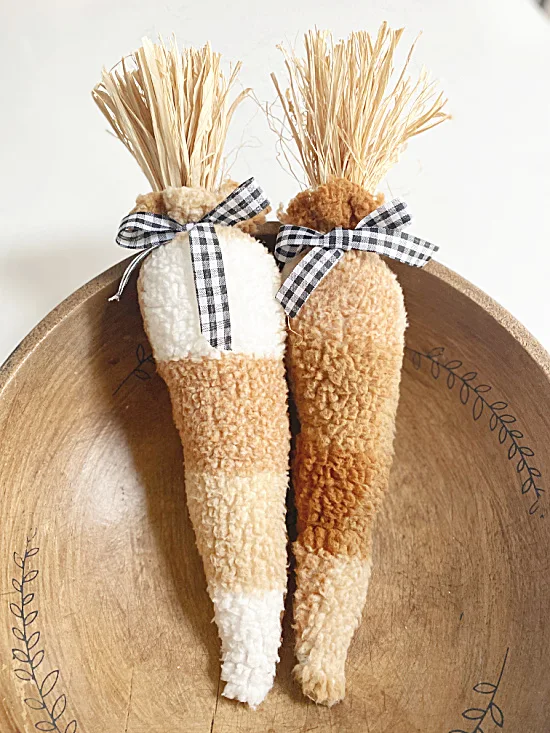
Easy No-Sew Sherpa Carrots
I had to do it... the fabric in the donation bin was just too cute to give away so I'm repurposing it for Spring!
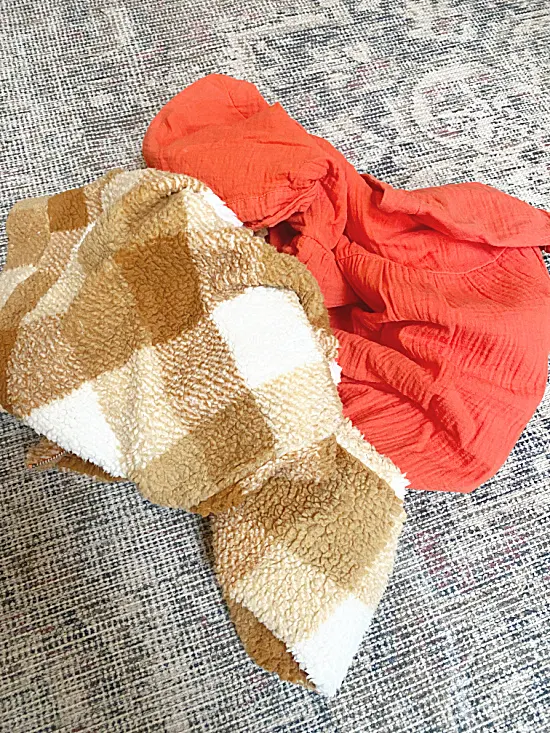
I began with this great orange plaid sherpa jacket.
As you scroll through this post please pay attention to the bold blue links for all the details on these projects!
Man, I wish I wore this size because it's adorable but I don't so... I'm going to recycle it!
I cut off one sleeve of the sherpa jacket and squared off the ends.
Next, I cut the sleeve diagonally so I had 2 long triangles.
I used hot glue and ran a bead all the way down the cut end of each triangle on the fluffy side of the fabric.
I let the hot glue dry very well then turned the triangle right side in.
I stuffed the sherpa pieces with pillow stuffing and pushed it down to the carrot point with a chop stick.
I grabbed a bunch of raffia and made a bundle, trimmed the top of the bundle with scissors for a flat top.
I stuck the bundle of raffia into the top of the stuffed carrot and used a zip tie to pull it as tight as I could.
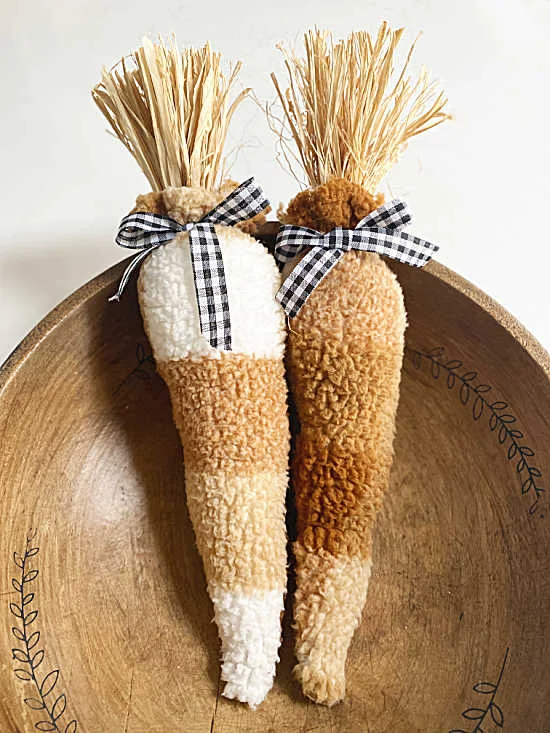
Next, I tied a black and white gingham ribbon around the zip tie and I was done!
READ MORE: SHERPA PROJECTS
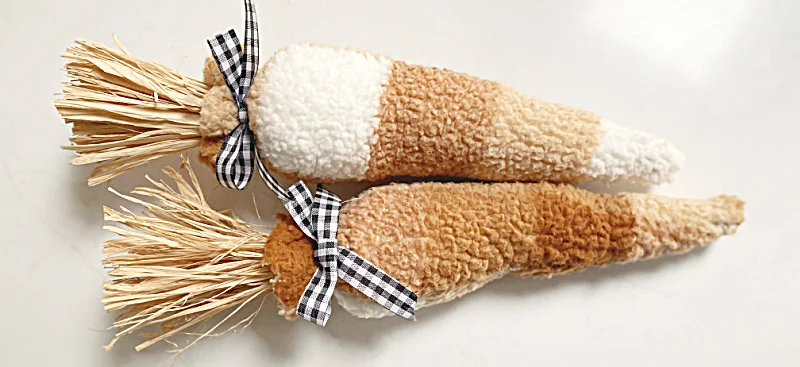
That's all it took to turn a donation sherpa jacket into a couple of adorable orange plaid sherpa carrots!
It couldn't have been easier!
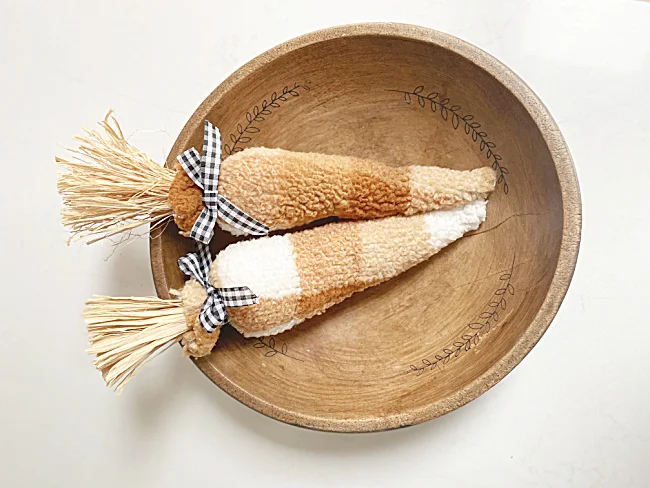
They look adorable in the damaged wooden bowl I saved a few years ago.
Easter around here is not very warm so these sherpa carrots will be great!
READ MORE: CARROT PROJECTS
Thanks so much for visiting and before you go please sign up for the Homeroad emails in the pop-up so my next DIY tutorial will go out straight to you!

