Metal Carrot Planter
I was inspired for this project by all the tin can projects out there lately. Problem was, I didn't have any cans! So I improvised and it turned out great!
Recently I watched a video from the Turquoise Valentine, Leigh showed us how to make a beautiful hanging planter using aluminum cans and I was inspired!
As you scroll through this post please pay attention to the bold blue links for more Homeroad information and the products I used for this project.
My project however is made with roof flashing found at the hardware store.
A little bit of this stuff goes a long way and it can be used for many DIY projects like these.
The flashing is easy to cut and sharp edges easily sand smooth.
I cut a piece of flashing into a rectangle with regular scissors and folded it into a flat rectangular pocket.
I used a fine grit sandpaper to sand smooth any sharp edges.
I used E6000 to glue my edges closed and folded over the bottom.
Next, I added decorative metal ribbon along the top edge with more E6000 glue and held it together until it dried with clothespins.
Now it was time to decorate my planter.
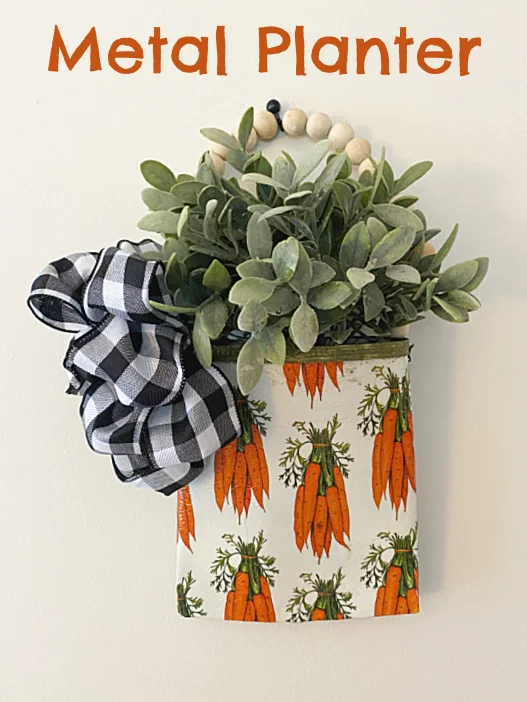
I used this fun carrot napkin.
I separated the layers and used only the top layer and Mod Podge to decoupage to the front of the planter.
I painted more Mod Podge over the top of the napkin and let it dry.
Next, I tore off the napkin along the side edges and bottom.
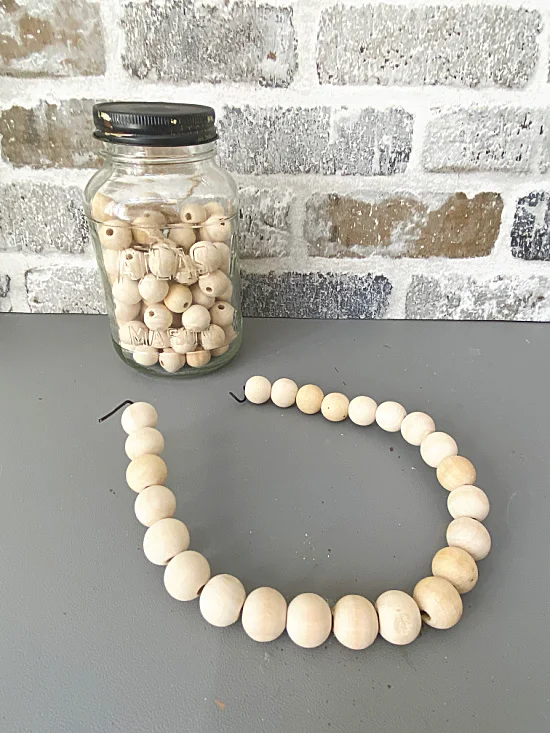
I used a length of rebar wire with wooden beads to create a handle.
I attached the handle to the sides with a heavy duty hole punch into the side of the flashing.
Lastly, I sprayed the planter with a glossy sealer to give it a little shine!
This planter is great for faux plants but can also hold a real plant because the bottom is sealed.
READ MORE: PLANTER PROJECTS
Adding a big bow or a carrot to the side gives the planter another look!
Thanks so much for visiting and before you go please sign up for the Homeroad emails so my next DIY tutorial will go out straight to you!


