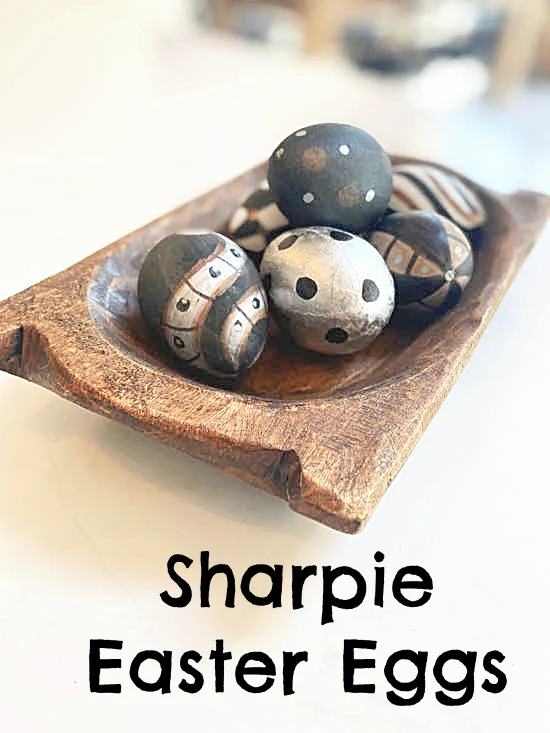
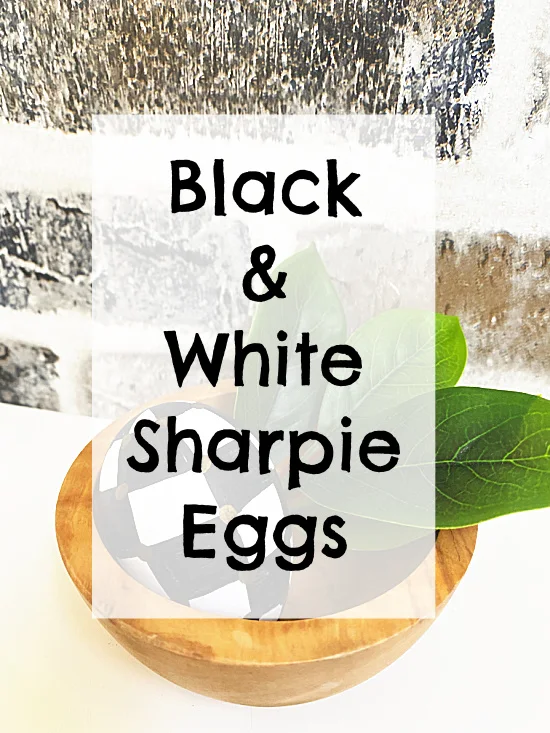
Metallic Sharpie Easter Eggs
I love black and white and the look of some of the Makenzie Childs products just make me happy! Today, I'm going to attempt the look using Sharpies...
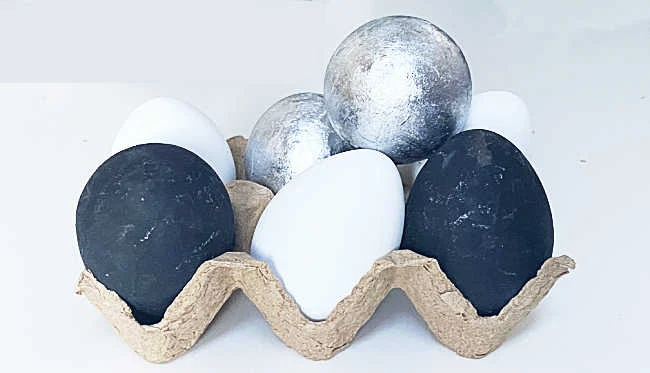
For this project began with basic faux eggs.
As you scroll through this post please pay attention to the bold blue links for all the details on these projects!
I found the chalkboard black and the silver eggs at Michaels, the white ones were from Target dollar spot and I used them in this egg project too.
Sharpies come in all colors and shapes as well as paint pens.
I used a combination of these paint pens and the metallic Sharpies for this project.
I began by lightly sketching lines on some of the eggs with pencil.
The pencil will wipe off at the end if any lines are still visible.
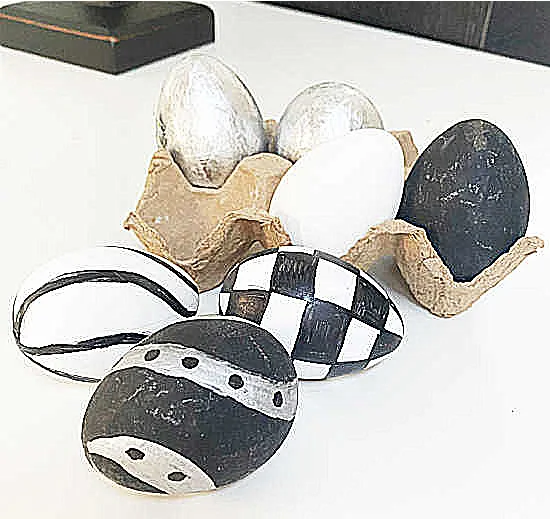
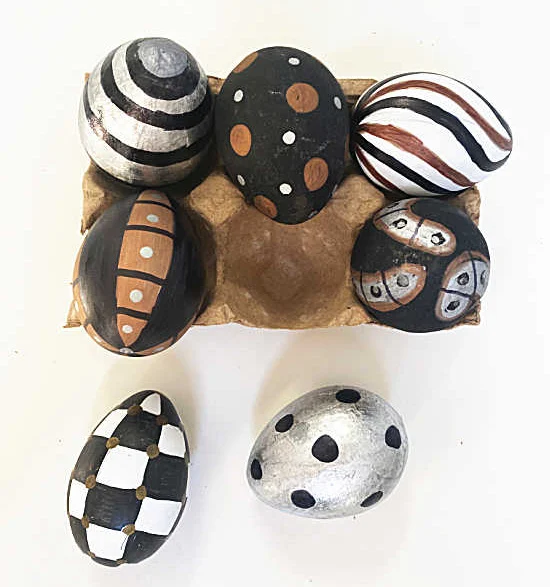
Next, I just started painting with the Sharpie markers.
I had a little better luck with the metallic permanent Sharpie markers than the paint pens because the markers dried quicker.
I just filled in, added dots, and kept going back over the eggs until I was satisfied.
If you make any mistakes, you can easily go over the lines again.
I think they look great as they are but I did use a pearl wax on the black eggs when I was finished to give the black matte a little pizazz.
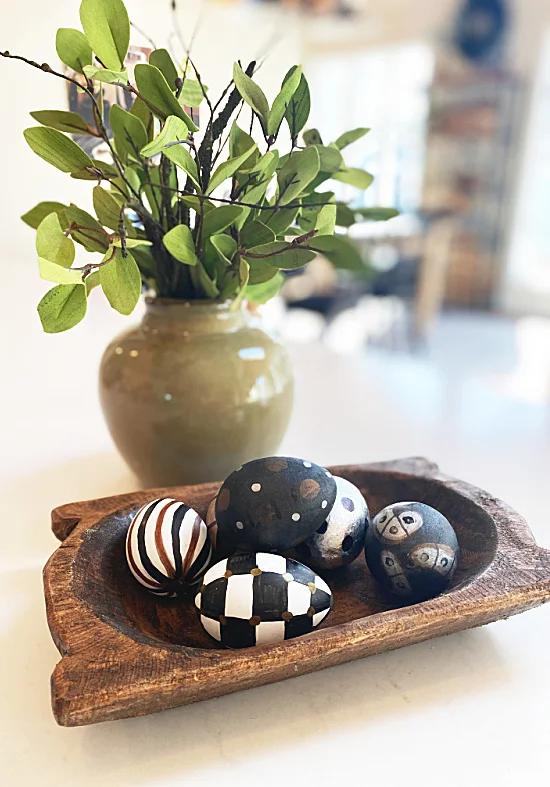
I think these easy to make eggs look great just left in the carton or in a wooden bowl.
READ MORE: DIY EASTER EGGS
I will definitely be decorating my home with these eggs this Easter since my new kitchen has a black and white theme.
READ MORE: SPRING PROJECTS
Thanks so much for visiting and before you go please sign up in the pop-up for the Homeroad emails so my next easy DIY tutorial will go out straight to you!


