Painted Bathroom Faucets
Are you a risk taker? I'm usually not but today I'm taking a small risk in the spare bathroom that turned out to be an even bigger one...
First of all, this bathroom has been through about 5 makeovers in the past.
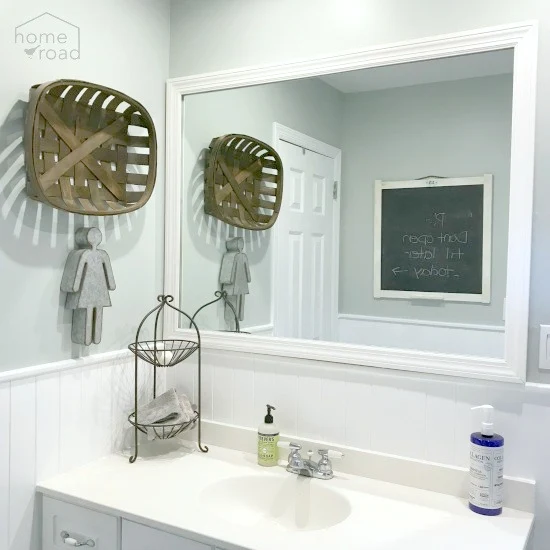
Here is the faucet before...
You can read about the orange bathroom to a more neutral one with DIY accessories.
You can read about the mirror frame I made for this bathroom.
And you can read about how I fixed the water damage on this same vanity.
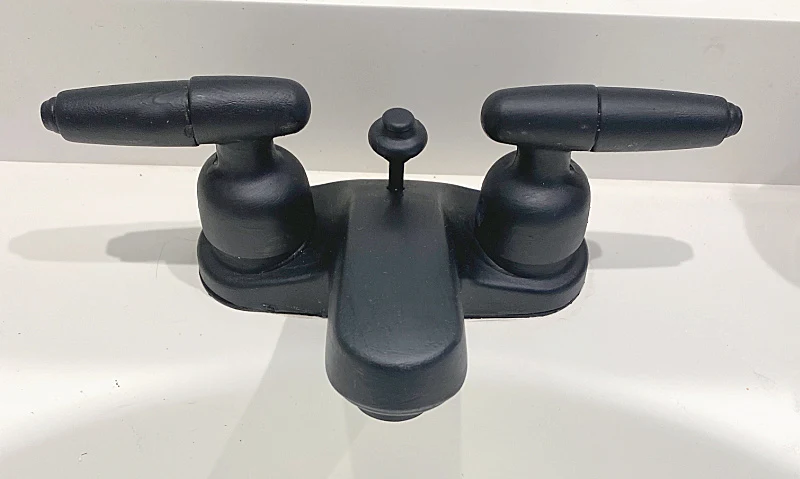
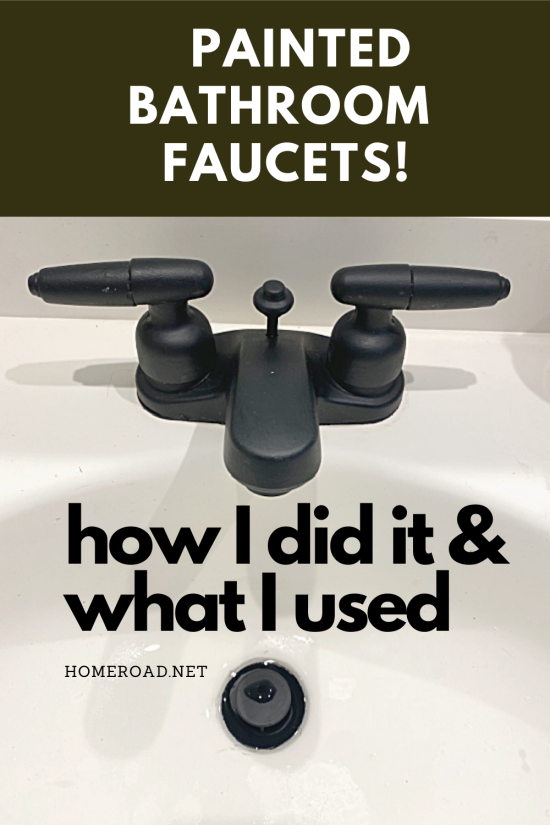
Today... I'm painting the sink faucet matte black.
I have a good feeling about the results but I am definitely taking a risk.
Truthfully, I probably wouldn't have done it if I didn't think it would hold up.
As you scroll through this post please pay attention to the bold blue links for more Homeroad information and the products I used for this project.
The faucet was a mess and it ideally needs to be replaced but I'm going to give painting it a go first.
I began by taping-off the surrounding countertop with painter's tape and lightly sanding the faucet with a fine grit sandpaper.
I am using Rustoleum Protective Enamel in flat black.
This is an oil based product so I'm brushing it on with a small brush that I'll throw out when I'm finished.
The paint went on easily, there were no brush marks and I let it dry between the 2 coats.
I have faith that this paint is going to hold up because my daughter used it on her front storm door.
Her storm door gets handled everyday in snow, rain and with 3 kids and there isn't a nick on it.
I also painted my slop sink at one time then later painted the fixtures with this paint.
The slop sink faucet held up so well that at one point I had to scrub green paint off the handles and it came off without damaging the matte black!!
So here's to hoping!
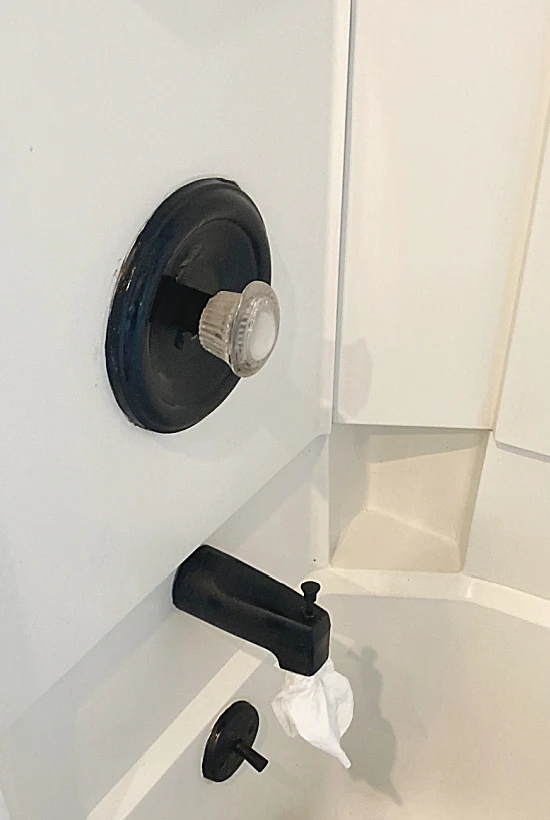
When I finished the sink and the drain I looked to my right and realized that I now needed to paint the shower fixtures to match. 🙄
This for me was the bigger risk... while they were not as bad as the sink faucet, I previously had no plans on replacing them.
And this is the spare bathroom... so what the heck!
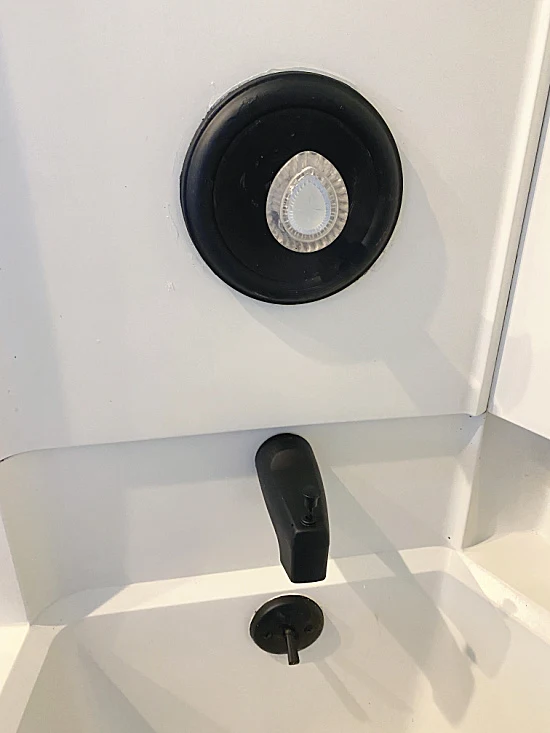
I painted the shower fixtures as well.
I let the paint dry for 24 hours.
I have to say they look amazing and I did a quick scratch test and the paint didn't scratch.
It's been 2 weeks and not a scratch but I will be sure to update you in a few weeks on this project.
I've also used this paint before on metal candle sticks and it doesn't scratch off there either.
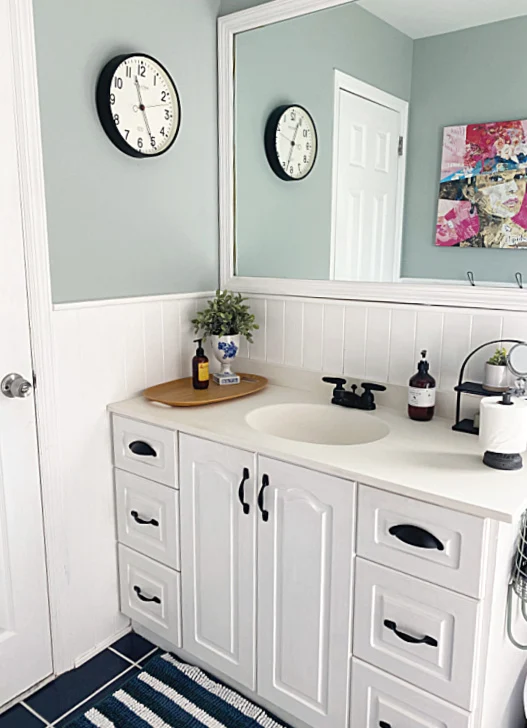
The knobs on my vanity were replaced with handles and cup pulls from my original kitchen before we did a kitchen renovation.
The floor is a 12" x 12" blue tile that has been there for about 20 years but looks great now since I fixed up the grout with this grout pen that worked amazingly!
The hardware was spray painted with this same product.
Before I was finished I added hooks to the wall to hang towels.
And a quick repurposed garden hose toilet paper holder.
The last thing I did was to use the spray paint once again to paint the clock above the vanity.
So cross your fingers for me, this non-risk taker may be extremely happy with these results or I will be replacing all the fixtures in this bathroom.
I will be sure to let you know!
One last tweak to this cabinet was the addition of more cup pulls on the drawers, I like the look of three on each side.
Update: The paint held up very well for about a year on the faucet. The paint ended up chipping on only the porcelain part of the faucet handles. I did end up replacing all the faucets and shower parts a year and a half later and they were still in good shape. It did give me some time.
Thanks so much for visiting and before you go please sign up for the Homeroad emails so my next DIY tutorial will go out straight to you!

