Spring Book Stack
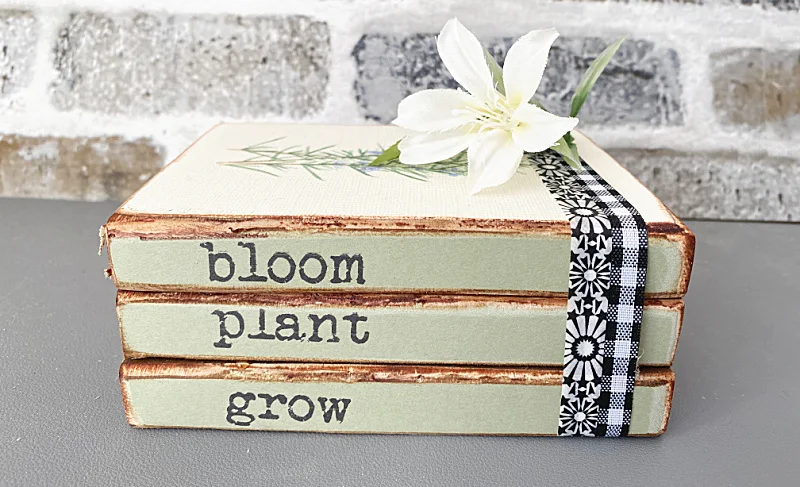
Here is a small book stack project for Spring. First, for those of you that may be concerned, no books were harmed during this DIY project...
I began this project with 3 pieces of wood the same size.
As you scroll through this post please pay attention to the bold blue links for all the details on these projects!
I wanted this book stack to be small enough for a tiered tray so I used wood pieces that were 4" x 3".
I used an electric sander to round one edge of each piece like a binding would be.
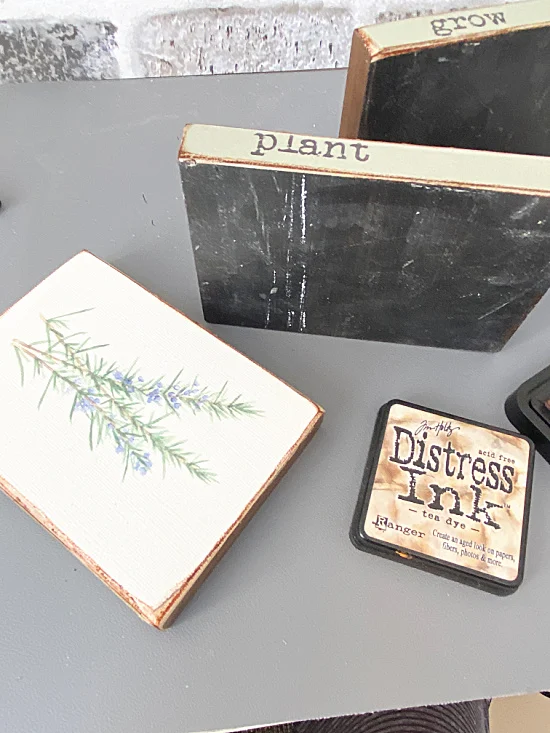
For the top book I found a botanical picture from the Graphics Fairy.
I printed the picture on textured card stock.
I used this fun Mod Podge technique to attach the picture to the top of one block.
First I coated the block with Mod Podge then let it dry.
I used this handy craft iron and a piece of parchment paper to attach the paper to the Mod Podge.
You can read more about this technique in this project.
Next, I printed out 3 words on card stock using Pic Monkey and cut them out to fit the binding sides of my wood pieces.
I used the same Mod Podge technique to attach the bindings.
I used a sanding block to sand the edges and smooth the transitions between the paper and the wood.
A Distressed Ink pad rubbed on the edges of the bindings and the top book made the edges look antiqued.
I glued the books together with the decorative "book" on the top.
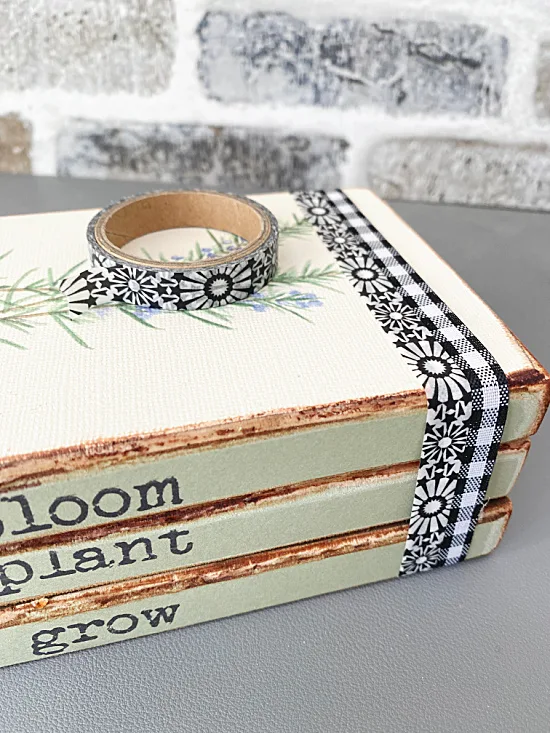
A black and white gingham ribbon from the Dollar store and a black and white length of washi tape were wrapped around the books.
See... no real books were harmed in the process though I love recycling discarded books in my DIY projects too!
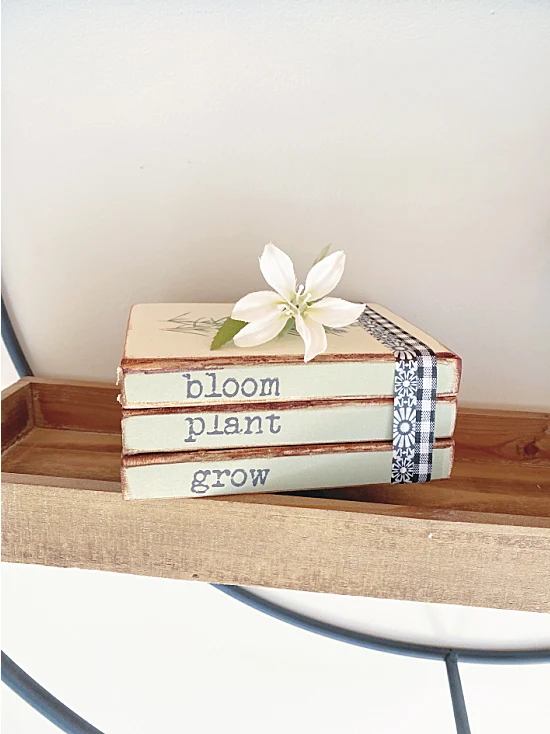
A flower or bow can be added to the top for more Spring decoration.
This cute size is perfect for a shelf or tiered tray!
Thanks so much for visiting and before you go please sign up in the pop-up for the next DIY tutorial sent straight to you!


