Stenciled Burlap Bag of Carrots
This cute project was inspired from a similar one I saw while out shopping. Often, in the middle of the store I say... "Hey, I could make that for much less!" and I did!
First, for the carrots...
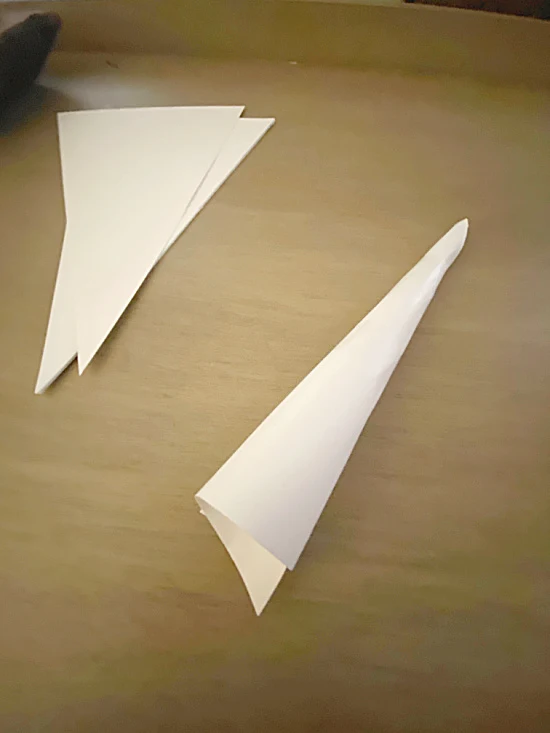
I started out rolling up card stock triangles into carrot shapes.
Be sure to leave a fairly large hole in the bottom then use tape to secure the cone.
As you scroll through this post please pay attention to the bold blue links for all the details on these projects!
Next, using a recycled orange dress from the donation bin, I wrapped the carrots.
You can use any thin orange fabric.
When I went around the cone with the carrot a few times, I stuffed the end of the fabric into the bottom of the cone.
Next, I filled the top with raffia and greenery then tied the top closed with jute twine.
You can use hot glue to secure the fabric but it stayed quite nicely just being tucked into the bottom.
Now the carrots are finished.
Next, I made the bag with a piece of burlap.
I folded it into a rectangle and hot glued 2 sides closed.
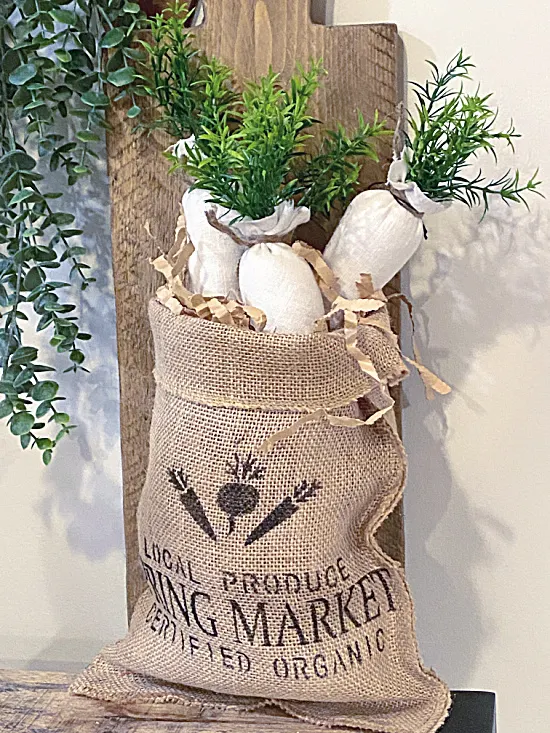
I stenciled an image with black craft paint and the set of great Spring stencils I found on Amazon.
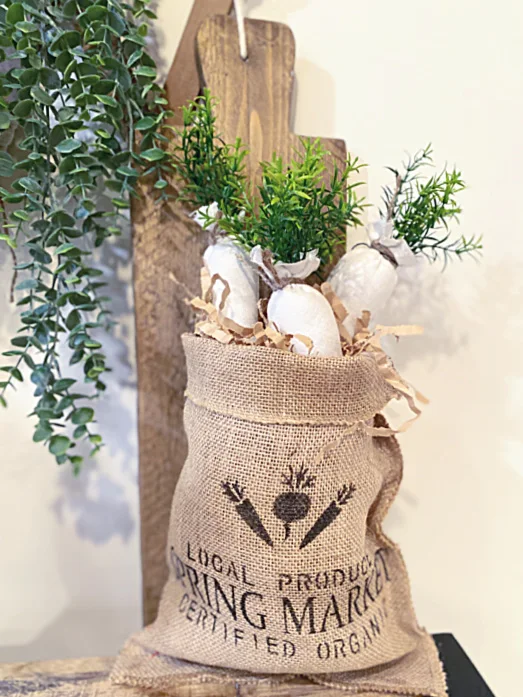
I filled the bag with shredded paper and stuffed in my DIY carrots!
It was a very easy project and cost me almost nothing!
If you like the look of neutrals you can switch the orange out with neutral DIY carrots.
The easy egg garland in the background was another DIY Homeroad project I'll be sharing this weekend.
I knew I could make it for less!
Check out the carrot bag I made from an old tea towel!
Thanks so much for visiting and before you go please sign up for the Homeroad emails so my next DIY tutorial will go out straight to you!


