Textured Easter Egg Garland
This garland for Spring and Easter was so easy to make and almost all the supplies came from the Dollar Store!
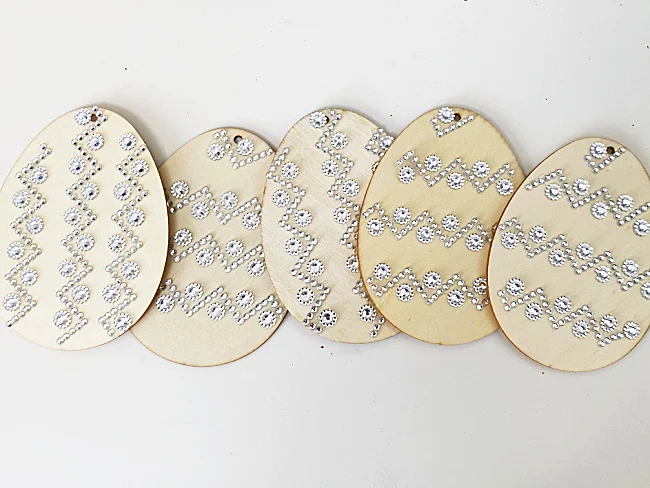
I began this project with wooden eggs and gem stickers both from Dollar Tree.
As you scroll through this post please pay attention to the bold blue links for all the details on these projects!
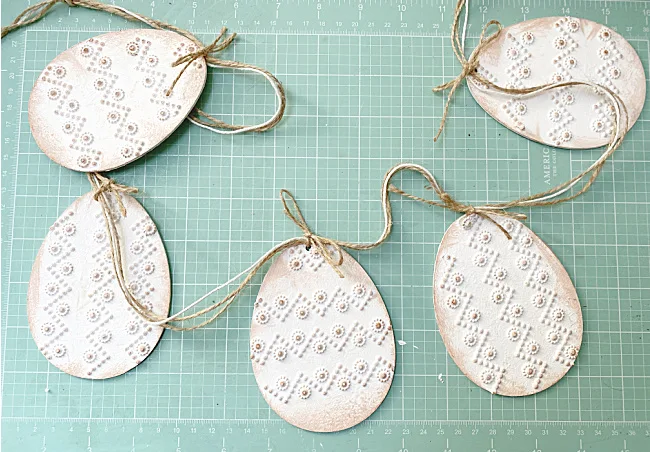
The first thing I did was to peel off the gem stickers and stick them to the wooden eggs.
I just cut the strips to fit the egg.
I did some strips on one direction and the other in the other direction.
Don't worry they are self stick and stick like crazy to these eggs.
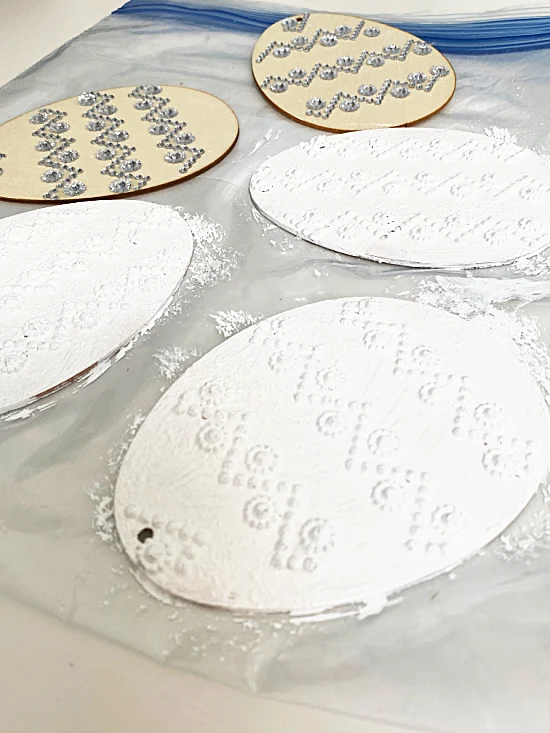
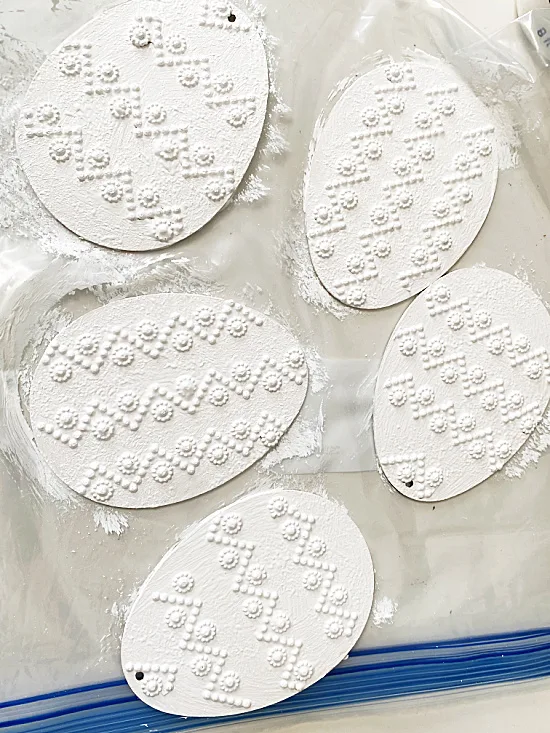
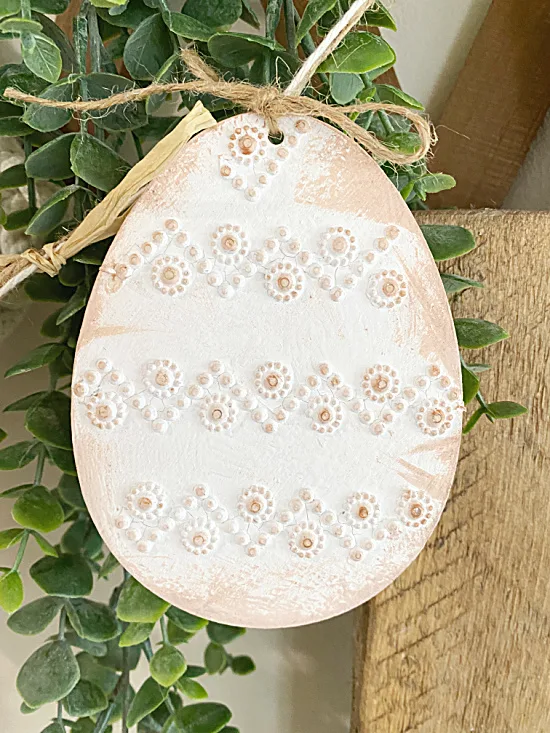
When my eggs were decorated I painted both sides of the eggs with a quick coat of white chalky paint.
You can do them in any color.
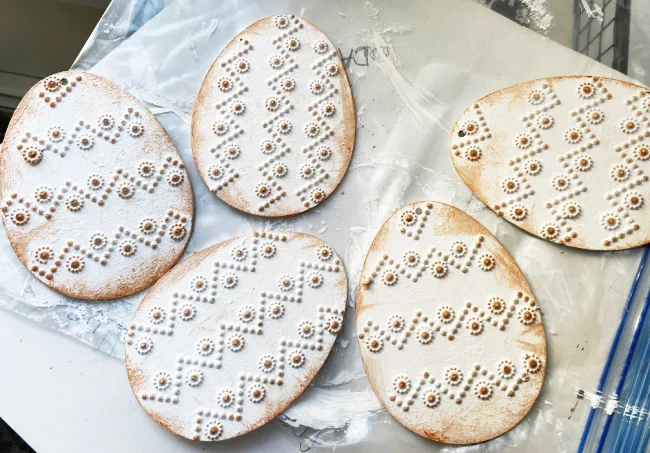
When the paint dried I used a Distressed Ink pad and rubbed it over the egg to antique the texture.
Don't the look great?!
READ MORE: DIY EGG PROJECTS
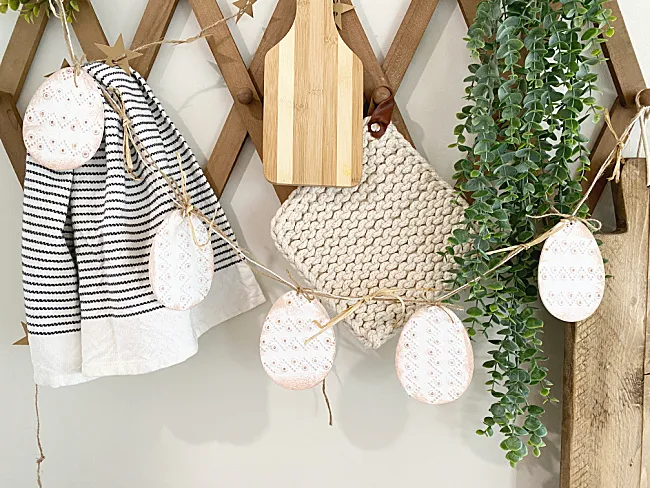
So all that's left to do is to tie the eggs with a small piece of jute twine to a length of twine and cotton to create the garland.
Between the eggs I tied small pieces of raffia.
That's it!
My garland looks so beautiful hanging in my kitchen on the hook rack.
See our new kitchen renovation that we just finished!
It's my favorite place to hang a garland for the holidays.
This entire project cost me about $3.00.
Thanks so much for visiting and before you go please sign up for the Homeroad emails in the pop-up so my next DIY tutorial will go out straight to you!


