Kitchen Island Crate Organizer
Today's project is something I've needed in my kitchen for a long time now.
Vintage crates are good for so many things and can be embellished with a stencil to make them even more fabulous!
Come see what I made with a bunch of vintage crates I've been holding on to for years.
No vintage crates? I'll show you how to create the look!...
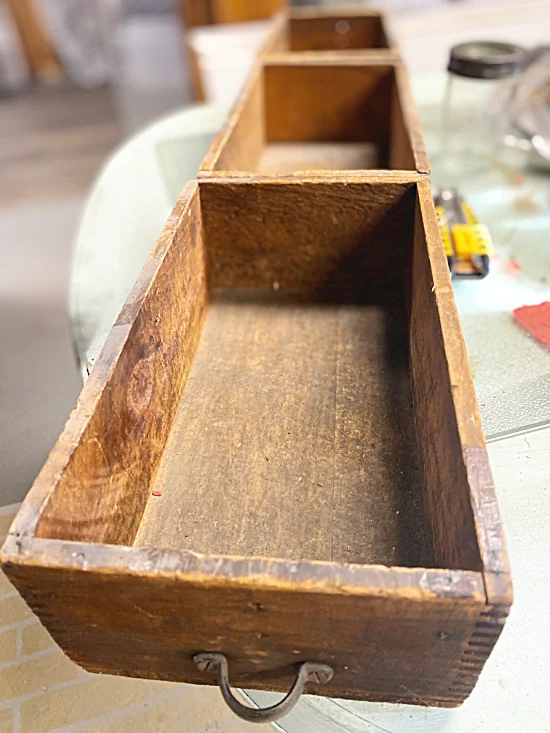
I began this project with vintage crates from a friend several years ago.
These old crates are perfect in every way from the vintage tags to the old push pins and metal pulls.
As you scroll through this post please pay attention to the bold blue links for all the details on these projects! Also check out the READ MORE sections at the end of this post for more projects you'll love! ❤️
You can create this look with stained wooden crates from the craft store or dollar store and vintage labels from Graphics Fairy.
These crates from Michaels would also work!
I began by removing one of the metal pulls and using wood glue and clamps to glue 3 of the crates together the long way.
Next, using one of my very favorite Old Sign Stencils called Shipping Crate Stamps and Coal Black Fusion Mineral Paint.
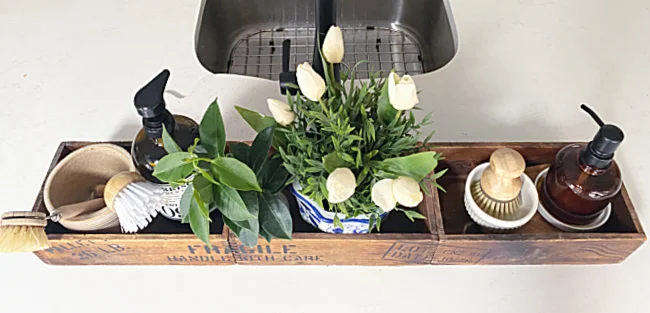
I stenciled the shipping crate stencil onto the sides of my crate creation.
If you're using newer crates this stencil will give you the rustic look of vintage crates.
A light coat of paint on the stencil with a semi dry stencil brush is all you need to give the look of an old stencil.
That's it!
Please pin for later --->>
When the paint dried I was finished!
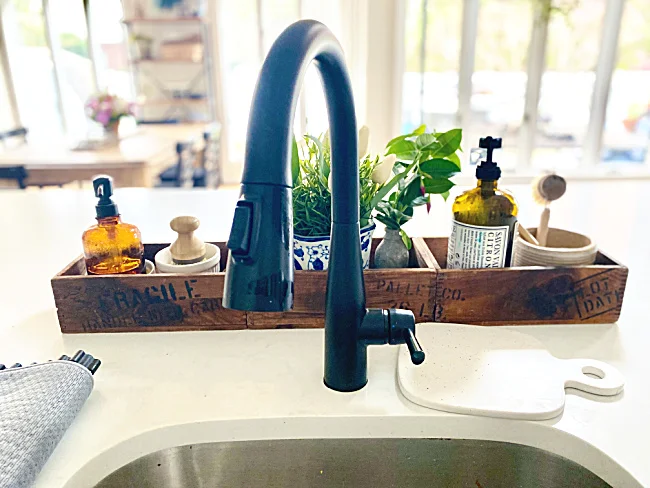
I filled it with soaps and scrubbers and a planter with flowers.
Now of course you can make your crate organizer as long as you need.
But if your kitchen has a 9 foot island, like mine does, you're gonna need a large crate!
As you can see, I had a smaller round tray on my island but the size just didn't cut it, I think the new one is perfect!
This one looks and works so much better and adds a little rustic charm to my white kitchen!
Make this with old crates or get the look with new crates, stain and a great stencil!
Thanks so much for visiting and before you go please sign up for the Homeroad emails so my next DIY tutorial will go straight to you!


