Stone Block Edging for the Backyard
It is finally getting nice in our neck of the woods.
The north east has been cooler than normal this Spring so when it hit 65 degrees today we were ready for a new outdoor project.
A few years ago (ok it was 11) my husband and I built a fire pit area with pea gravel in our backyard.
Today we are giving that area an upgrade and it was even easier than we thought...
The fire pit was a project we did back in 2011 and it was one of the first projects I did for Homeroad.
Fast forward 11 years, and I mean fast forward... we really needed to give the area a little facelift.
As you scroll through this post please pay attention to the bold blue links for all the details on these projects!
Five years after we finished the fire pit we had to refill the settling pea gravel.
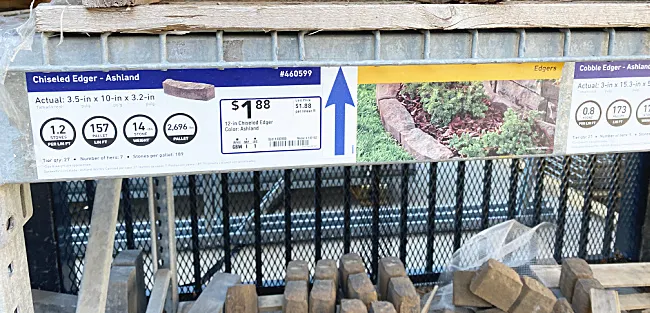
Today we are replacing the plastic edging we used back then with edging blocks from Lowes.
After many years of kids, dogs and the lawn mower, the plastic edging we originally used was broken.
Truth be told it really didn't hold the pea gravel as well as we had hoped.
We pulled it up and threw it away.
No repurposed project here.
As you can see in many places the pea gravel had leaked onto the lawn.
There were weeds growing through the landscape fabric near the edges too.
This block edging is going to be the perfect solution.
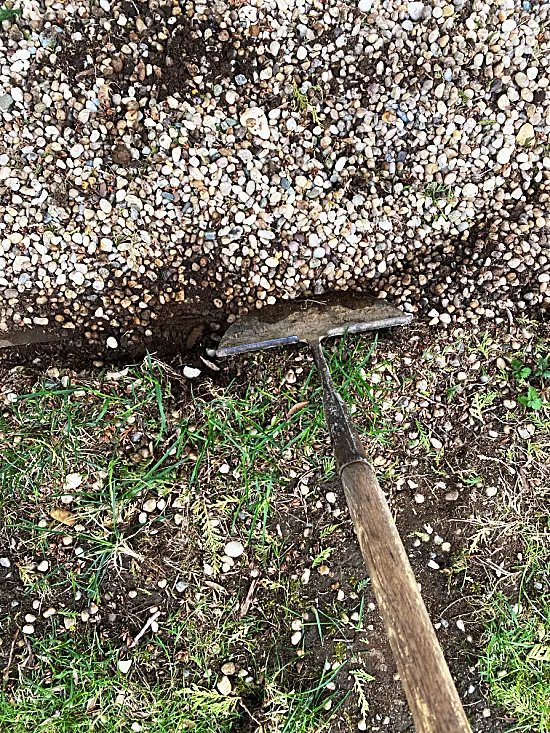
My job in all of this, besides moving the blocks in a little red wagon, was to use an edging tool to cut a trench along the edge of the pea gravel.
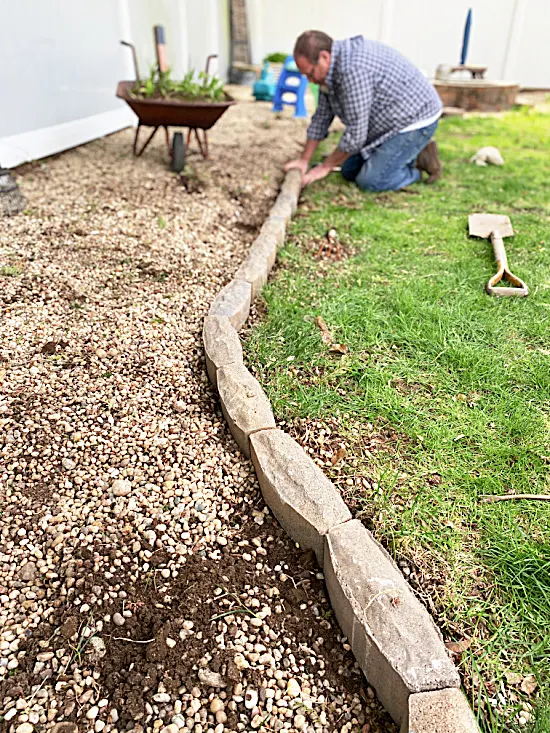
My husband followed behind me filling in the blocks and used a rubber mallet to make sure the bricks were as close together and as even as we could get them.
The new blocks are easy to drop into place and make a great divider between the pea gravel and the lawn.
Did I mention it was early Spring?
We have a lot more work to do to get this yard in shape.
Our lawn will get better I promise!
Next up is power washing the fence!
In the past I posted about how I edge our gardens and add mulch.
The block edging looks so much better in this area and it is going to work much better.
As you can see the area has been taken over by our 6 little grandchildren.
The whole job took us about an hour and a half.
Not bad for two new retirees!
Now it is safer and looks great!
On to the next project!
Thanks so much for visiting and before you go please sign up for the Homeroad emails so my next DIY tutorial will go out straight to you.


