DIY BOHO Lampshade Makeover
As time goes on I find myself more and more attracted to everything BOHO.
Maybe because I grew up in the 60's and 70's but I'm thinking my taste is moving toward the simple and natural designs of Bohemian decor.
Is there a BOHO Farmhouse? Is that a thing?
Today I'm creating a simple project that was more out of necessity than anything else and I am in love with the finished product!
In my house with 4 daughters, some grown and some still at home, things change fast!
When one moves out, the rooms shift, the ones that are still here want the vacant room.
As you scroll through this post please pay attention to the bold blue links for all the details on these projects! Also check out the READ MORE sections at the end of this post for more projects you'll love! ❤️
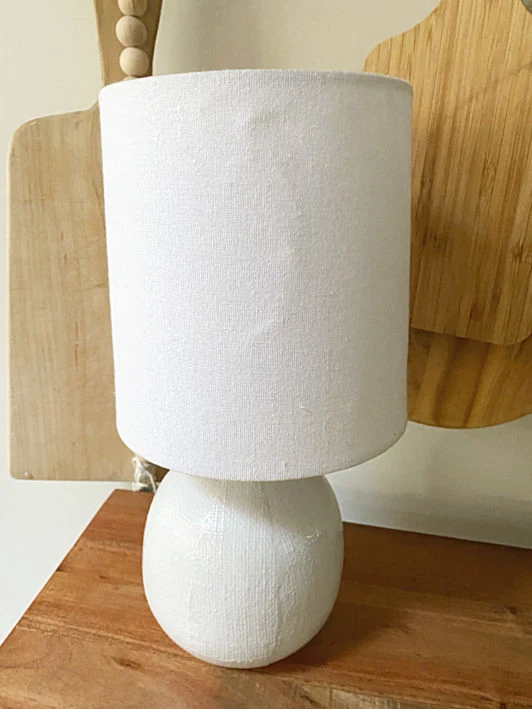
It is for that reason I'm updating a small lamp that was headed to the curb and using it in my kitchen.
As you can see the lampshade is severely damaged and I really don't want to have to find a new one that will work.
So I'm doing what I do... finding an inexpensive solution for this lampshade.
I removed the shade and looked around the house for something that would work... fabric? macrame?
These were all good ideas but when I remembered the stick runner I found at the thrift store, I knew I was on the right track.
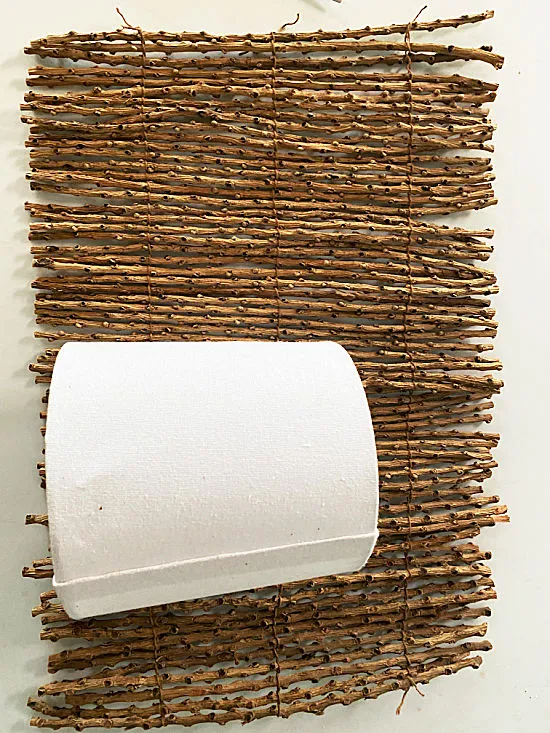
First I wrapped the runner around the shade to see if it would work.
The shade was pretty straight up and down so this idea was a winner!
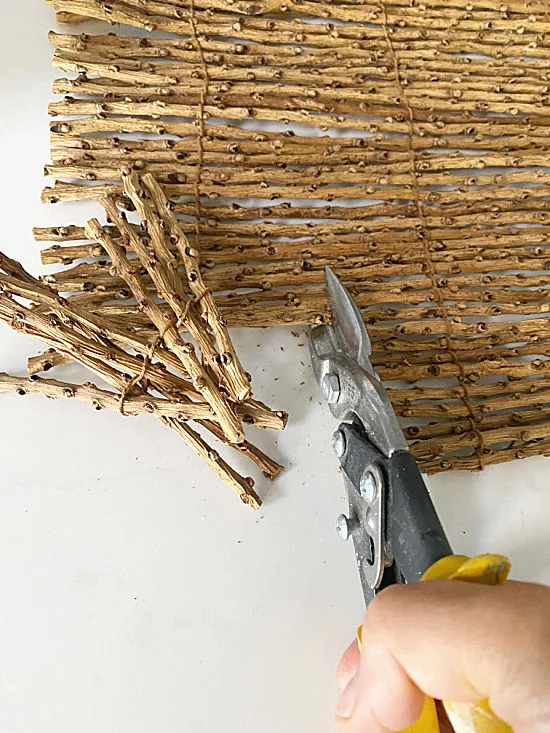
I cut the stick runner to the size I needed for the shade then cut it off and tied off the strings that held it together.
I wanted to keep part of the runner so I tied it off on the runner end and on the lampshade ends.
As you can see the runner is held together with strings that run throughout in 3 places.
Next, I laid out the lampshade sticks and ran a bead of glue along the strings to make sure the sticks were held in place.
I trimmed the sticks using a wire cutter so they were about an inch longer than the lampshade.
I was sure to center the string lines on the lampshade.
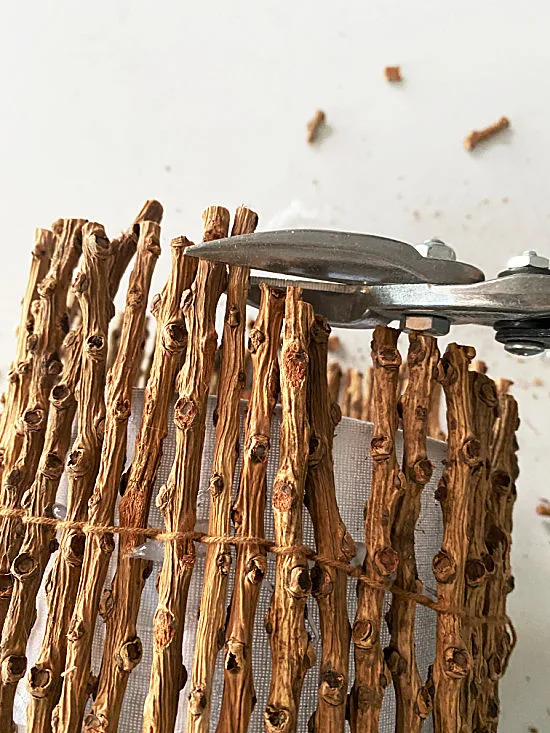
Next, I wrapped the sticks around the lampshade using hot glue as I went.
When I got to the end I secured it with more hot glue.
I went around the new stick lampshade with the wire cutters to even out the edges.
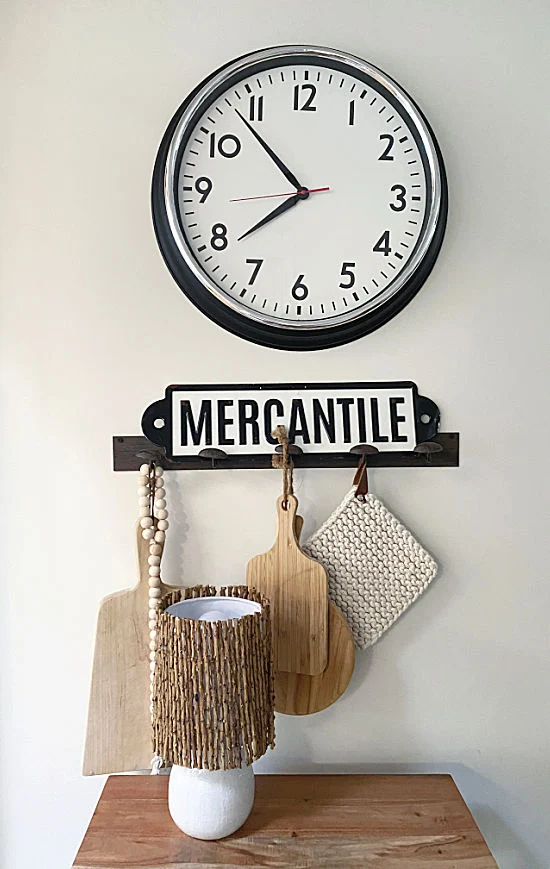
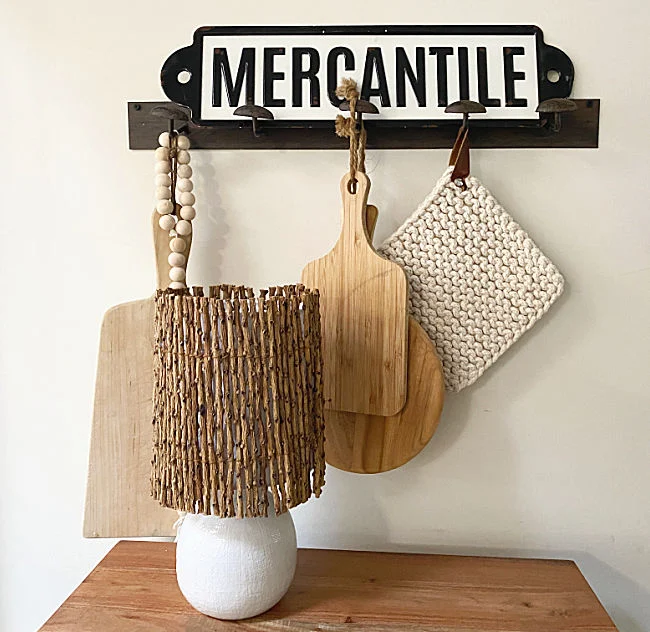
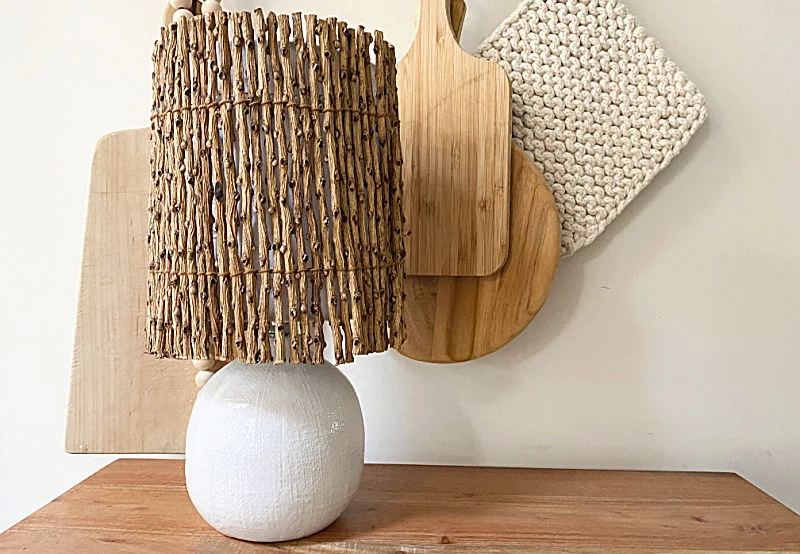
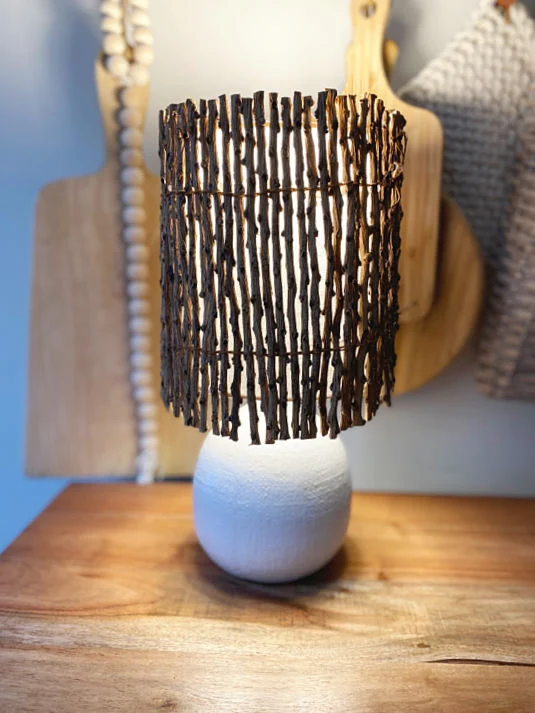
And here is the new lampshade!
It is so pretty and the little lamp is perfect with its shiny textured base.
Wow! This was so easy to do and looks amazing!
READ MORE: DIY BOHO IDEAS
If you don't have a stick runner, which you probably don't, I would hot glue the sticks to the lampshade then wrap the sticks in two rows with jute.
READ MORE: DIY LIGHTING IDEAS
I did something similar with this stick covered candle holder.
So the moral of the story is to look around the house and see what you can repurpose before you run to the store and buy something new!
Thanks for visiting!
Please sign up for the Homeroad emails!











.png)

