Faux Mercury Glass Rag Garland
I'm officially naming myself the self proclaimed Queen of DIY garland.
No, seriously, I love making garlands and especially Christmas garlands of all kinds. At the end of this post you can find a link to many of my DIY garlands.
They are probably the easiest projects to make with the biggest bang! Hang them on hooks, racks, trees... anywhere.
Today I'm making a beautiful faux mercury glass rag garland for a grand total of one dollar! Take a look...
I knew just what kind of garland I wanted to make and was lucky enough to find the supplies I needed at the Dollar Tree.
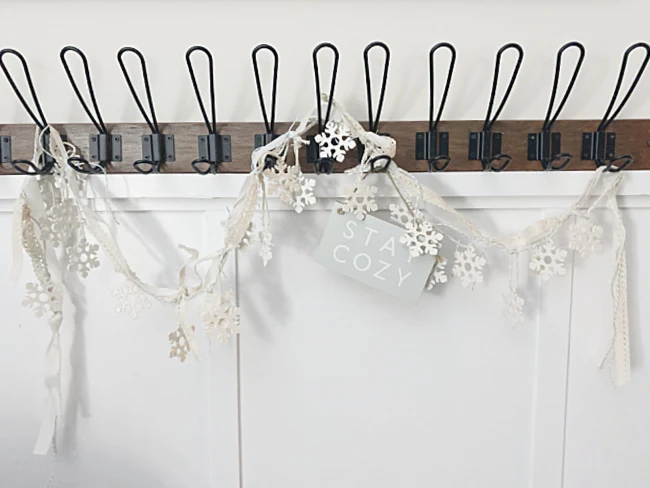
Last year I made an adorable snowflake garland and that one was a great dollar store deal too!
While you're scrolling through this post please visit the bold blue links that will take you to the products I used and even more related Homeroad DIY projects!
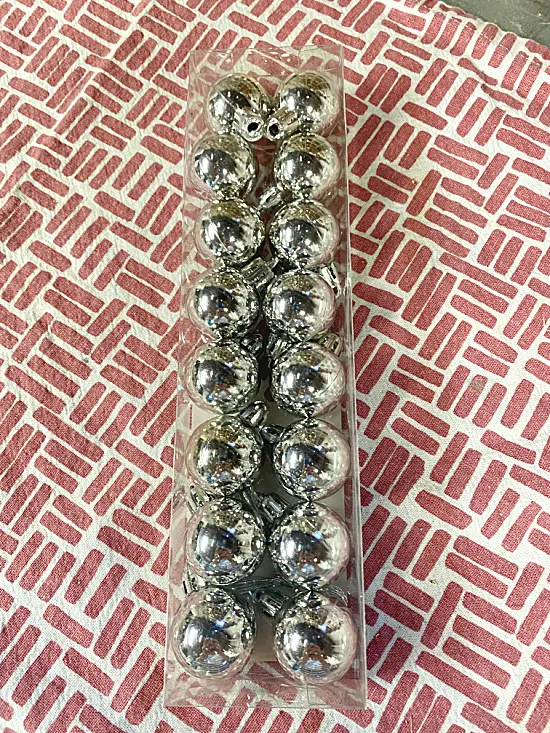
I began with this pack of small silver Christmas ornaments from the Dollar Tree. You can find them in many places this time of year.
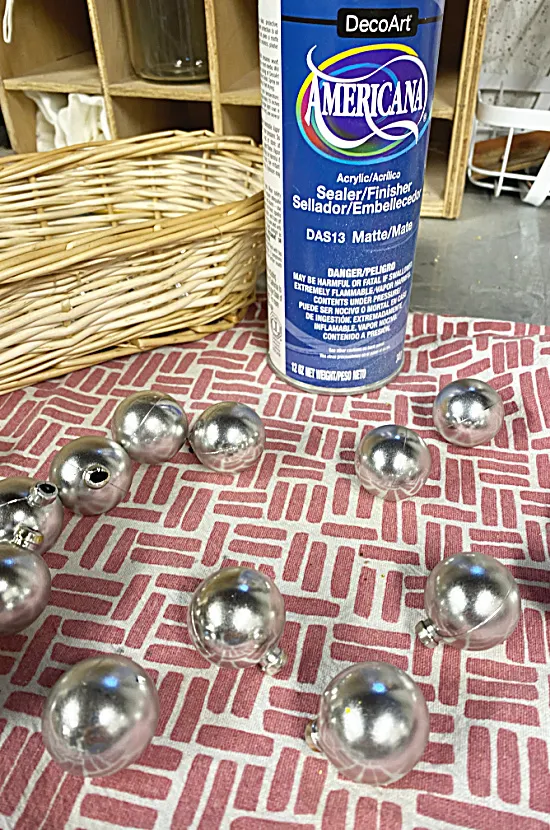
I pulled off the caps on each ball and set them aside.
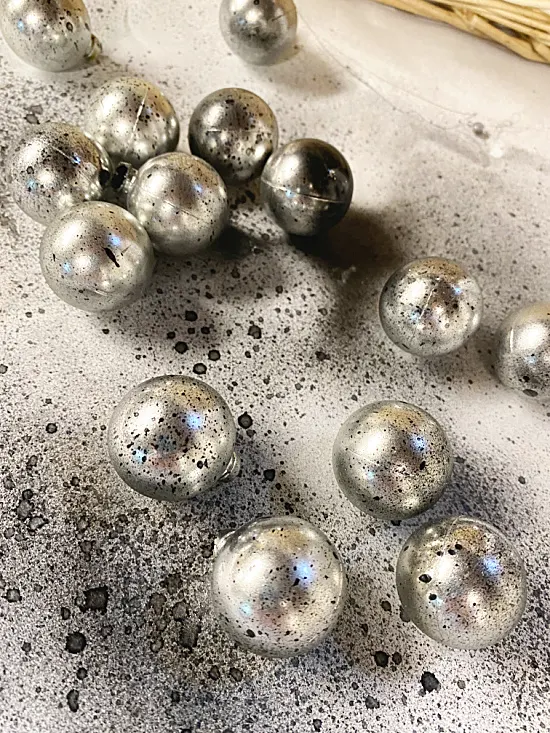
I wanted to cut the shine on these little cuties so I sprayed them with a matte sealer. It gave the balls a dull finish. I use many different sealers, any will work fine.
Next, using a flat black spray paint I sprayed little shots of the paint over the top of the ornaments leaving a speckled look on most of them.
While the ornaments were drying I tore a couple 1" lengths of a faded cotton fabric into strips.
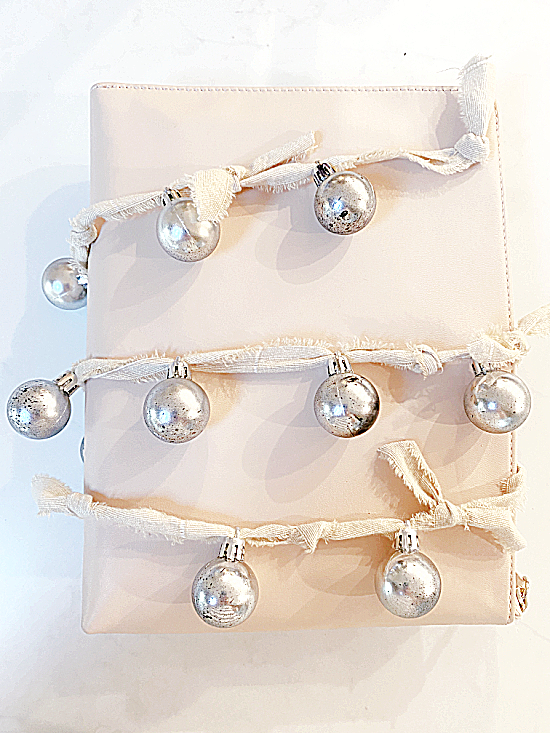
I strung the ornament tops onto the rag strips tying knots in the fabric every here and there as I went.
Please pin --->>
When the balls were dry I snapped them back onto the caps on the garland.
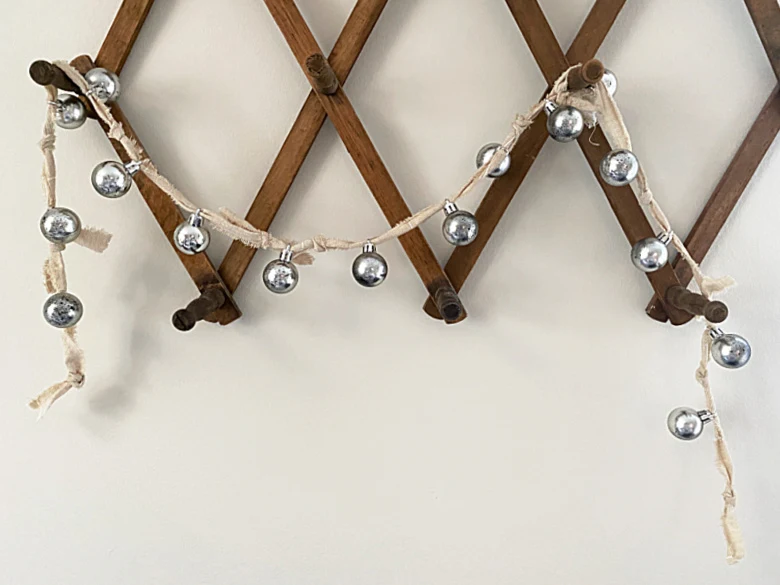
The garland came out just adorable!
READ MORE: CHRISTMAS DECORATIONS
The garland looks amazing on a wreath,
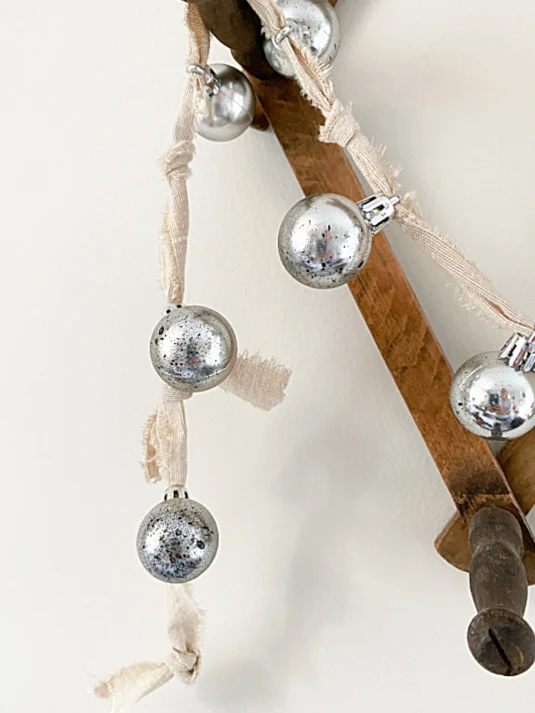
or draped across an expanding wooden peg rack.
Or just about anywhere!
Tie the garland around a small decorative Christmas tree or make a very long one, tying smaller lengths together, around a large tree.
READ MORE: DIY GARLANDS
Thanks so much for visiting and before you go please go back up and sign up for the Homeroad emails so my next DIY tutorial will go out straight to you!

