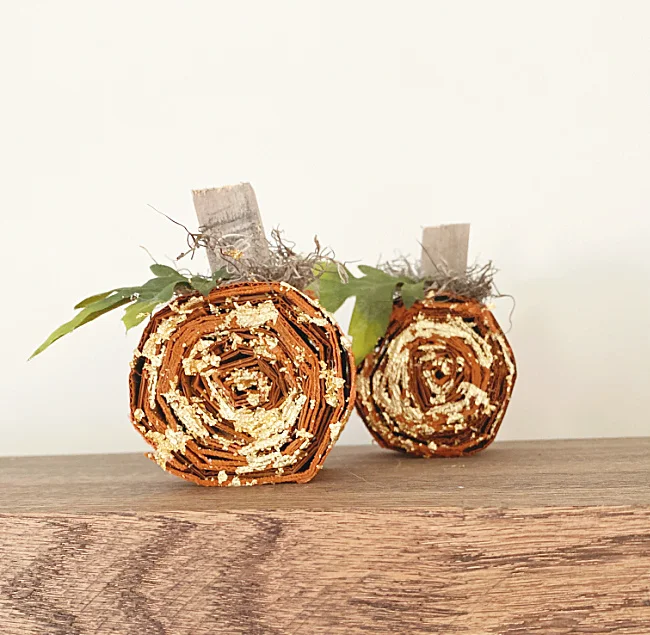
Gold Leaf Cardboard Pumpkins
I'm borrowing this fun and easy project today.
Another crafty blogger originally made these pumpkins and I thought they were so great I made them with my own spin.
The Shabby Tree has great projects including this one and you're going to want to check them out!
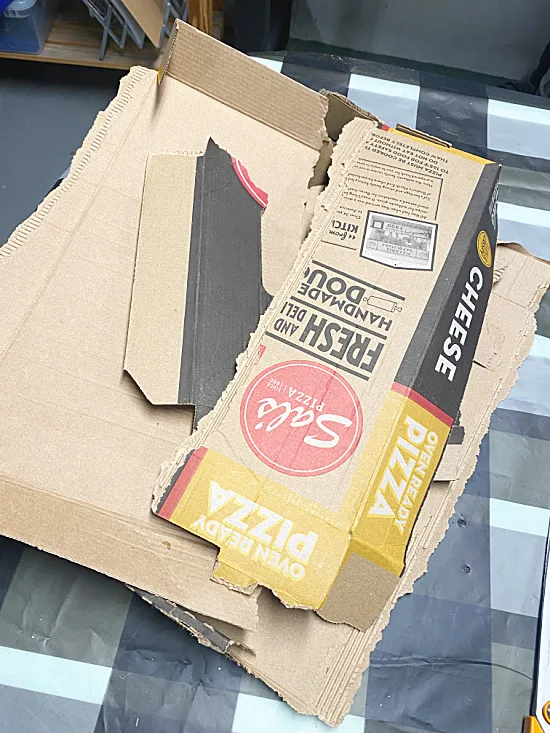
You don't need much for this project, I'm using strips of cardboard from a pizza box. You can use any kind of thick cardboard for this project. The best part of this is that it's free!
READ MORE: RECYCLED CARDBOARD PROJECTS
I cut the cardboard into strips, the size is up to you. I originally made this one a little too thick at about 6" wide so I ended up cutting my pumpkin in half with a hand saw. I would say that 3-4" wide is plenty!
The complete directions can be found on the Shabby Tree website, let me just say it was a cinch to make!
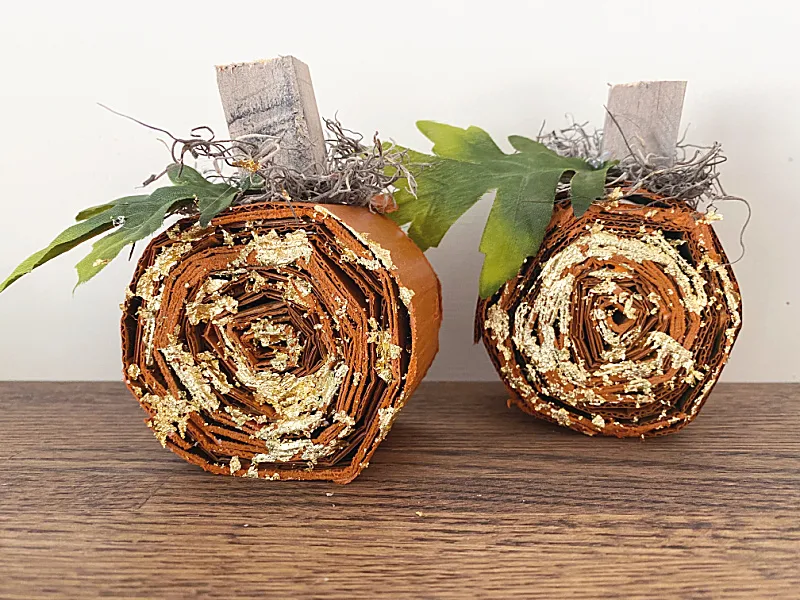
After I made my cardboard pumpkins and spray painted them orange, I added a little moss, a wooden stem and a leaf with hot glue.
I used a wooden block for the stem but you can use more cardboard, a stick from the yard, or even these fun faux pumpkin stems!
At this point my pumpkins would have been great as they were but I had an idea to add a little bling to the front of my pumpkins.
I grabbed the new package of gold leaf that I bought from Michaels.
I've never gold leafed anything before so this was new to me. It comes in other metallics as well.
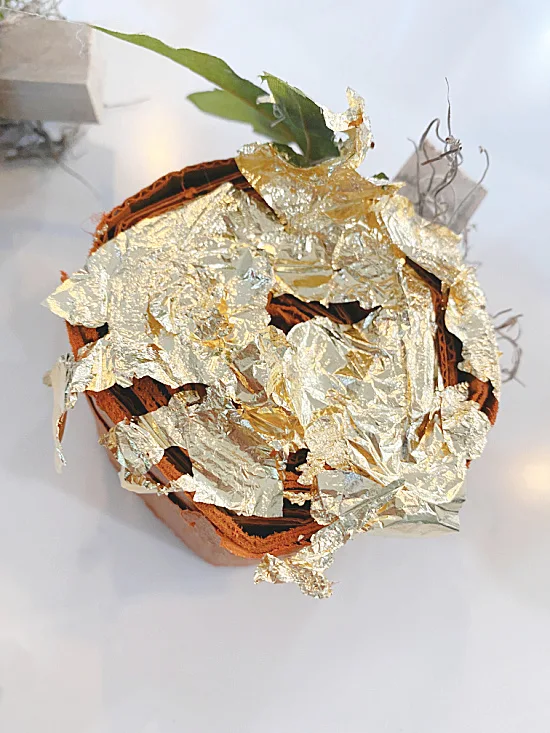
I dabbed a little of the adhesive to the front rings of my pumpkin then placed the gold leaf sheet over the top.
I used a soft brush to dab the gold leaf into the rings and let it dry.
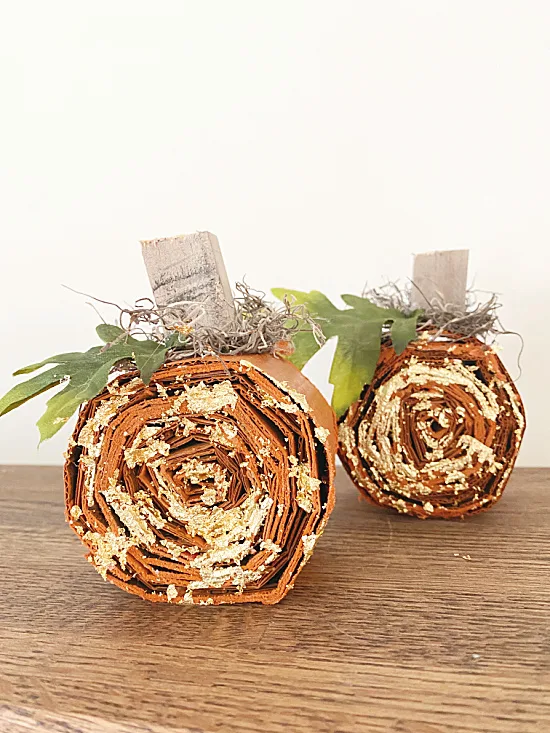
I ended up with gold flecks around the rings of my pumpkin.
Finally, I sprayed the front of the pumpkin with a spray sealer to seal the gold leaf flecks onto the pumpkin.
READ MORE: DIY PUMPKINS
Aren't they cute?!
READ MORE: RECYCLED PUMPKINS
Thanks to Barb for the inspiring idea! Creating my own glitzy spin on these pumpkins was fun!
This fun vintage sifter box mantel display was another DIY makeover idea!
Thanks so much for visiting and before you go please be sure to sign up for the Homeroad emails so my next DIY project will go straight to you!

