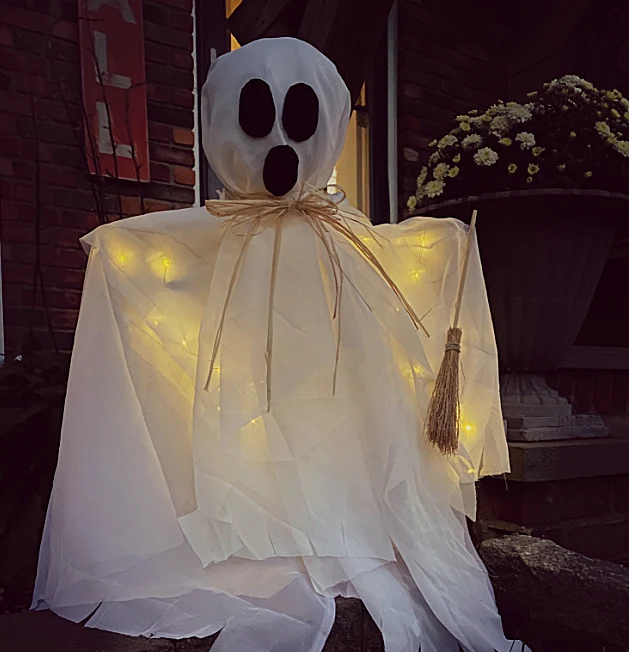
Recycled Halloween Ghost
Every year I make a ghost from something repurposed for the front of my house.
Sometimes I spend money on the project and sometimes I don't.
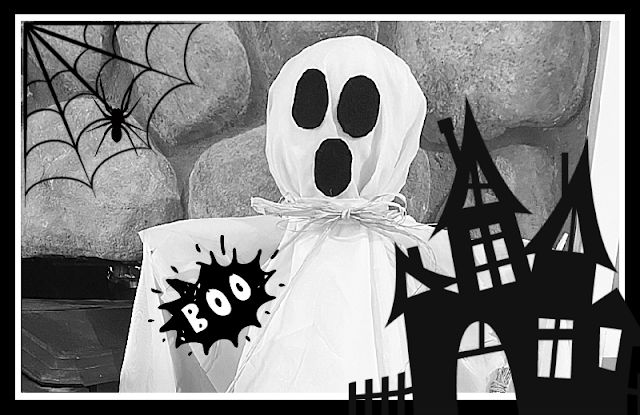
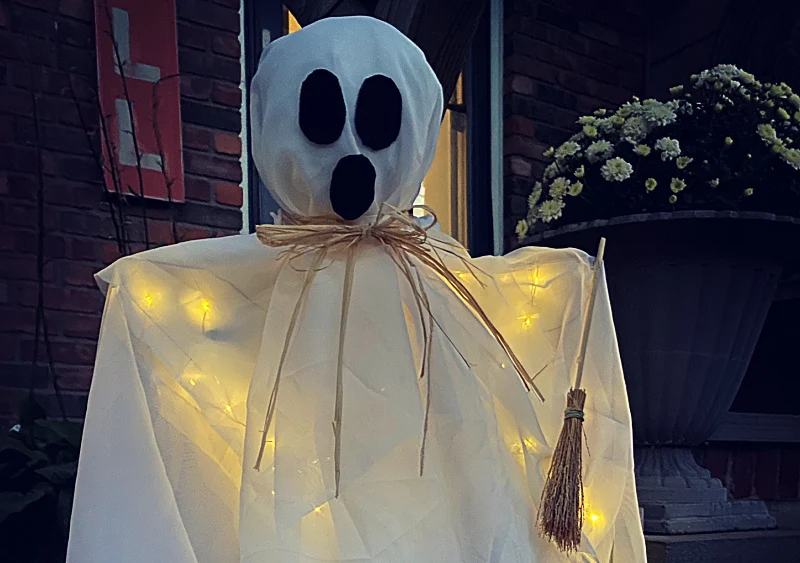
This year I made a cute ghost stake to plant in the ground by my mailbox and it didn't cost me a cent!
You can even make it light up! ...
I hope I didn't scare you! 👻
I began this fun ghostly Halloween project with some pillow stuffing. You can buy a bag of stuffing or you can just tear apart an old pillow and use the stuffing inside like I did.
As you're reading please pay attention to the bold blue links which will take you to the products I used or more Homeroad information. The READ MORE will take you to even more fun projects!
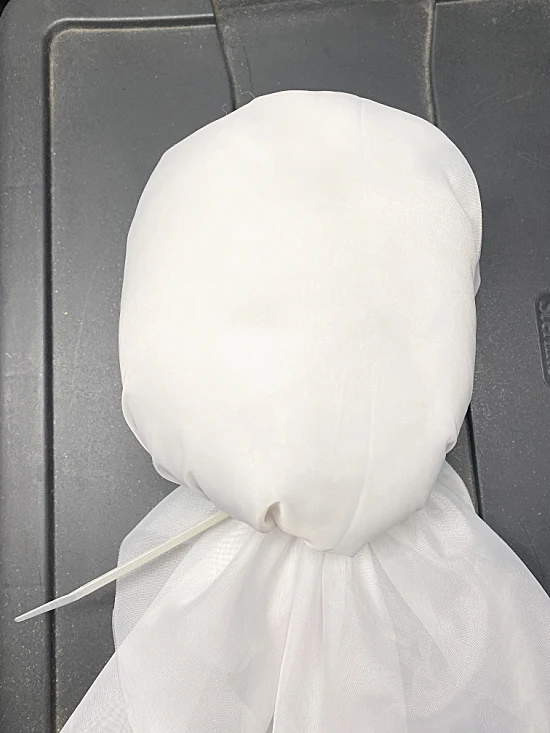
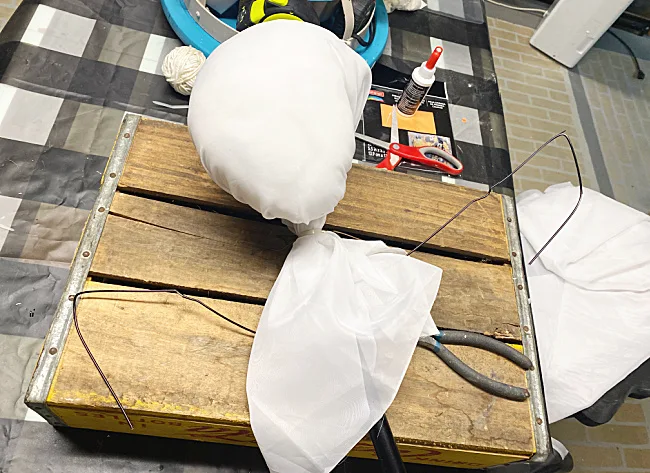
I rolled the stuffing into a ball and wrapped it with a small piece of a set of curtain sheers I saved. You can find sheers at the thrift store most of the time.
I closed the fabric with a zip tie and pulled the fabric toward the bottom to create my head.
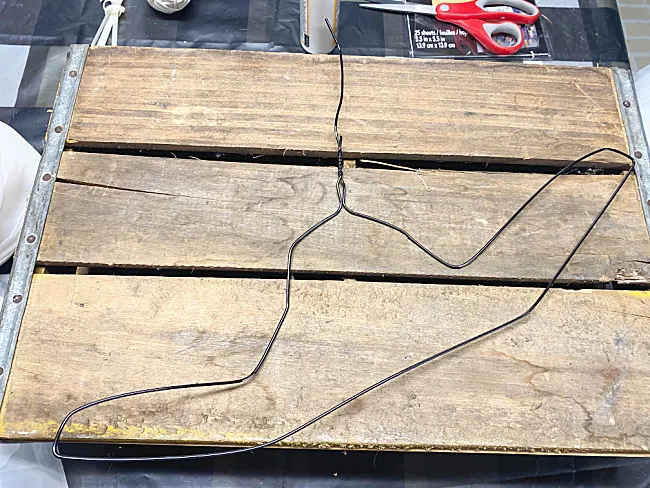
Next, I grabbed a wire hanger, bent the hook straight and stuffed it inside the neck of the ghost.
I cut the hanger wire with wire cutters and pushed them up on both sides to create arms.
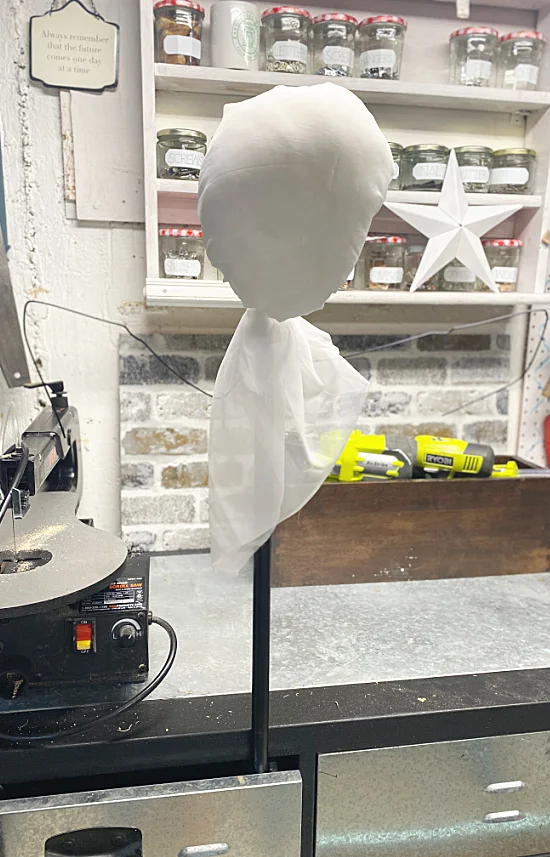
I needed a pole so I'm using a metal pole from a curtain rod. I zip tied it to the back of the hanger and up the back of the head.
I stuck the pole into a drawer so I could continue building my ghost.
I draped a few sheets of the sheer curtain fabric in several directions over the head.
Then I tied a piece of fabric loosely around the ghost's neck to create the form.
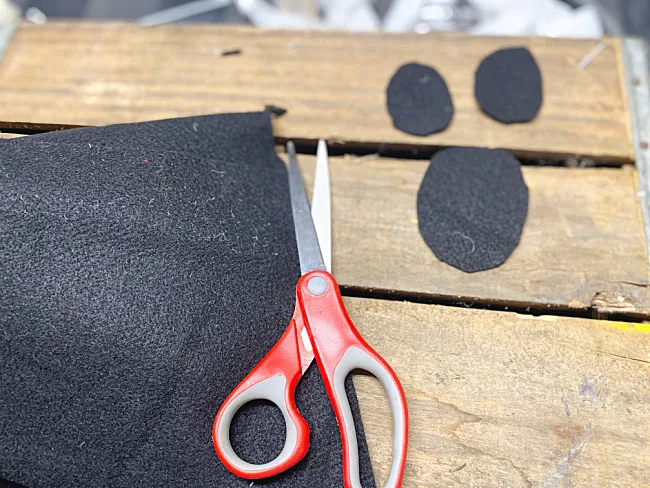
Next, I cut 3 ovals out of black felt and used hot glue to attach them to the head.
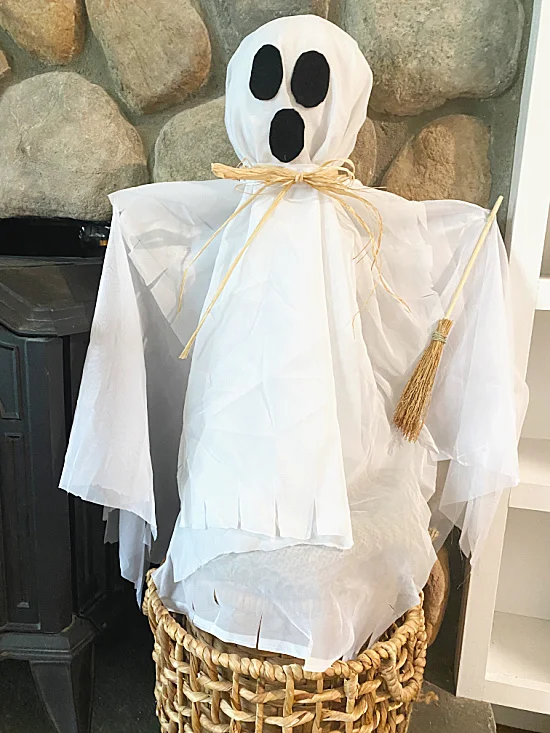
I tied raffia around the ghost's neck and created a bow.
At this point I wasn't loving the curtain hems all over my ghost so I cut them off and fringed the edges of all the layers.
I used a dot of hot glue in several places on the ghost to prevent the layers from moving.
The drawer wasn't working well when he got heavy so I had him standing in a jar of epsom salts on the pole while I work on him.
I hot glued a small broom to one arm for decoration. You can find these brooms at Dollar Tree.
My DIY recycled ghost looks great in a basket indoors...
but my real plan is to stick him by the mailbox to scare the neighbors!
Last year I made a light up ghost from a repurposed topiary cage!
I think he's pretty cute! He can get wet and the light sheers will dry quickly.
One year I made a hanging ghost with a witches hat!
Another year I even turned a wine bottle into a ghost!
READ MORE: GHOST PROJECTS
You can even add lights on Halloween night to make him light the night!
Make a few and stick them all over your yard!
By the way that FALL sign is a double sided DIY project, just flip it around for the next holiday!
READ MORE: HALLOWEEN PROJECTS
Thanks so much for visiting and before you go be sure to sign up for the Homeroad emails in the pop up so my next DIY project will go out straight to you!
