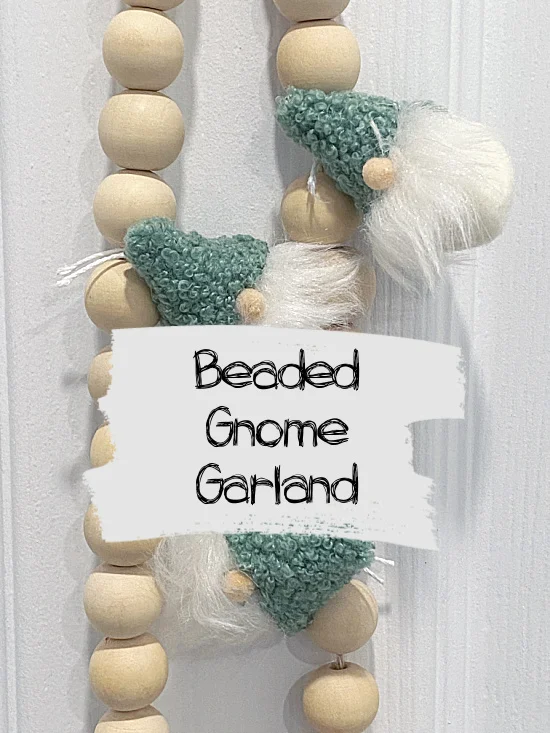
Beaded Gnome Christmas Garland
Yep, I'm at it again with another holiday garland you can make for less!
This time I visited Hobby Lobby for my supplies... There was a 66% off sale on Christmas and I knew I would never get out of there alive but I went!
I filled my cart with supplies of all kinds to create Christmas crafts for less.
Today I'm creating a Christmas gnome garland that is both simple and adorable...
Like I said Christmas was on BIG sale and I couldn't resist filling my cart!
As you're reading through this post please visit the bold blue links to find the products I used and more related information from Homeroad.
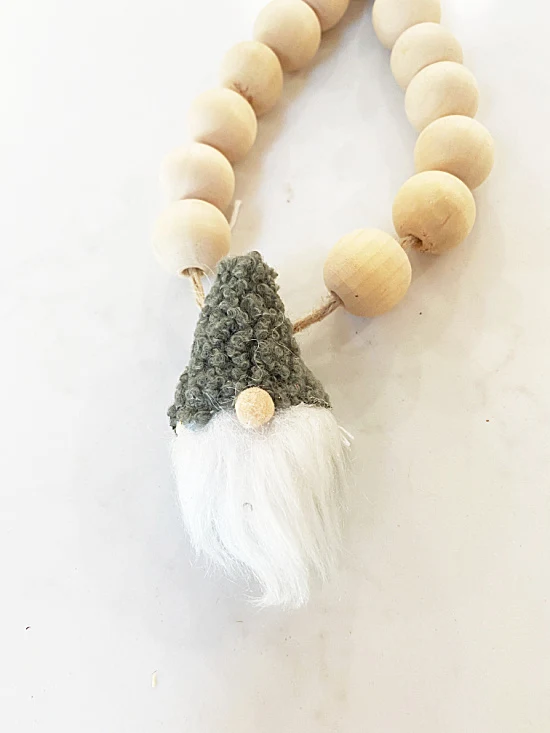
I found these adorable little gnome head ornaments. They were $2 a package of 4.
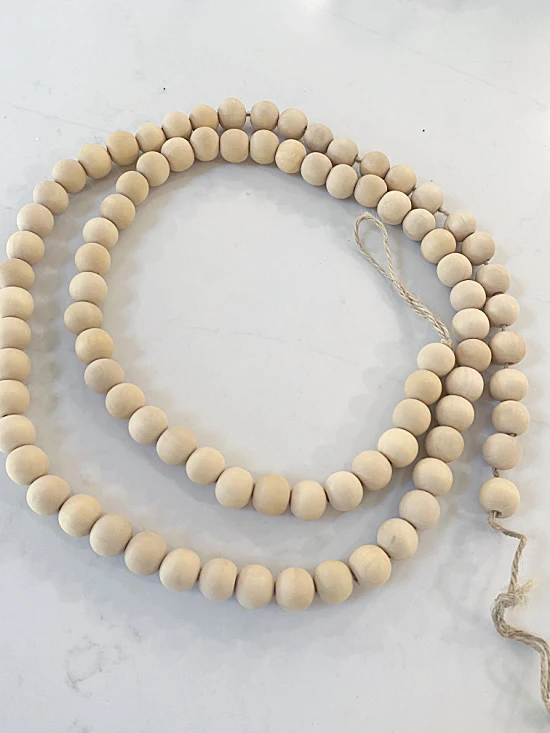
And this 6' length of beads that was $3, less than you could buy the beads for!
I removed the gnomes from the package but left the strings that were attached to their hats.
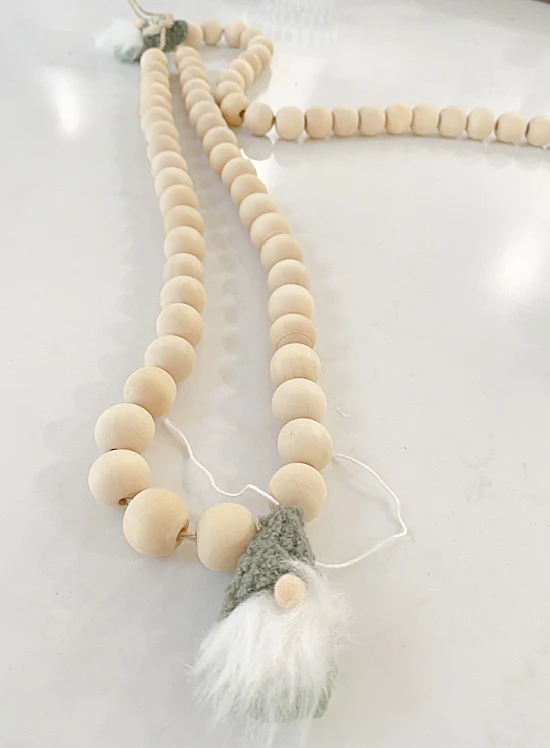
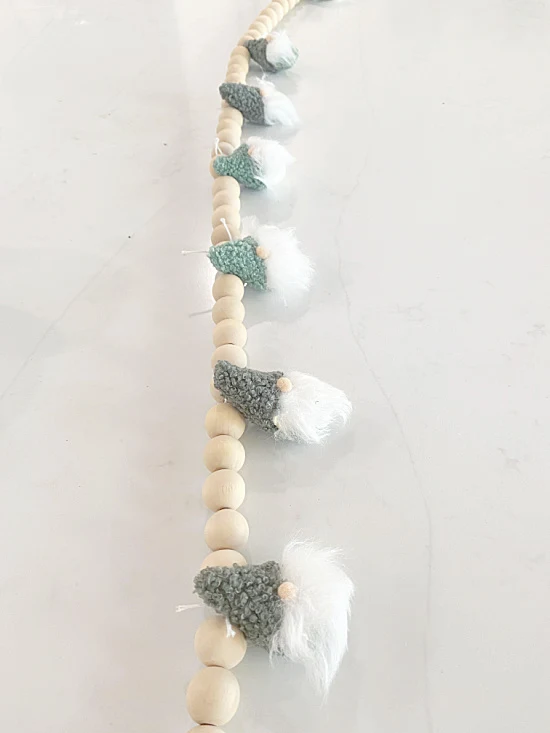
I cut the string at the tie then tied one on in the center of the 6' length of beads.
Next, I found the center of the beads again and tied on another to the left and right of the first gnome.
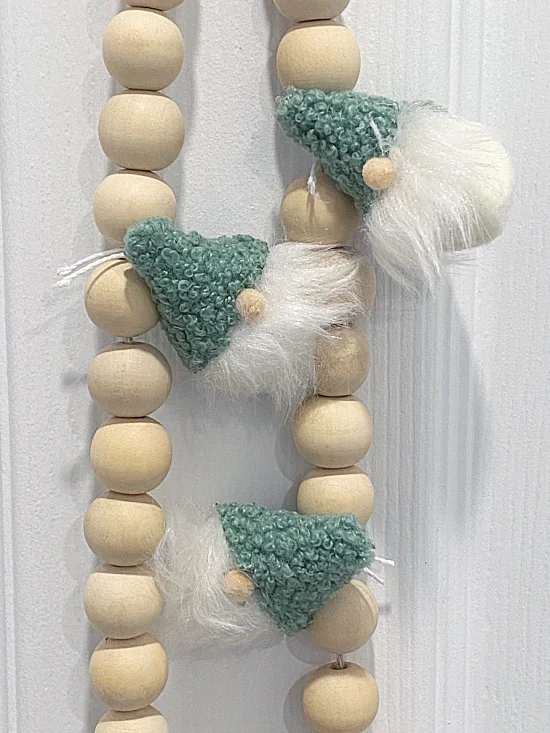
I kept finding the center between the gnomes and tying on another until the whole beaded garland was full of cute little gnome heads.
I trimmed the strings on the gnome heads and I was finished. I like things simple but if you want to add bows between the gnome heads you could do that too.
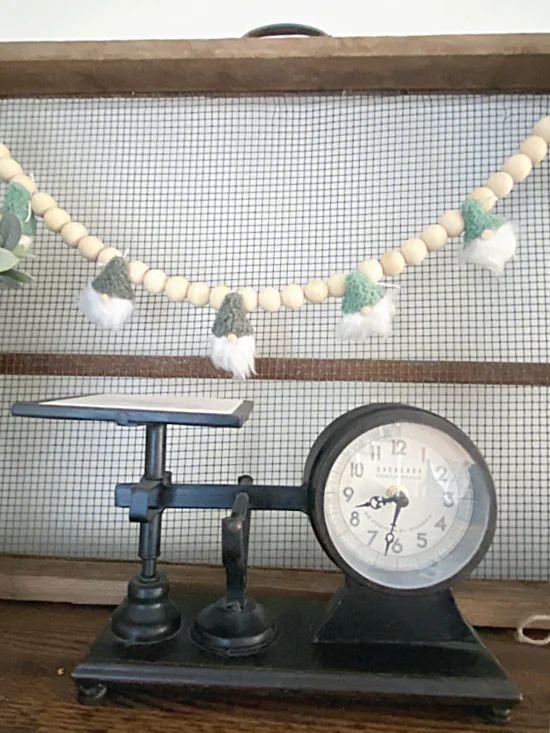
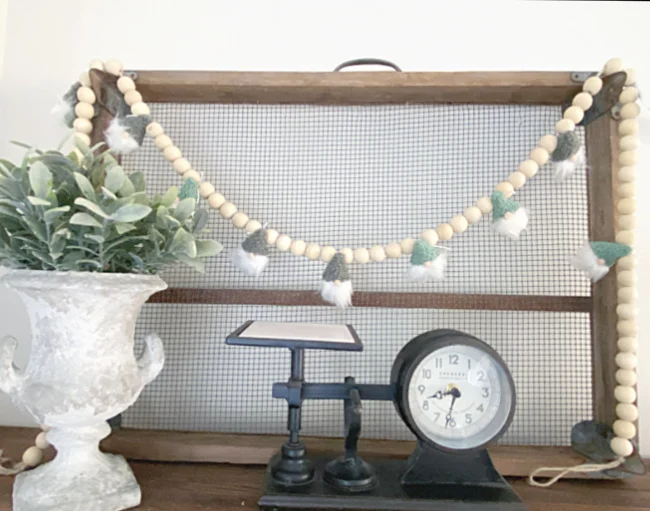
A simple garland to decorate for the Holidays!
READ MORE: HOLIDAY GARLANDS
Please pin --->>
Hang it on the tree or wrap it around your favorite vintage piece!
READ MORE: GNOME PROJECTS
Thanks so much for visiting and before you go please sign up for the Homeroad emails so my next DIY tutorial will go out straight to you!


