Grain Sack Bench Cushion Makeover
This was an amazingly quick project that made a world of difference to my front porch.
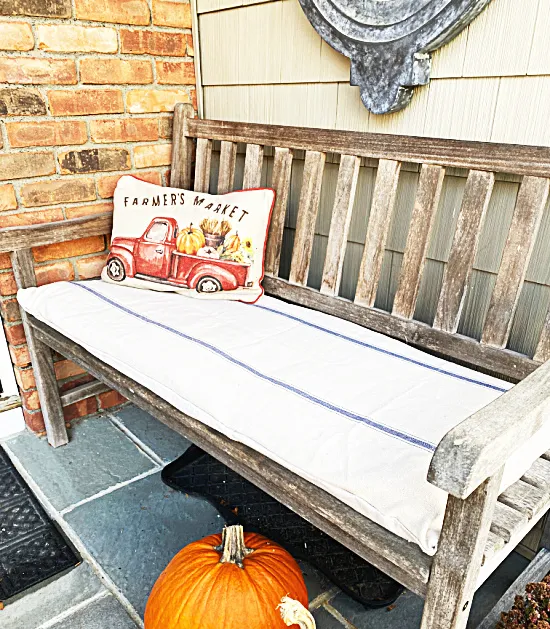
I have a tiny front porch with a bench. The bench had a store bought cushion on it and it was boring!
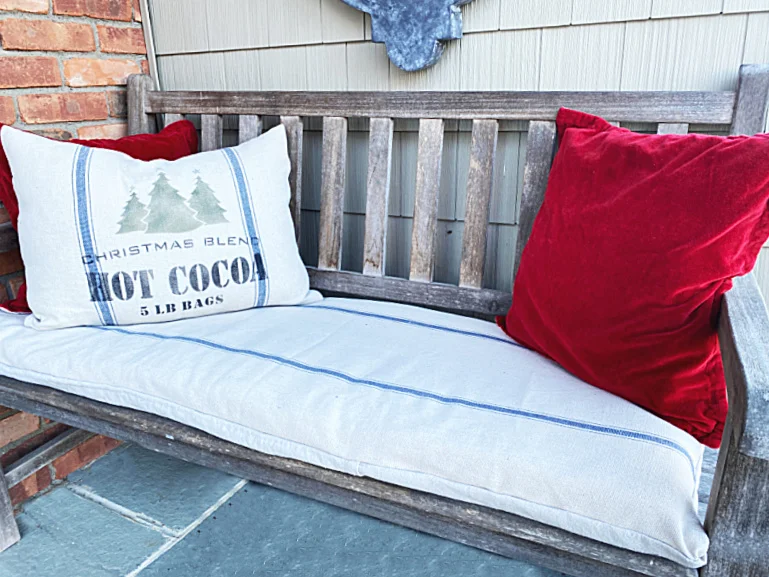
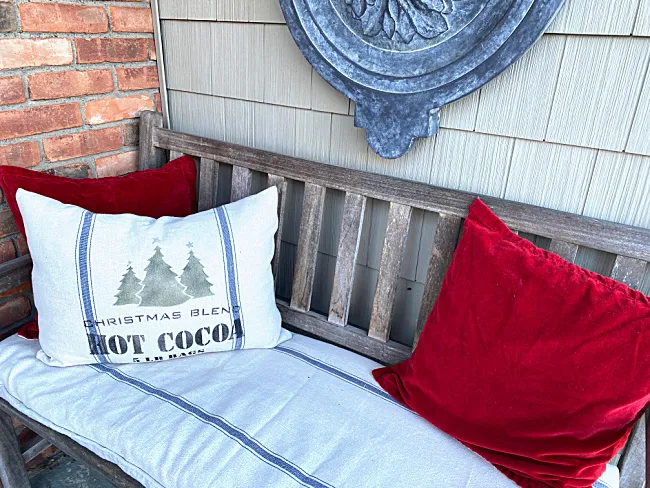
Today I'm using scraps of grain sack fabric from another project to create a new holiday look for the bench on my front porch. It's a casual look that screams "come sit".
Take a look...
The other day I was scrolling through Facebook when I found the prettiest front porch. It was so pretty that I had to figure out how I could make mine look as good. I especially had my eye on the grain sack cushion cover on the bench!
My goal was to create a new bench cushion using the form from the one I already had. The first thing I did was to remove the old stained cover from the bench cushion. The cushion had a zipper on the back so it was simple to remove.
While you're reading through this post please visit the bold blue links for the products I used and links to related Homeroad projects. The READ NOW section will take you to bonus projects too!
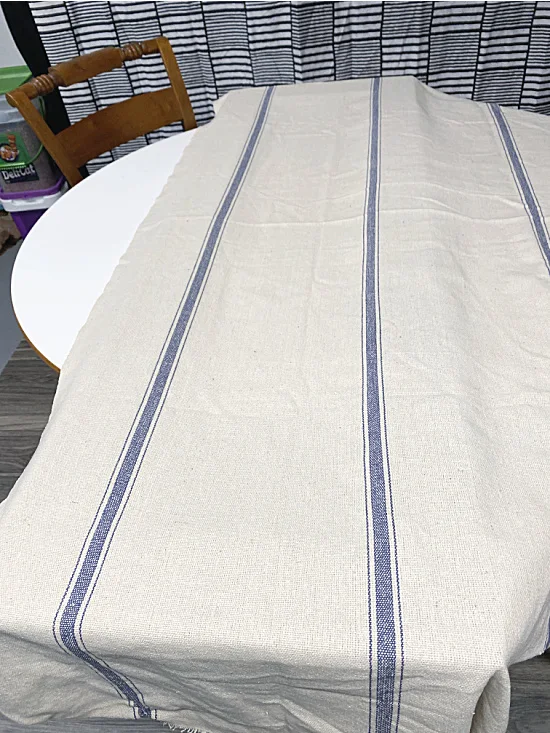
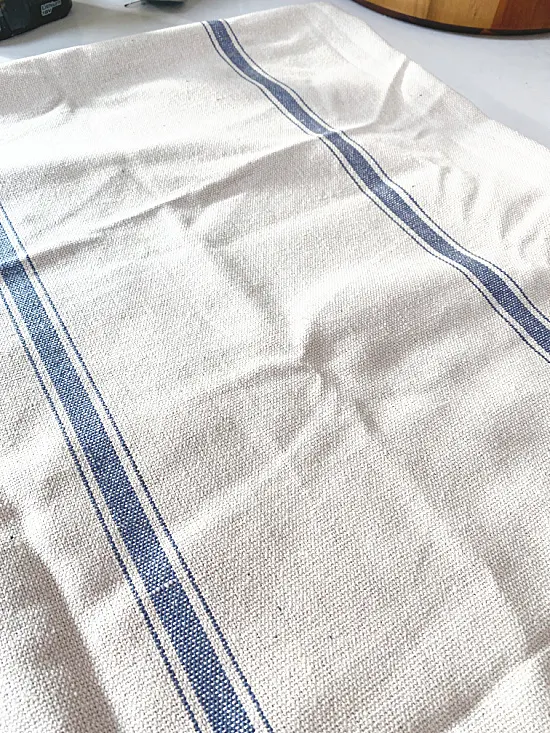
I gathered a piece of scrap grain sack I had for the top of my cushion cover and a piece of painter's cloth fabric for the back.
I bought the grain sack fabric years ago from Decor Steals but I haven't seen it on there since.
I used some of this great grain sack fabric before when I made an easy headboard for the guest room.
READ MORE: GRAIN SACK PROJECTS
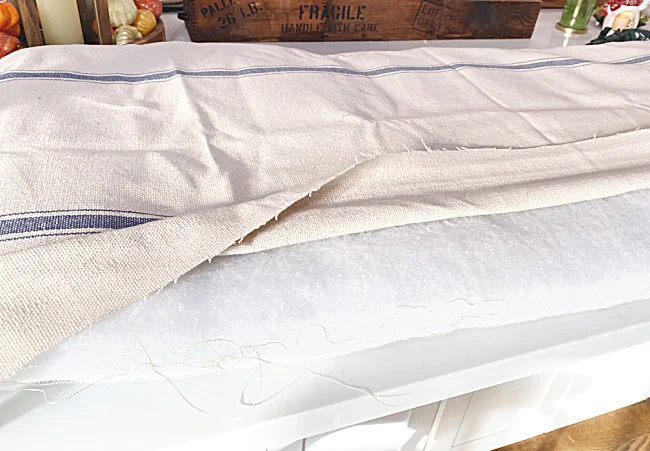
For the cushion cover, I laid the cushion on top of the fabric and cut around it leaving about a 2" border.
Now I'm going to cheat a little because I've made so many projects with fabric hot glue and they have held up so well that I'm going to use it for this project too.
As a matter of fact I tried to get a pillow cover apart that I had made a while back with fabric hot glue and it was very difficult!
READ MORE: FABRIC HOT GLUE PROJECTS
I used the fabric hot glue to glue the 2 layers together around 3 sides then turned the cover inside out.
I filled the cushion cover with the cushion then hot glued the last edge closed.
It really needs a little ironing! 😂
My new bench pillow cover looked amazing but I wasn't done there.
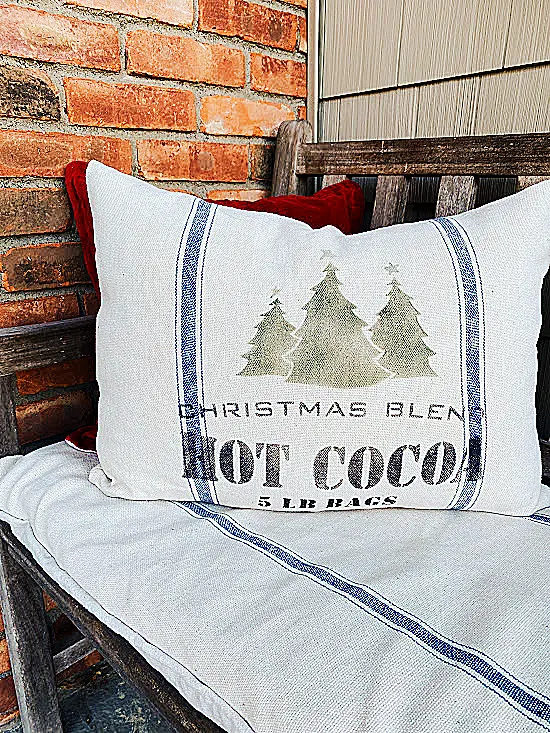
I remembered that I had a matching pillow I had made when I made the headboard.
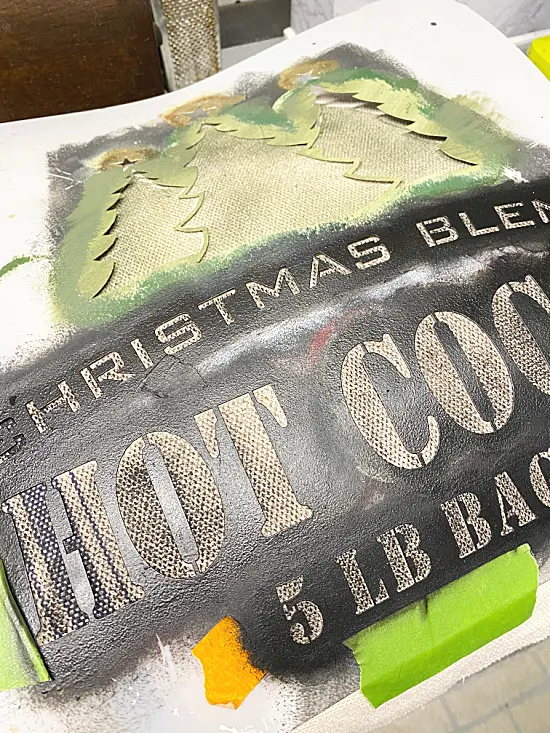
I wanted to add a Christmas stencil to the pillow and I had just the right stencil!
Most people would stencil the pillow before they stuffed the pillow but since the stenciled design was a complete afterthought I did it last.
So here I am stenciling right on the stuffed pillow. It actually worked very well but would have been much easier prior to stuffing!
I used one of the Christmas stencils from Old Sign Stencils. I've used the Christmas Blend Hot Cocoa stencil many times and it comes out great every time!
READ MORE: HOT COCOA PROJECTS
Now as soon as I decorate the front porch with garland, wreaths and bells this bench is going to look amazing too!!
Please pin --->>
Right now we are between holidays... we call it Thankmas at our house. Some of the pumpkins are still out and there are Christmas decorations mixed in. If you see a little orange from the pumpkins that are still on the porch, that is why!
All I had to do for my fall sign was to flip it around and voila it was Christmas!
Love this cushion and matching pillow though it might be time to give the teak bench another makeover!
Thanks so much for visiting and before you go please sign up for the Homeroad emails so my next DIY tutorial will go out straight to you!
Old Sign Stencil Provided me with the stencil, all opinions are my own!

