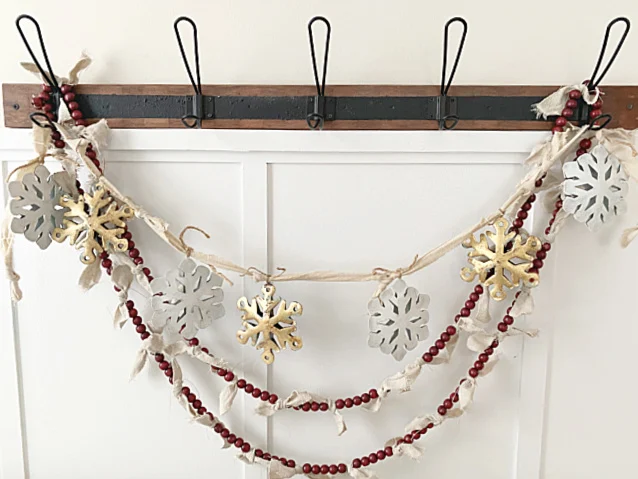
Metal Snowflake Garland with Patina
Recently I found a great bag of discarded ornaments at the thrift store including these metal snowflake ornaments.
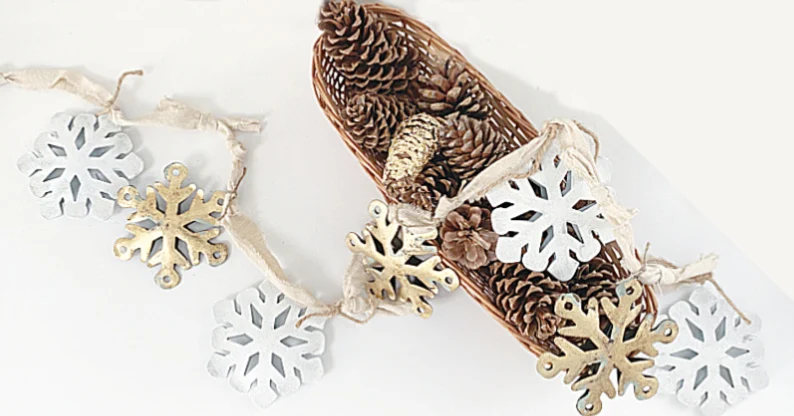
Today I'm going to show you how to give metal snowflakes a beautiful rustic brass patina.
The snowflakes look amazing now hanging on a rag garland.
I can't wait to decorate for Christmas! Take a look...
Aren't they gorgeous!
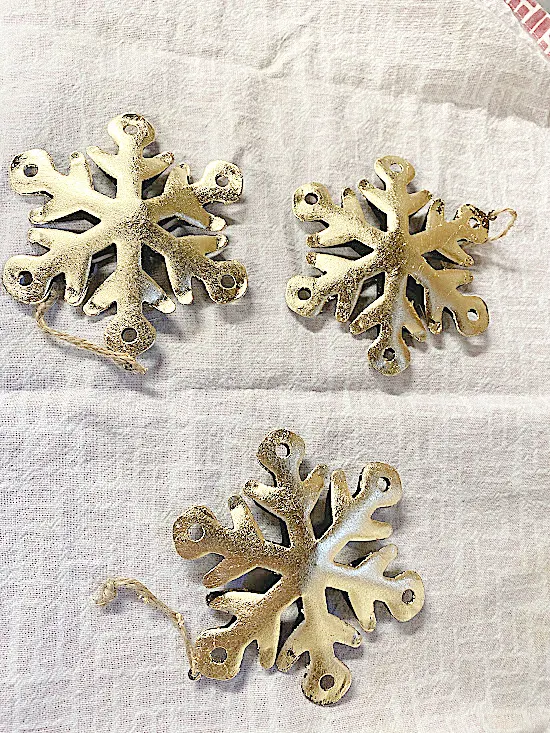
Here is the stash I started with from the thrift store.
You can see the brown and green snowflakes at the top, those are the ones I'm redoing today!
First I removed all the tags and jute twine.
As you're reading through this post please visit the bold blue links to find the products I used and more related information from Homeroad.
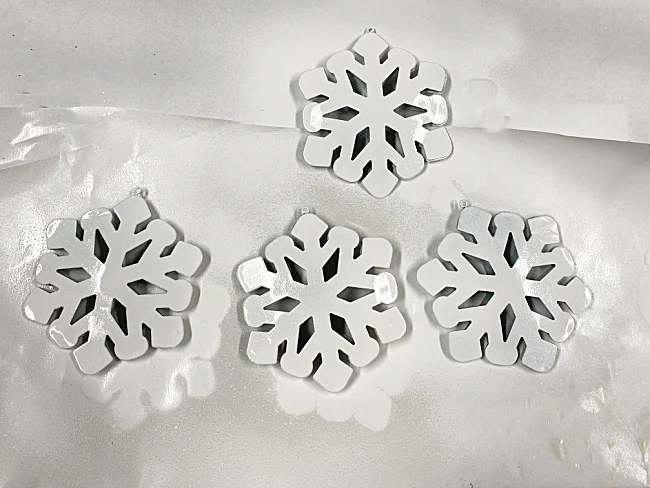
I spray painted the green snowflakes with a white glossy spray paint then when they dried I added a little very fine glitter.
The brown metal snowflakes got a more complicated technique.
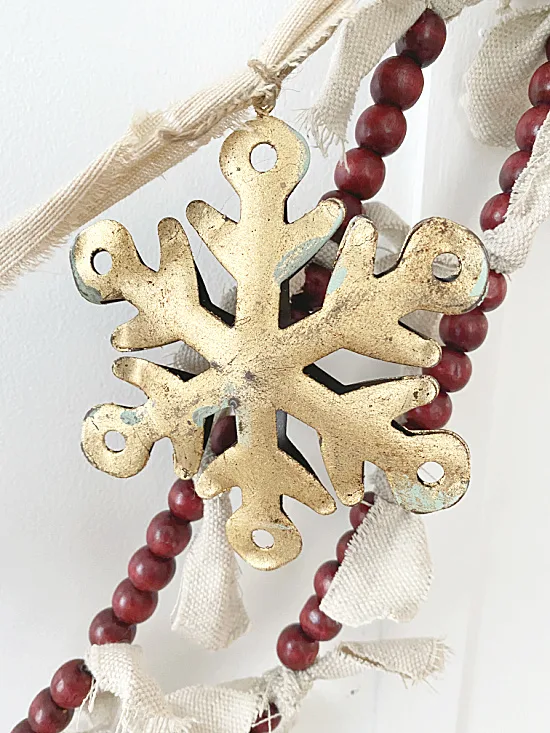
First I painted on the adhesive for gold leafing, when it was dry I laid a piece of gold leaf over the snowflake and with a dry brush I patted down the gold leaf.
Next, I used a matte sealer to dull the look of the gold leaf. Then used black spray paint and held it high above the snowflakes to just give them a fine spray. If I held the can a little off center I got black splatter on the snowflakes which turned out great!
Then I used a green copper colored paint to drop it in a few random places on the snowflakes to look like a metal patina.
I think they look amazing!
Lastly, I tore 1" strips of a faded cotton curtain I saved and tied them together.
I tied the white and gold snowflakes along the rag strip and added a few more bows of rag strip.
These snowflakes sure came a long way baby!
READ MORE: SNOWFLAKE PROJECTS
I will be using these to hang from hooks in my home when I am ready to decorate for Christmas.
Here is another fun snowflake garland I made last year using dollar store finds.
Please pin --->>
READ MORE: GARLAND PROJECTS
That old bag of thrifted ornaments sure gave me a bunch of great projects!
Thanks so much for visiting and before you go don't forget to sign up for the Homeroad emails so my next DIY tutorial will go out straight to you!

