Neutral Christmas Block Sign
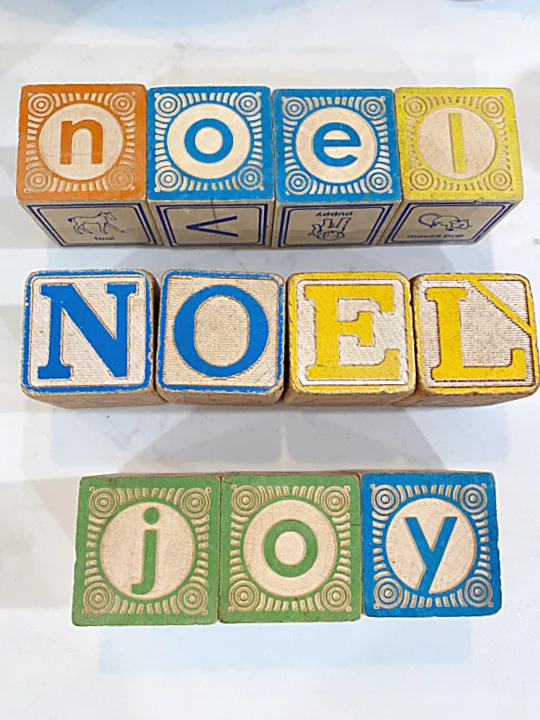
This project was a no brainer! My daughter gifted me a box of vintage children's alphabet blocks and my head started spelling!
I love the used and battered look of these old blocks and I had a plan.
I was going to paint them!
This easy project can be done in no time and took very little skill!
Take a look...
I began with the 2 kinds of children's blocks in the box. What could I spell? JOY? NOEL? PEACE? The problem is there weren't enough blocks to use most of them.
As you're reading please visit the bold blue links for the products I used and more information about related Homeroad DIY projects. The READ MORE sections are bonus projects!!
I decided to go ahead with the traditional lettered blocks.
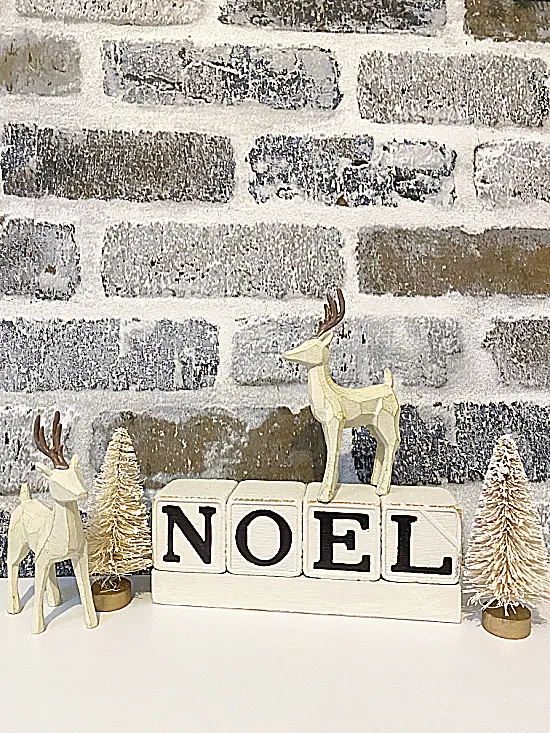
I built a base for the blocks the same width and length as the 4 blocks in a row.
I used wood glue to attach the blocks then gave them a spray painted coat of primer.
I'm going to admit right now, for some reason the primer didn't stick to the other blocks, they seemed to be coated in some kind of wax and they were a FAIL. Into the trash they went but luckily I have a whole bunch more! Maybe I'll just let the kids have them LOL!
After that I used Raw Silk by Fusion Mineral Paint to give the blocks 2 good coats.
When the paint dried I used a Sharpie marker to fill in the raised letters. It was really a cinch to do and took minutes.
Lastly, I sanded the edges of the blocks.
It couldn't have been easier to turn these adorable children's blocks into a black and white beauty for Christmas.
READ MORE: CHRISTMAS SIGNS
Mix the blocks in with bottle brush trees and little houses on shelves.
Add the blocks to a wreath.
Please pin --->>
Wherever you display these cute blocks they're going to look great! I love the black and white, it goes with the neutral Christmas look I'm going for this year.
READ MORE: NEUTRAL CHRISTMAS
Thanks so much for visiting and before you go please sign up for the Homeroad emails so my next DIY tutorial will go out straight to you!


