Vintage Stenciled Christmas Soda Crate
Those of you hard core vintage folks might want to cover your eyes for this one.
But the truth is that this vintage soda crate sat in my basement for the past 10 years doing nothing.
As a matter of fact I have 2 so I am sacrificing the vintage factor on this to create an adorable Christmas crate that we will use for years to come!
Here it is... the vintage Pepsi crate I bought a long time ago and kept in my basement.
As you're scrolling through this post please pay attention to the bold blue links that will take you to the products I use and other DIY related projects.
It's cute but come on, what good is it doing anyone in the basement?
So today, I'm going to decorate it for Christmas. I'm going to paint it a beautiful red oops paint I had in my paint supplies. If you don't check the oops paints at your local hardware store be sure to see what they have! The price is right and the colors are often great!
There's no turning back now! I saw a similar soda crate on Antique Farm House and I wanted to do something similar.
I cut the words HOLLY JOLLY out of stencil vinyl using my Cricut Joy. The Cricut Joy is the perfect little cutting machine for small jobs like this one. This vinyl cutter lets you easily create a stencil that will fit your crate.
I attached the vinyl stencil to one side of the crate. The stencil vinyl is thinner than regular vinyl so it keeps the bleed to a minimum.
Because the vinyl stencil I made was so narrow I had to use painter's tape to create an edge around the stencil.
I began stenciling with an off white color called Raw Silk by Fusion Mineral Paint.
I pulled off the tape and the stencil while the paint was still wet. I let the paint dry then flipped it around to work on the other side. Wow I'm loving it already!
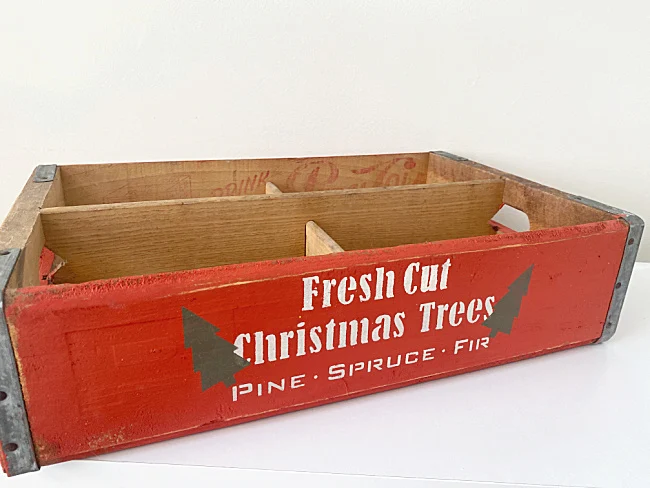
This time I'm using a Christmas stencil from Old Sign Stencils. There are so many to choose from, I am sure you'll find one you like! This one is the Mini Christmas Tree Signs stencil and it is one of my favorites.
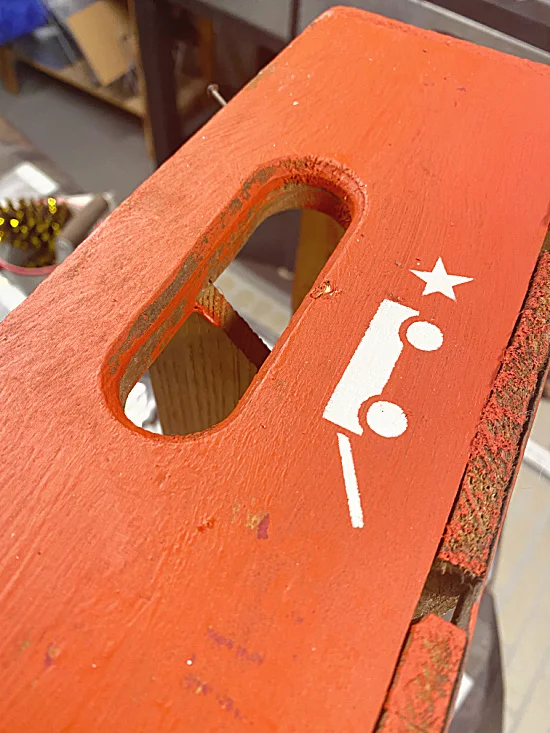
On one side of the crate I stenciled a tiny wagon and star...
And on the other side I stenciled TREE FARM.
I gave the edges of the crate a quick sanding with sandpaper and I was done. I also gave it a quick spray of a matte sealer but you can skip this step.
This was such an easy project and I'll be the first to admit, I have no regrets painting this vintage crate! As a matter of fact I may just go down to the basement and get the other one... I'm thinking Park Bench by Fusion Mineral Paint! It is a beautiful dark green!
READ MORE: CRATE PROJECTS
I am filling this crate with pinecones and a tree and calling it a day! It is perfect for decorating for Christmas at my house.
READ MORE: CHRISTMAS PROJECTS
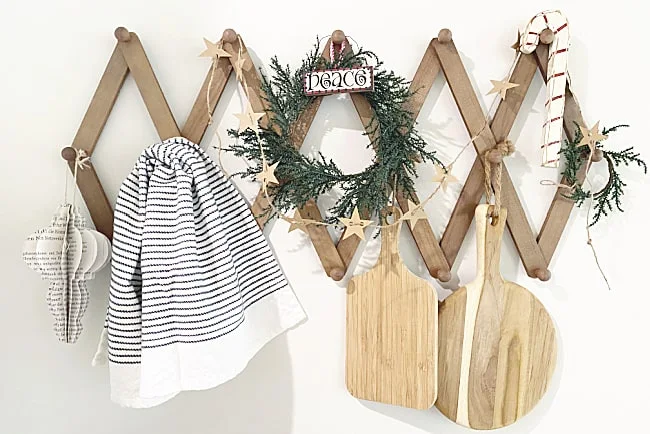
The simple DIY star garland can be found here.
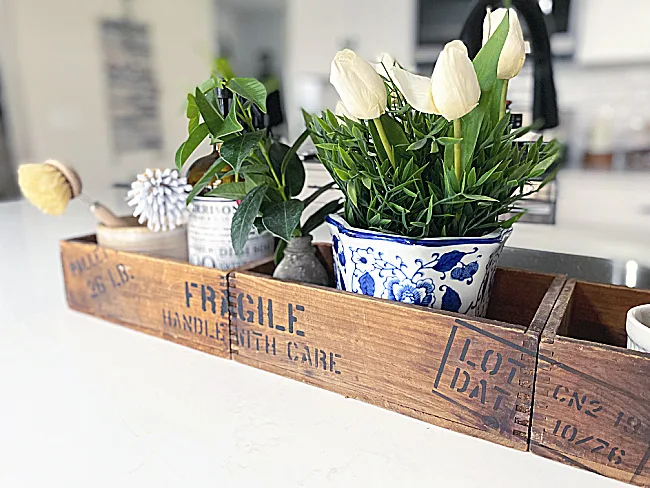
Another of my favorite vintage crate projects is the one I made for my kitchen island to hold the soap!
Please pin --->>
Hopefully this convinced you to drag those hidden items out of your basement and make them new again!
Thanks so much for visiting and before you go please scroll up to the sign up for the Homeroad emails so my next DIY project will go out straight to you!
Fusion Mineral Paint and Old Sign Stencils provided me with the supplies for this project, all opinions are my own!


