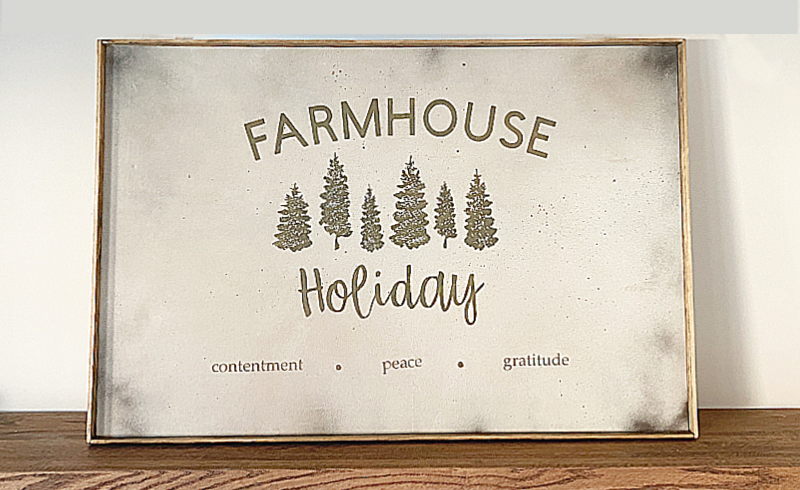
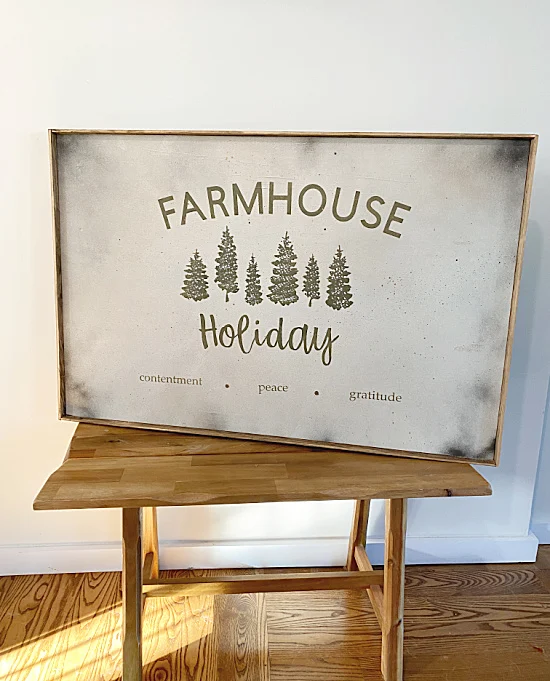
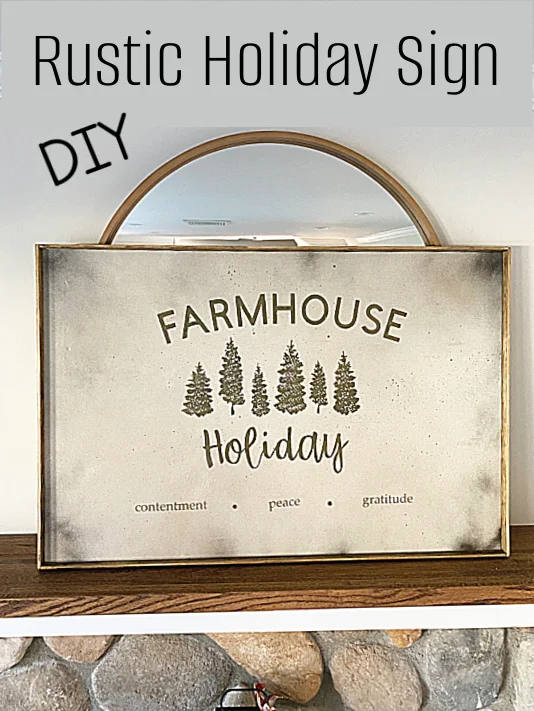
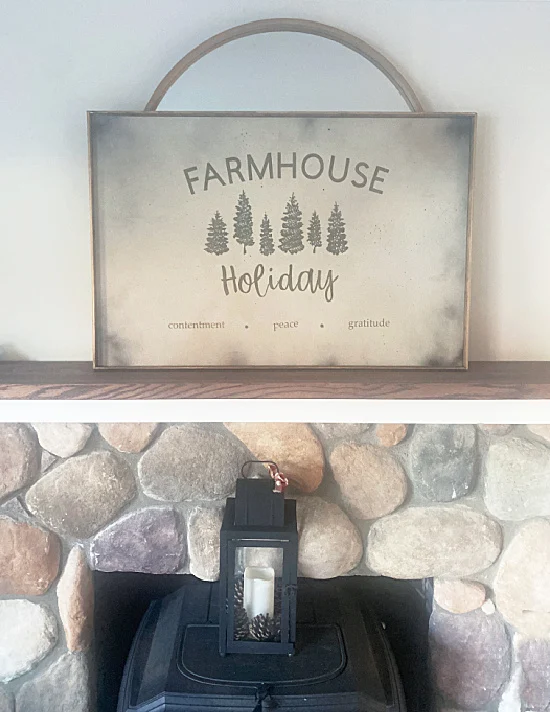
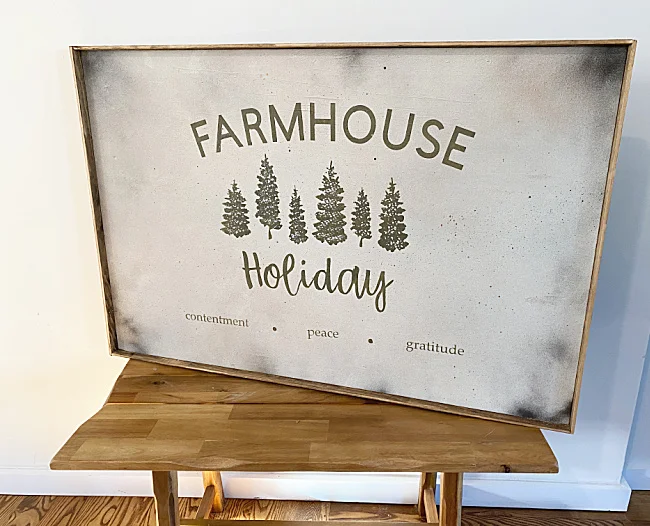
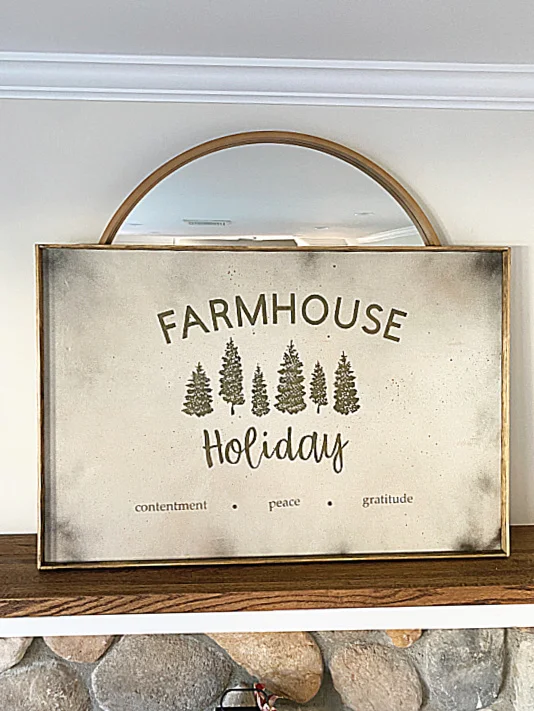
Farmhouse Christmas Sign
I'm kinda loving making Christmas signs this year.
When I saw this gorgeous sign on Antique Farmhouse and then again in a few other places, I knew it was a sign I need to make!
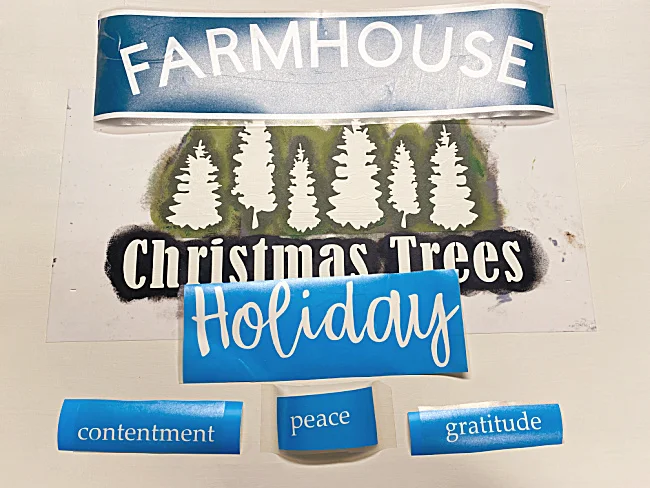
I used a vinyl cutter but if you don't have one, stencils are available that give the same look.
There is also the "transfer" method that has always worked well for me.
Take a look...
This sign began life as a beach scene that was in my neighbor's trash. I was actually on my way to Home Depot to look for some kind of canvas when I drove by the perfect canvas to repurpose right across the street!
Now re-loved canvases are usually not in very good shape. This one happened to be the perfect size but the original painting had texture and a little damage which can be a problem!
While you're reading through this post please visit the bold blue links for the products I used and links to related Homeroad projects. The READ NOW section will take you to bonus projects too!
I finished my trip to Home Depot where I did buy the wood for the frame so all in all this was a very inexpensive project.
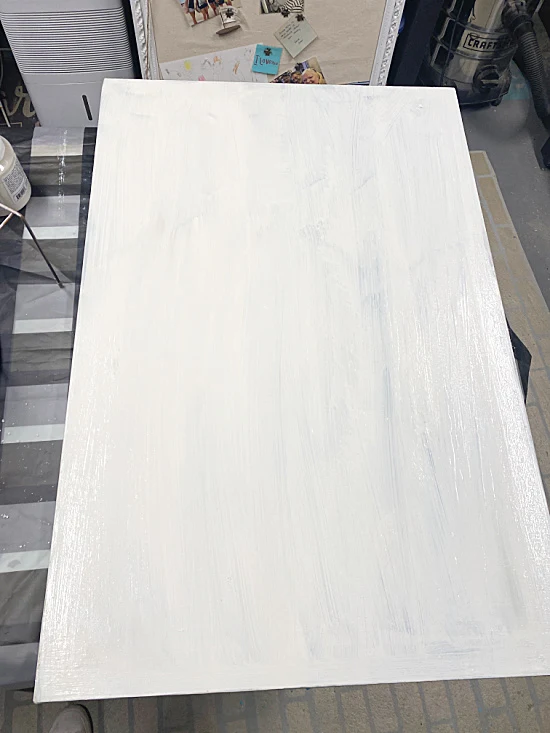
I began by sanding the canvas with an electric sander but that didn't take down the texture as much as I had hoped. I was going to give this a go anyway so I painted the canvas white with a color I love called Raw Silk.
I gave the canvas two coats and let it dry. In the meantime I used my Cricut Joy (which I use almost every day lately), and cut the words FARMHOUSE, HOLIDAY, and the smaller words underneath.
Now if you don't have a vinyl cutting machine you can print out the lettering on the computer and use carbon tracing paper to transfer the words to the canvas. I did similar on these signs.
I was guessing as to the size of the stencils I needed to create but used the size of the Christmas Tree stencil from Old Sign Stencils as a guide.
In hindsight I might have made the small words on the bottom a little larger.
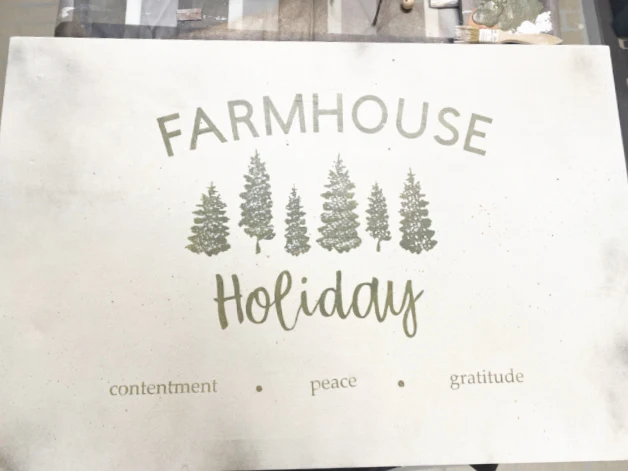
I stenciled the lettering starting from the top of the canvas. I spaced everything like it was in my inspiration sign.
I used the same color for all the stenciling, a darker green called Hazelwood.
When the stenciling was finished I had several oops' to clean up with the original background color. It is very difficult to stencil on texture without the paint bleeding under the stencil. You could avoid this by using your original background color to stencil first, let it dry then use your darker color.... I didn't do that.
There were several little holes in the canvas and rough patches that didn't show up until I had painted the canvas white but my plan was to distress this canvas anyway just like I did on the Grungy Christmas sign I did recently.
I used flat black, flat white, and a gold metallic (which looked more rust colored than gold) to distress. I sprayed little shots of paint randomly around the canvas with each color. A trick I learned for getting speckles is to hold your spray can sideways as you spray and it will splatter your painting.... if that's what you're going for, and I was!
So, finally I let the canvas dry then made a frame using stained pieces of 1/4" x 1 1/2" wooden moulding. I have to say the price of this moulding is higher than I would have liked to spend. It cost me $20 to frame this piece and I'm kinda cheap.
All in all this painting was done for far less than you could buy one for, especially since I found the canvas on the side of the road.
I just recently did another distressed sign using a cinnamon technique. You can visit that sign here.
And the moral of this story is that if your canvas is not in good shape to begin with, distress the heck out of it and nobody will notice! 😂
Please pin --->>
By the way, side of the road finds is how Homeroad got its name. Almost 12 years ago I decided to create a blog that makes things for your Home by repurposing things from the side of the road.... it just made sense!
If you missed that lantern makeover you can read all about it here.
I hope you like this sign and will take a look at more DIY signs I've made over the years.
READ MORE: CHRISTMAS SIGNS
Thanks for visiting and before you go please sign up for the Homeroad emails so my next DIY tutorial will go out straight to you!
READ MORE: CHRISTMAS PROJECTS
Old Sign Stencils and Fusion Mineral Paint provided me with the supplies to create this sign. All opinions are my own.

