Stenciled Garden Tote
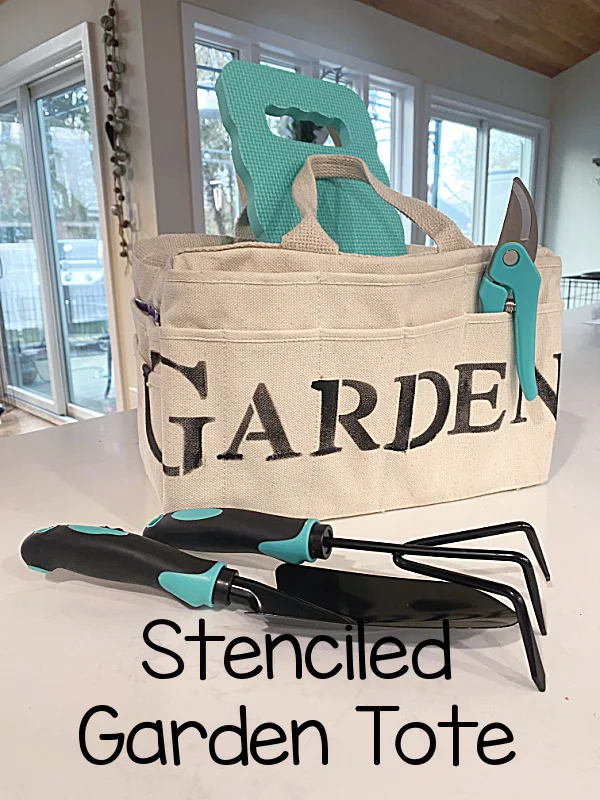
The tote I'm transforming today for my gardening has been one of my favorites for a long time.
I used this tote to carry my craft supplies, labels, and tags to craft shows.
With one easy swipe of a stencil I'm transforming it into my new favorite garden tote.
Take a look....
I began with this tote I've had around a while but I've found several that I'll link to that are very similar.
While you're reading through this post please visit the bold blue links for the products I used and links to related Homeroad projects. The READ NOW section will take you to bonus projects too!
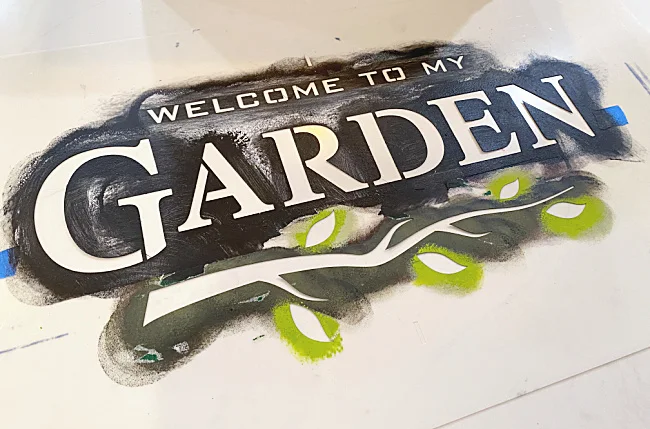
Using the Welcome to my Garden stencil from Old Sign Stencils, I used black craft paint and a fairly dry brush. I love how you can use just a part of these great stencils to create so many different things. There is also a cute Garden Tools stencil that would work!
As you can see my stencils are well used! I've used this one several times already on all kinds of projects.
The trick here is to stuff the tote with something that will firm it up for stenciling. I used a shoe box inside which gave the stencil some stability.
It was a little difficult to hold the stencil in place but I managed. You could use painter's tape or spray adhesive to help hold the stencil in place. This was a long stencil and it wrapped around the sides of the tote which I thought looked very cool!
All it took was one quick coat of paint and my simple black and white stenciled tote was finished.
I love the simple look and it was just that easy!
I am filling my tote with matchy-match garden tools from the Dollar Tree.
READ MORE: GARDEN TOTES
Wouldn't this make a great gift for Mother's Day?
Please pin --->>
I can not wait for the Spring!
READ MORE: DIY GARDEN IDEAS
Thanks so much for visiting and before you go please sign up for the Homeroad emails so my next DIY tutorial will go out straight to you!


