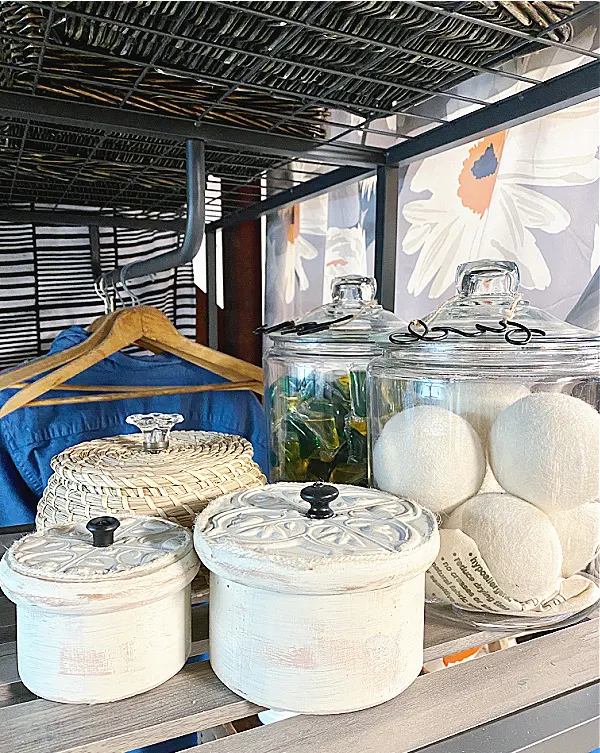
Tin Ceiling Decorative Boxes
I found a cute set of round wooden boxes with lids at the thrift store recently.
I stained the boxes and gave them knobs for handles but then realized I could do more.
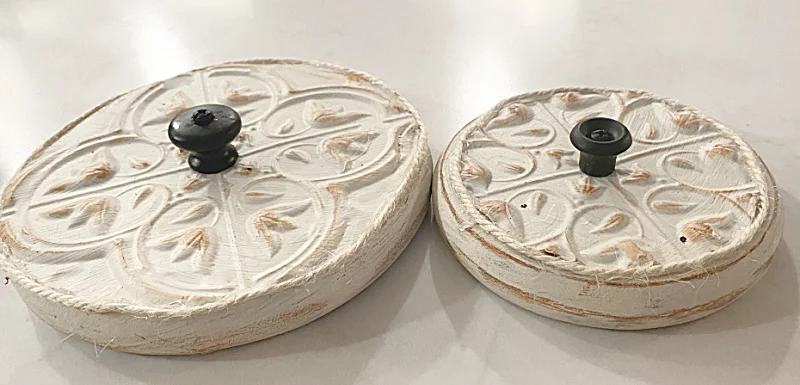
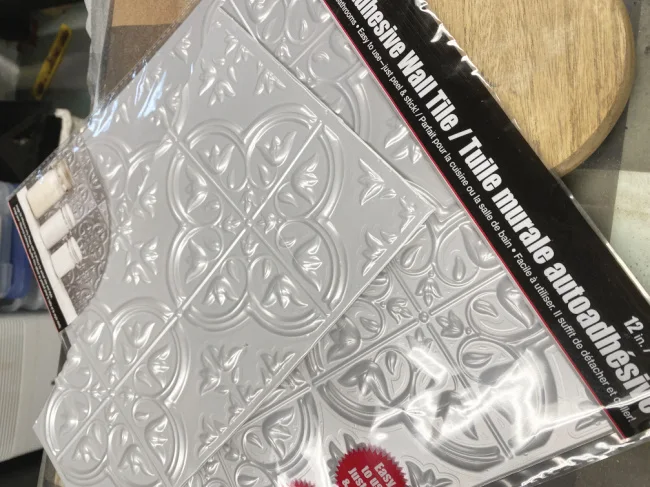
Using a fun tin ceiling tile from the dollar store and gave these cute little boxes an easy and amazing makeover!
Take a look...
This was an easy project for sure! I started with a couple of stained wooden boxes found at the thrift store.
While you're reading through this post please visit the bold blue links for the products I used and links to related Homeroad projects. The READ NOW section will take you to bonus projects too!
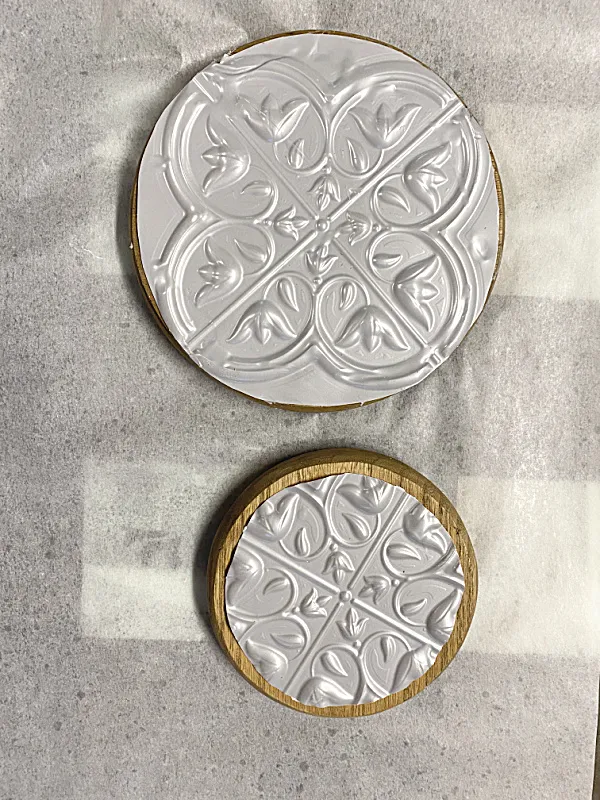
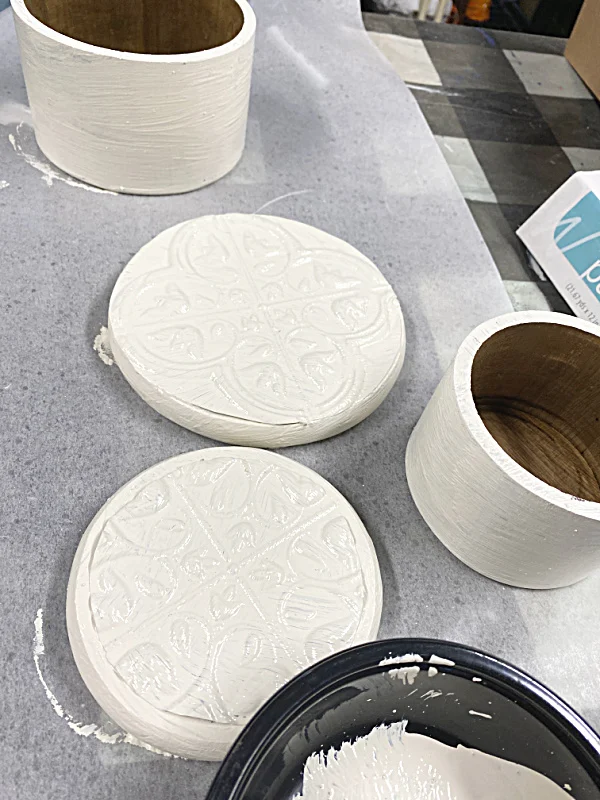
I'm also using a peel and stick tin ceiling tile from Dollar tree. I traced the round box and cut out the tile removing the sticky backing.
I glued the circles to the top of the boxes using hot glue and E6000.
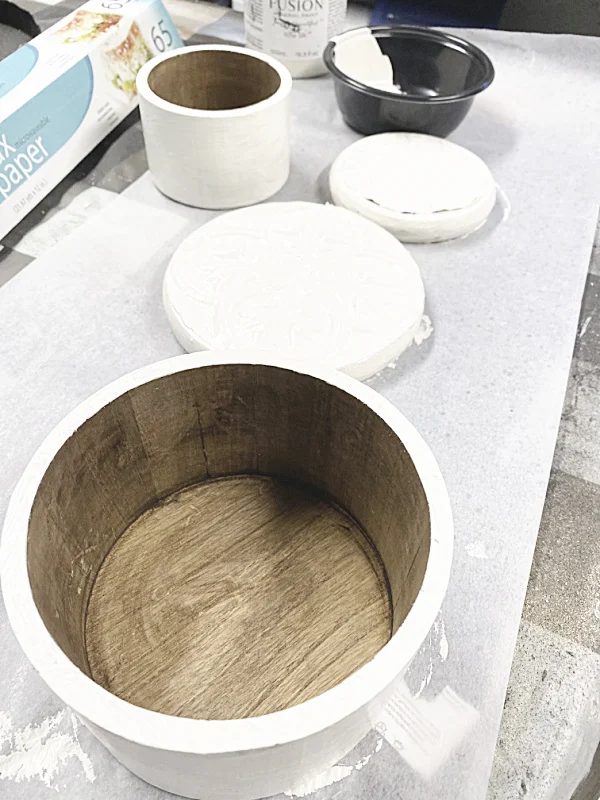
I painted the stained wooden boxes with a coat Fusion Mineral Paint in Raw Silk.
As you can see I gave the boxes just one quick coat so when I distress the box the stain will show through.
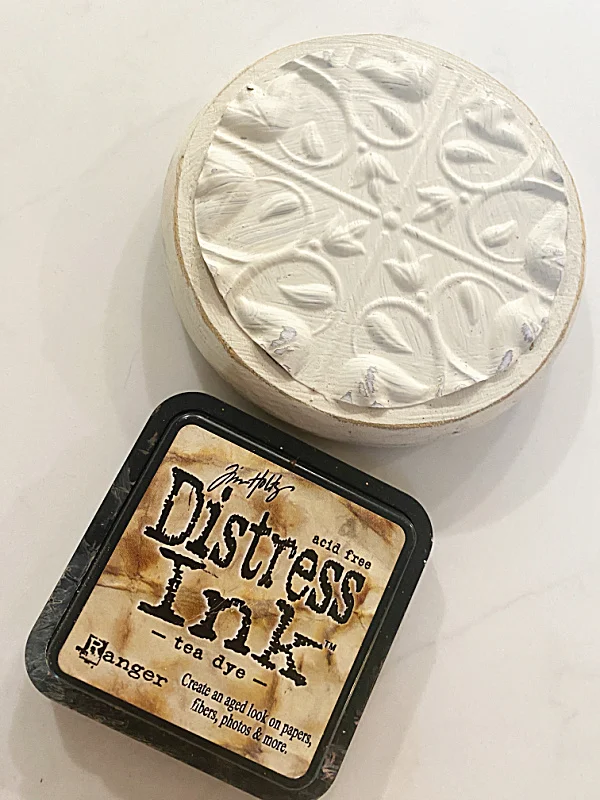
I used a Distress Ink stamp pad to distress the tin ceiling texture. The color I used is called Tea Dye.
I found out the hard way that you can not use sandpaper to distress the plastic tile because it just turns white.
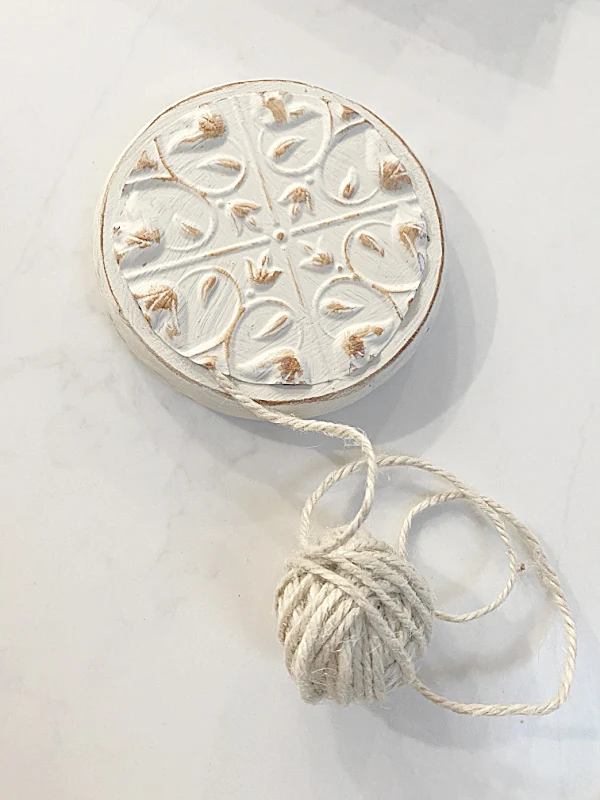
Around the edge of the tile I added a length of light colored jute to blend the cut edge with the box top.
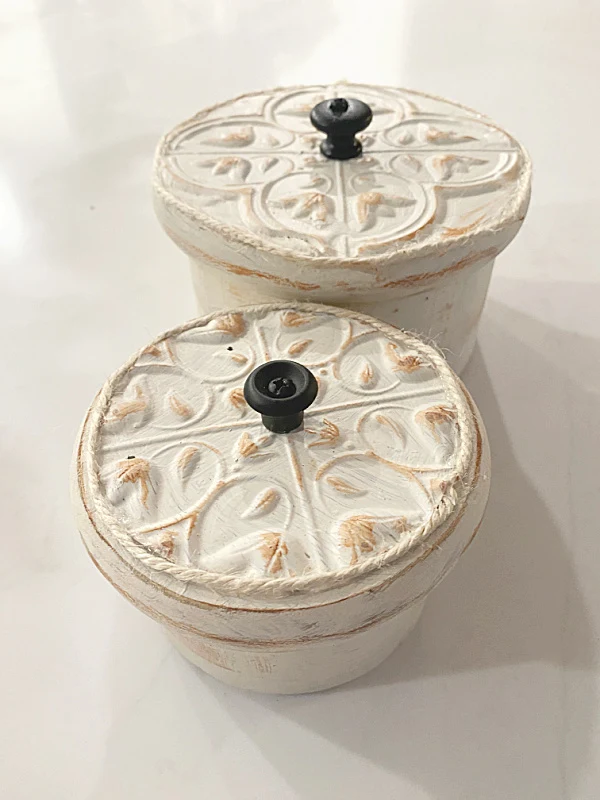
Lastly, I sanded the edges of the wooden box with sandpaper, rubbed on a little more distress ink and then added a knob to the center of the top.
These cute little boxes look so much better now with just a quick $1.25 update.
READ MORE: DOLLAR STORE PROJECTS
Please pin --->>
I'm using these cute boxes in my laundry room to hold clothespins and buttons.
READ MORE: LAUNDRY ROOM IDEAS
These great shelves came from Walmart and are perfect for my laundry room organization!
Thanks so much for visiting and before you go please sign up for the Homeroad emails so my next DIY tutorial will go out straight to you!

