DIY Pot Holder Eyeglass Case
If you wear glasses you're going to love this project!
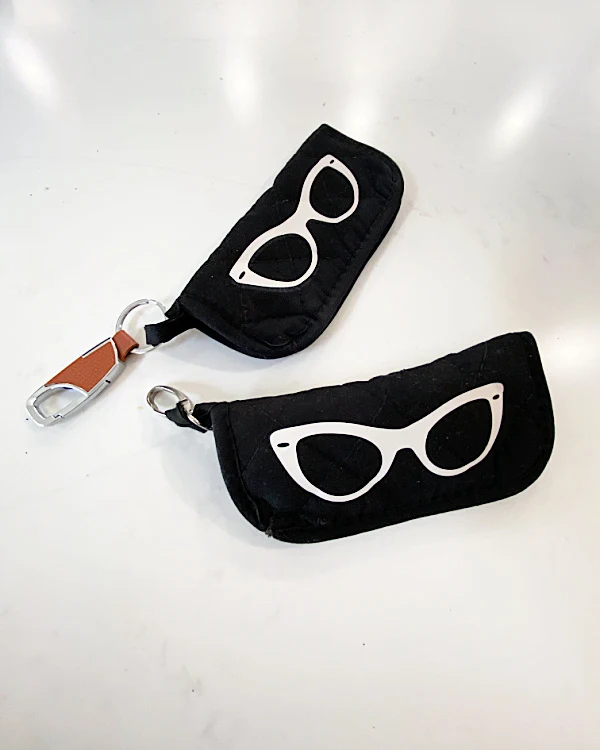
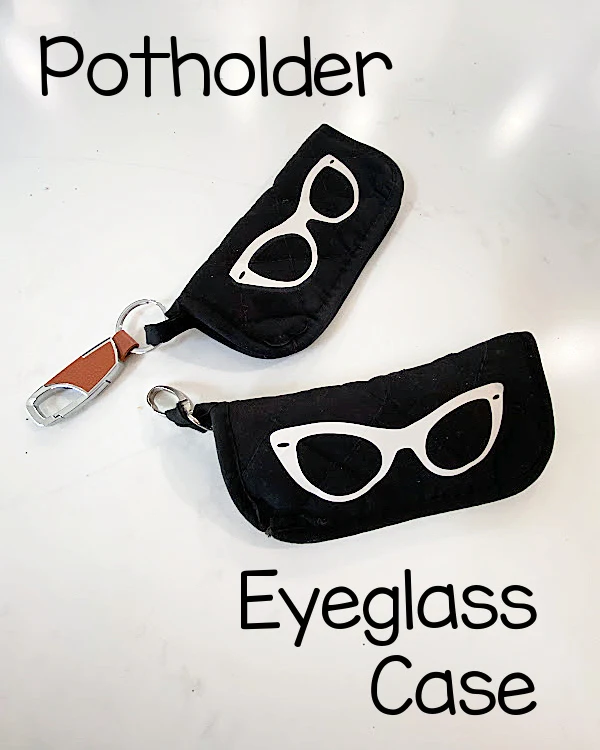
Straight from the dollar store using inexpensive 2 for $1.25 pot holders that come in many colors.
I'm using an iron-on design I created on my Cricut Joy but many iron-on designs are available on Etsy too!
Take a look...
So like I said I'm using 2 plain old pot holders from the dollar store. You can also find beautiful pot holders at Walmart, Marshalls, or Target. I will link more at the bottom of this post.
While you're reading please visit the bold blue links for the products I used and links to related Homeroad projects. The READ NOW section will take you to bonus projects too!
You can check out all the DIY eyeglass case ideas on Pinterest.
All you need for this project is an iron-on design and a pot holder.
I began by using hot glue to glue my folded pot holder in half with the loop at the end.
To secure the end that will take the most stress I used black thread to run a few stitches in one area so the pot holder would not tear open.
Next, I cut a design on my Cricut Joy. This smaller vinyl cutter is my go-to machine for small projects.
I used the Cricut Smart Iron On to cut my design.
If you don't have a vinyl cutter here is a great source from Etsy for vinyl.
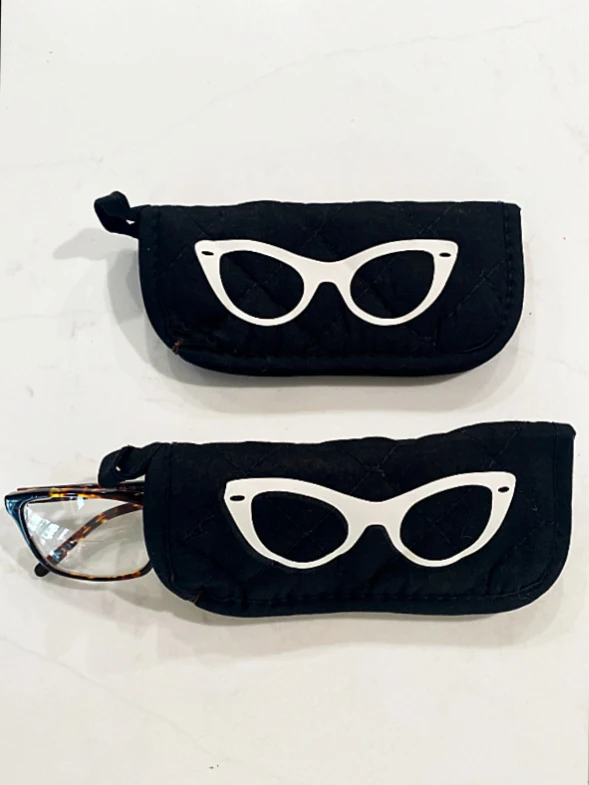
I weeded the iron-on material then used my mini iron to adhere the design to the pot holder.
How cute!
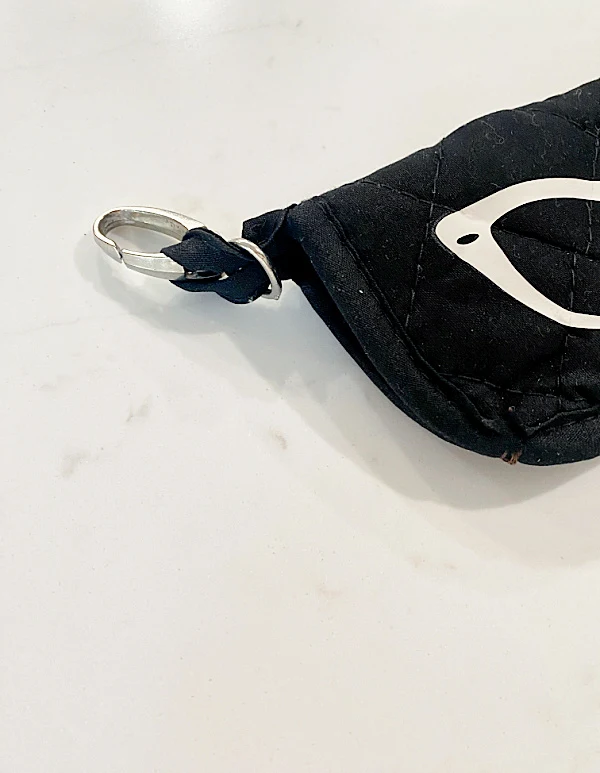
I added a hook to the loop of the pot holder so it will be easy to attach inside my purse or anywhere I might need to find my glasses.
I figure if I make enough of these I can keep one in my car too.
READ MORE: CRICUT PROJECTS
Hang one on the board and batten in the living room and keep a few around the kitchen.
I wear glasses for reading and driving and I don't know about you but I can never find my glasses when I need them! LOL
I hope you enjoy this project and will give it a try! These would make a great project for craft fairs or gifts even kids can make!
Please pin --->>
READ MORE: NO SEW PROJECTS
Thanks so much for visiting and before you go please sign up for the Homeroad emails so my next DIY tutorial will go out straight to you!


