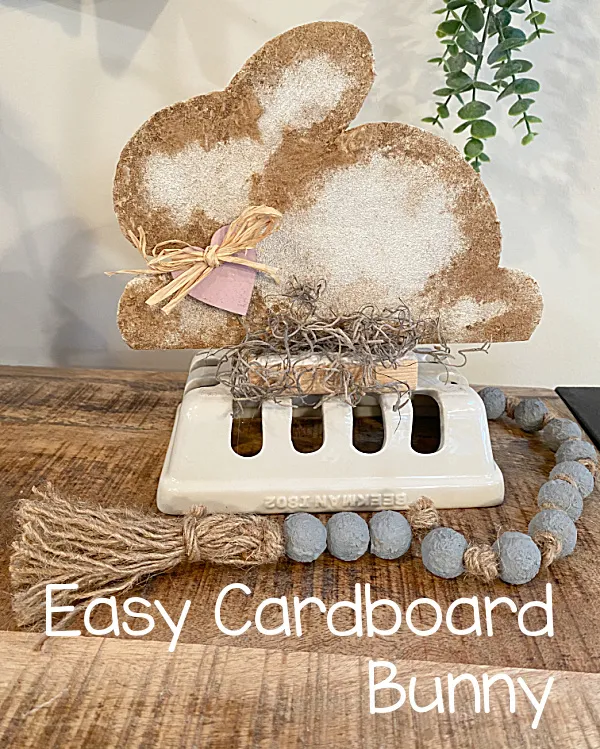
Easy Textured Antiqued Cardboard Bunny
Do you ever use cardboard for your projects? I do and I think it is a great way to recycle.
If you're like me too, you like to get or make new decorations every season so cardboard is not only easy to work with but it is free.
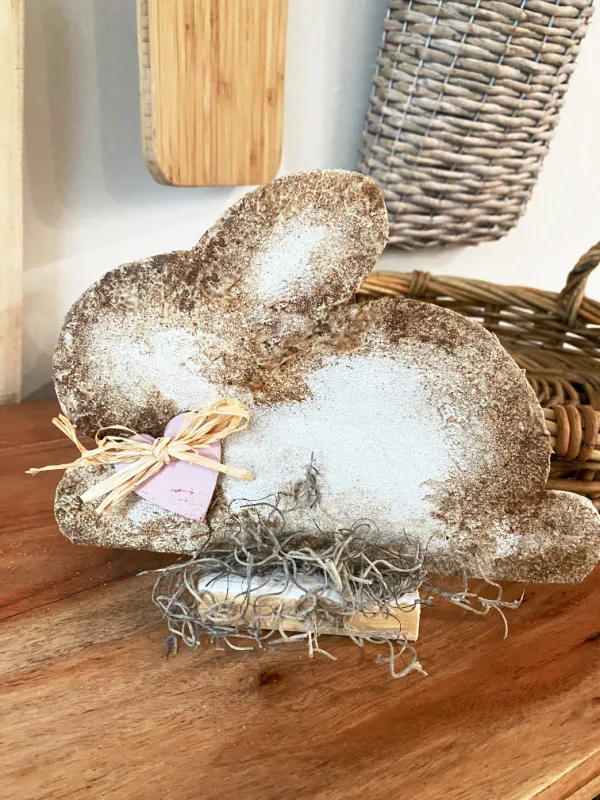
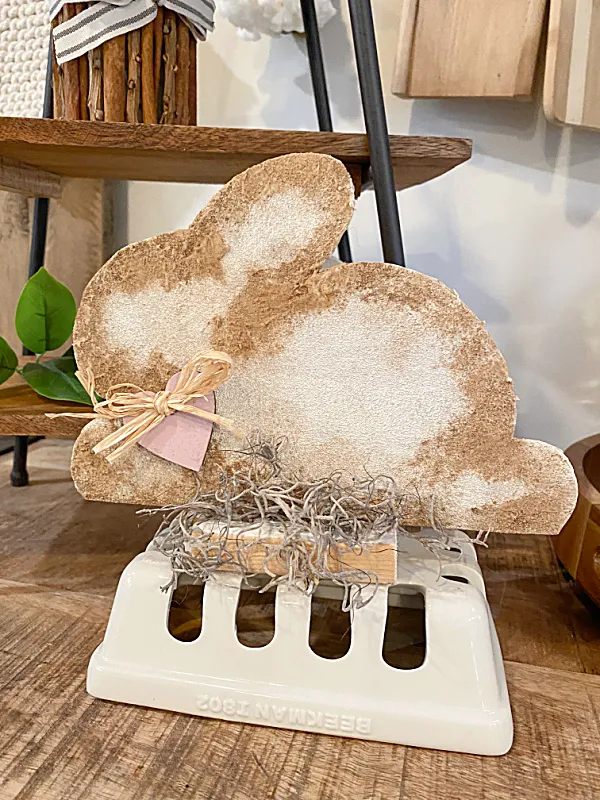
Here is a cute bunny I whipped up in no time using cardboard and sandpaper.
Yep, sandpaper... Take a look...
Ok so I will admit the sandpaper was not what I was looking for when I had this idea. Originally I wanted to make a tin ceiling bunny like the shamrock I made recently.
While you're reading please visit the bold blue links for the products I used and links to related Homeroad projects. The READ NOW section will take you to bonus projects too!
I realized once I was super motivated to make this project that I was out of the faux tin ceiling tile I wanted to use so I grabbed a piece of sandpaper for texture. I'll get more and make this project again for sure!
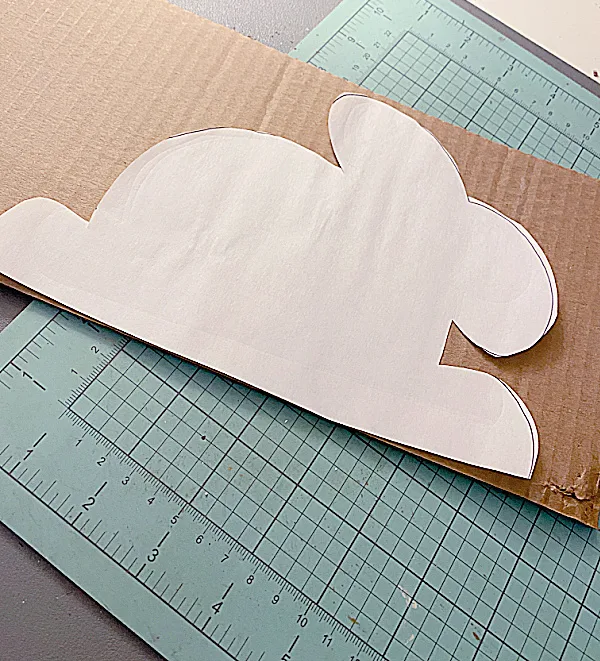
I began by drawing out a bunny shape. I traced the shape onto cardboard and cut it out.
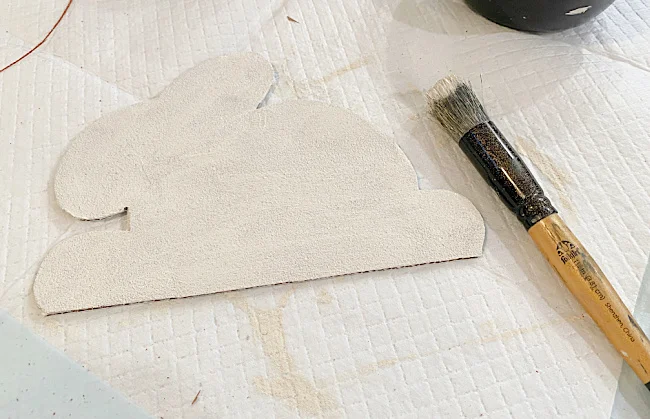
Next, I traced the bunny onto 80 grit sandpaper and cut it out... bonus cutting sandpaper sharpens your scissors!
The next step was to hot glue the sandpaper bunny to the cardboard bunny. It ended up nice and stiff.
I painted the bunny on both sides with Fusion Mineral Paint in Raw Silk. You can use any kind of chalky craft paint.
While the painted bunny was drying I made a small wooden stand using a couple of pieces of scrap wood leftover from another project. I just wood glued the small piece to the top and secured it with a couple of small nails.
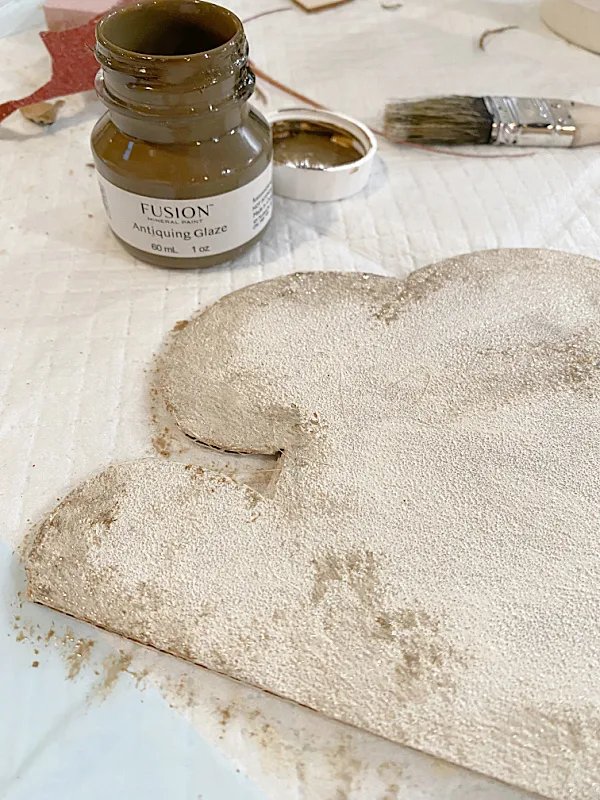
Once the white paint dried on the bunny I went around the edges with a little antiquing glaze. This made the bunny look aged.
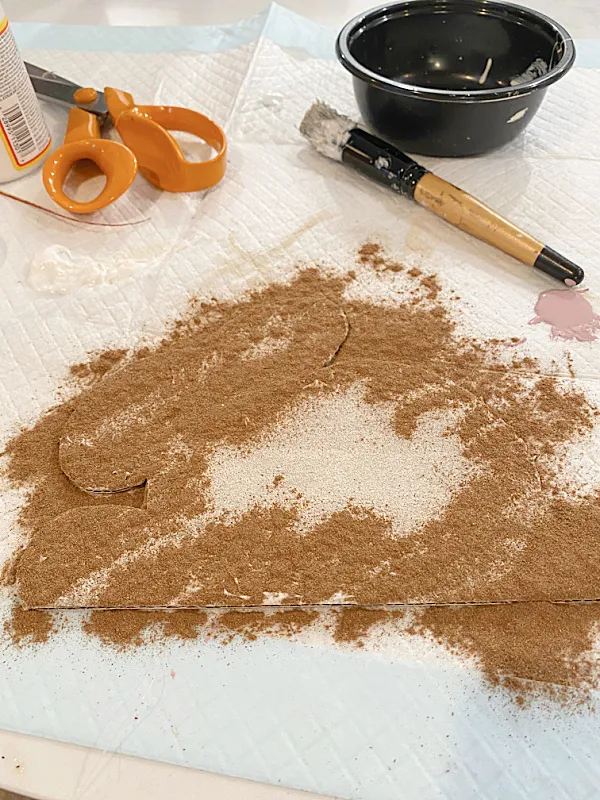
The next step was to add a little Mod Podge around the edges and sprinkle it with cinnamon. I tapped off the cinnamon then gave the edges of the bunny another coat of Mod Podge to seal the cinnamon.
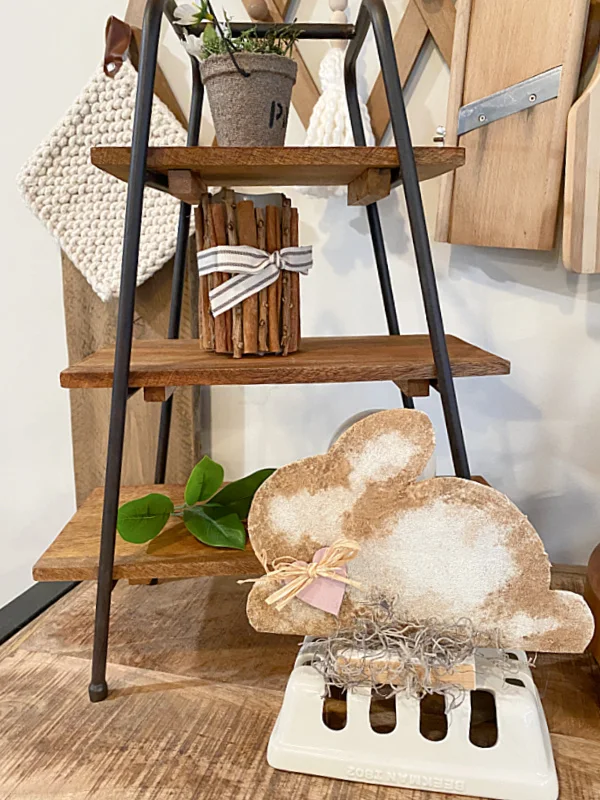
I think he is adorable and he cost me nothing. I found everything I needed in my workshop.
Side note: When the Mod Podge dried I gave the cinnamon another coat of Mod Podge and it made it even darker! The look is up to you!
Pin to Pinterest for later --->>
READ MORE: RUSTY PROJECTS
Those fun cement beads were also a fun Homeroad DIY project.
READ MORE: EASTER PROJECTS
This bunny may or may not be around next Spring but for this year I had fun creating a project this morning and he looks adorable!
Thanks so much for visiting and before you go please sign up for the Homeroad emails so my next DIY tutorial will go out straight to you!


