Painted Mushrooms for Spring
Here is a super easy mushroom project made from Target Dollar Spot finds.
Truth be told, I'm just giving the mushrooms a little makeover today.
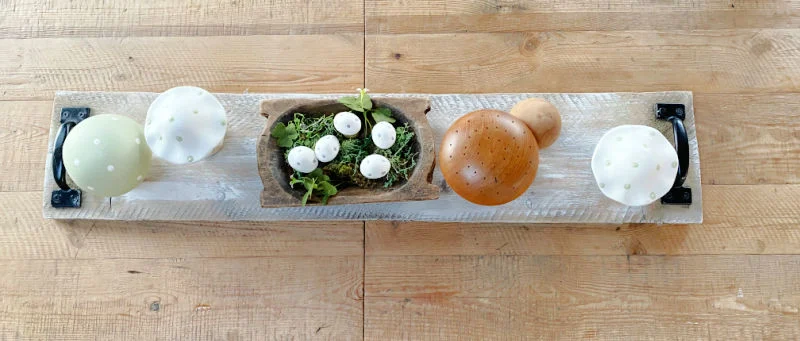
I needed these cuties to match my house so I'm repainting them to add to my mushroom collection centerpiece.
Take a look...
It all began with this cute little mushroom garden I made recently.
I really love making mushrooms for some reason. They remind me of an early Spring day.
While you're reading please visit the bold blue links for the products I used and links to related Homeroad projects. The READ NOW section will take you to bonus projects too!
Today I'm starting with these cute mushrooms that just needed a quick makeover, they were just not the right colors for me.
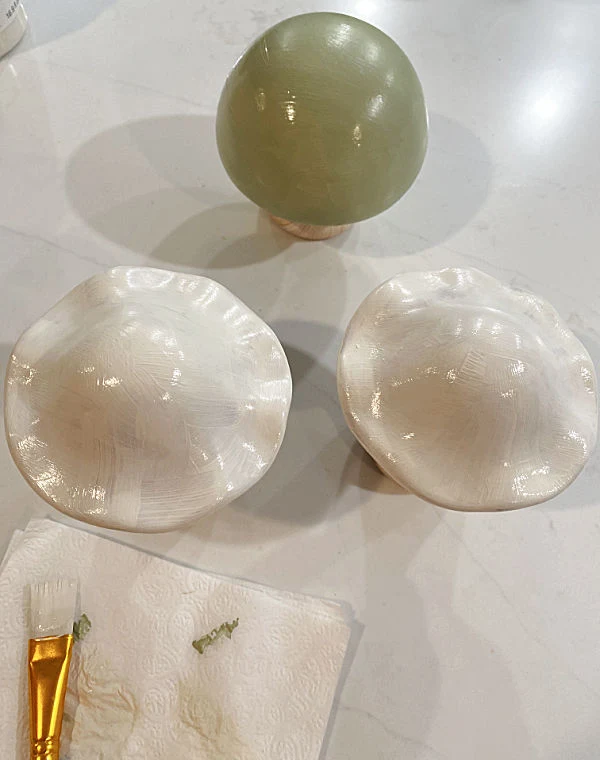
I'm using Fusion Mineral Paint in Raw Silk and Bayberry. The Raw Silk color reminds me so much of a mushroom color with it's grey undertones.
I gave the mushrooms a quick coat of the white-ish paint leaving the original stem color because it works!
I painted 2 of the mushrooms in the Raw Silk and one in the Bayberry green. They needed about 2 coats.
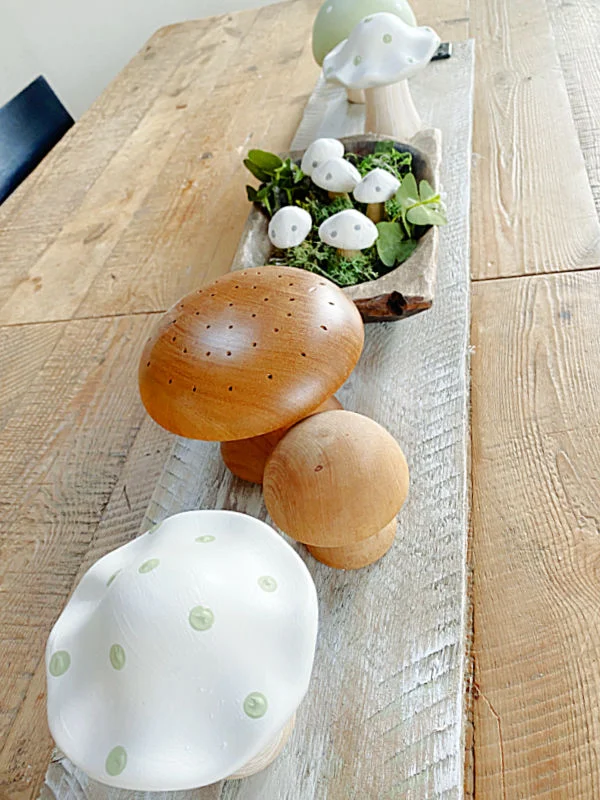
When the paint dried I used the back of a pencil eraser to dab on dots in the contrasting color.
That is about all I needed to do to transform these cute mushrooms into mushrooms that match my decor.
Pin to Pinterest for later --->>
I'm adding them to my wooden table centerpiece and early Spring decor.
READ MORE: SPRING DECORATIONS
These wooden mushrooms have been around for a while. I am not sure what their original use was.
You can read all about the wooden table runner too!
READ MORE: MUSHROOM PROJECTS
Thanks so much for visiting and before you go please sign up for the Homeroad emails so my next DIY tutorial will go out straight to you!


