Repurposed Easter Bunny
Sometimes my favorite thing to do is to go down to my workshop and just create.
I start with an idea and gather pieces I think might work together... they don't always but most of the time I think they do. I call them junk creations.
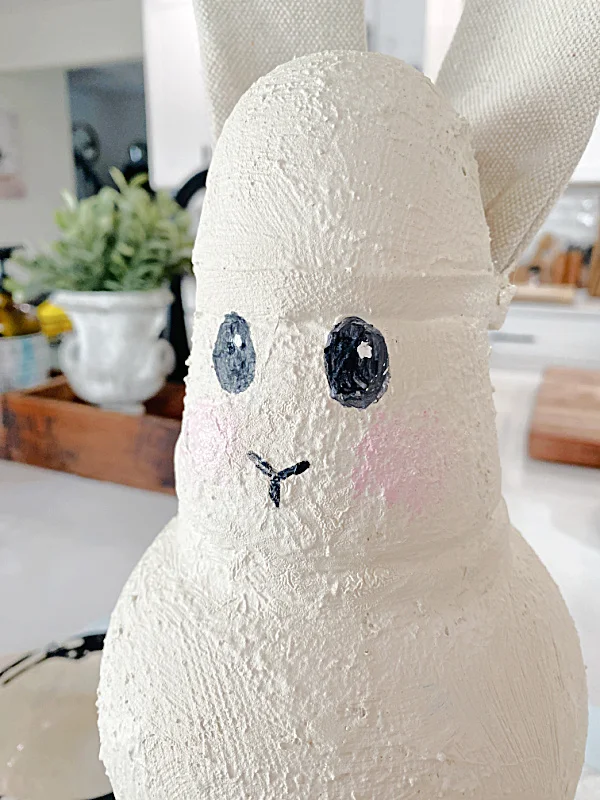
Today I'm starting with a glass vase, a vintage insulator and some textured paint to create an Easter Bunny.
Take a look ...
So first of all I'm just giving you an idea... the final results are up to you. What you use, the color you paint it and the details are all up to you for this bunny creation.
While you're reading please visit the bold blue links for the products I used and links to related Homeroad projects. The READ NOW section will take you to bonus projects too!
I began with a flower vase and an old glass insulator. I used hot glue and E6000 to attach them.
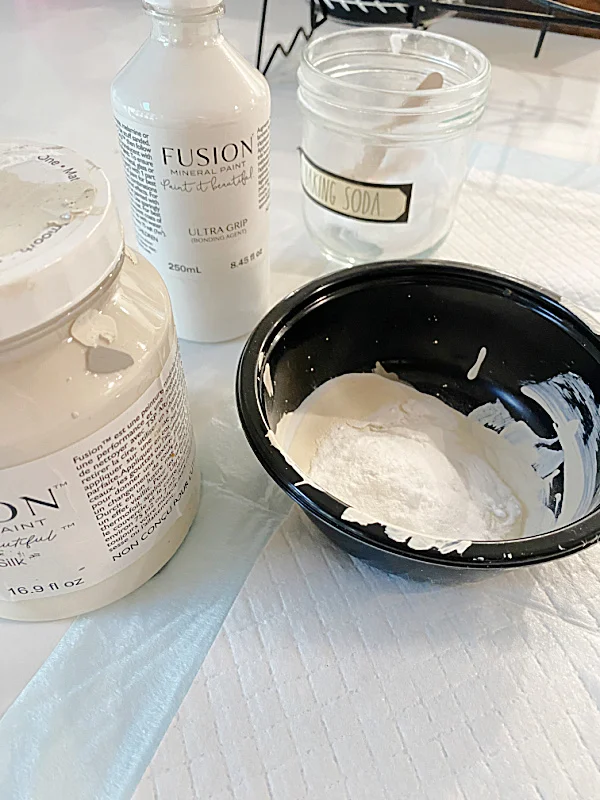
Next, I whipped up a textured paint that I've used many times on Homeroad. It is just a chalky paint in the color of your choice and baking soda. I used Fusion Mineral Paint in Raw Silk because it was a close color to the drop cloth I'm going to use for the ears.
I added a little Fusion Mineral Paint's Ultra Grip because I'm painting on glass. It may not be necessary but it worked great.
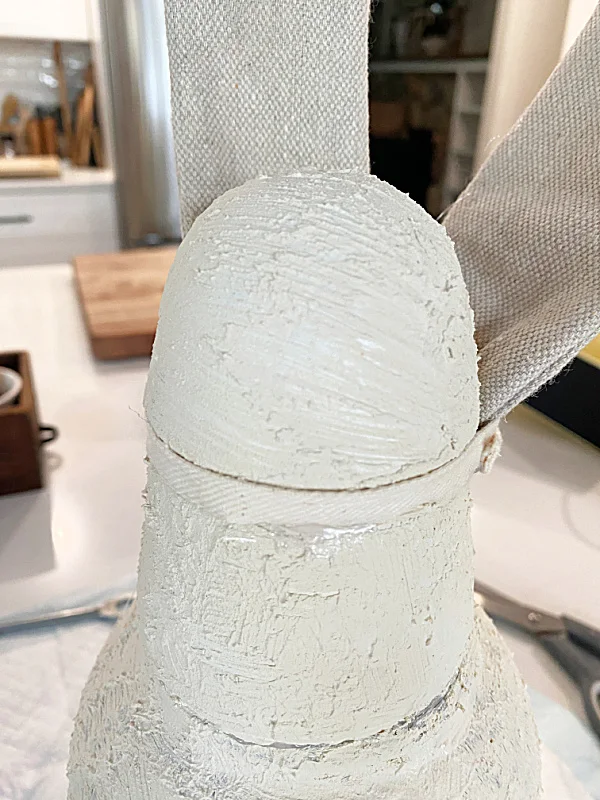
I gave my potential bunny a couple coats of the textured paint then added a little more baking soda for the final coat. I dabbed the thick paint onto the glass with the side of my brush.
So far it is looking a little... well, phallic... and now that I've said that you may have a hard time unseeing it. 😂
I let the textured paint dry while I worked on the ears.
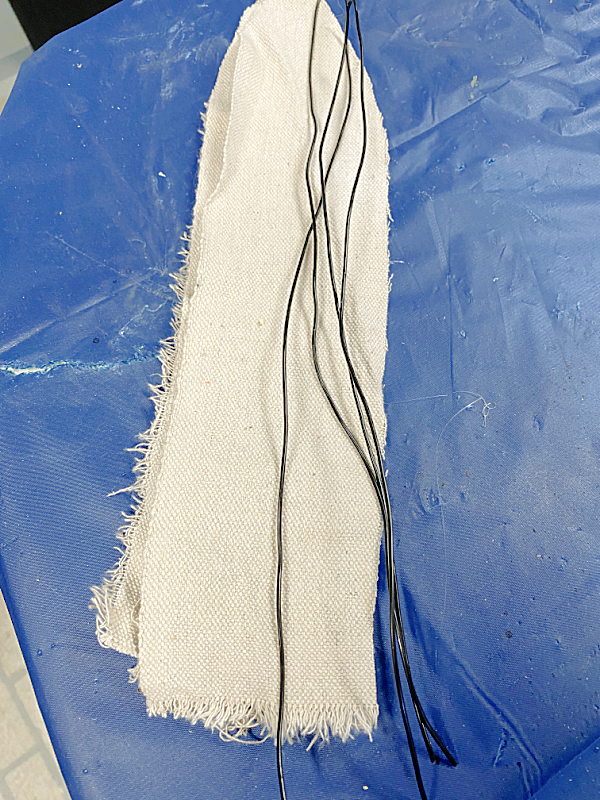
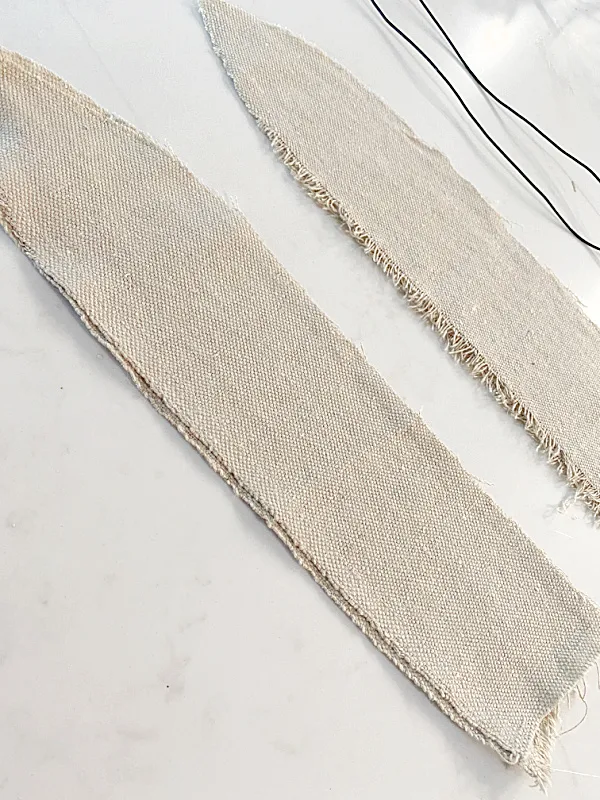
I'm using 2 strips of drop cloth and some rebar wire. I cut the drop cloth fabric into the shape of bunny ears, ironed it flat, and hot glued the edges.
I turned the fabric right side in and ironed the ears flat again using my cute little craft iron.
Next, I folded the rebar wire and stuck it inside the ears.
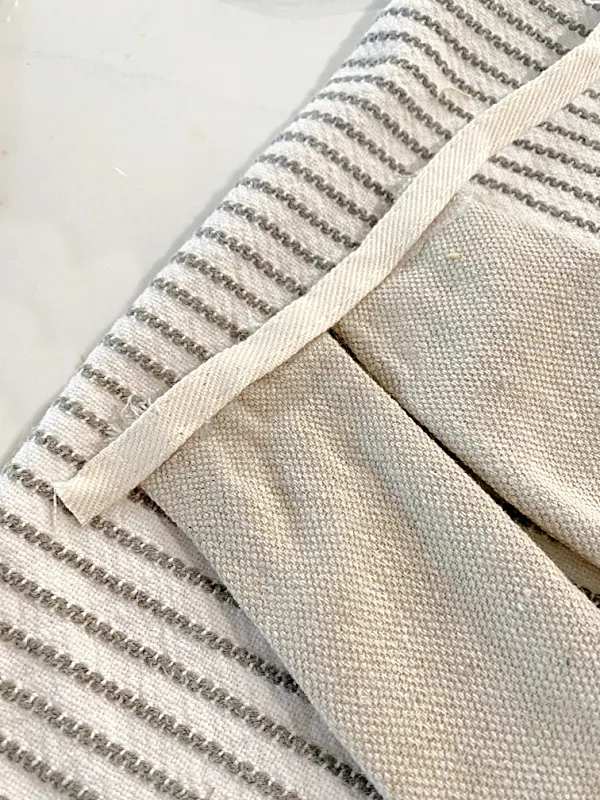
The next step is to attach the ears to the bunny shape. I'm using a piece of cotton ribbon to attach the ears. I then wrapped the ribbon with hot glue around the top of the bunny.
I used a little more textured paint to try and blend in the ribbon with the bunny.
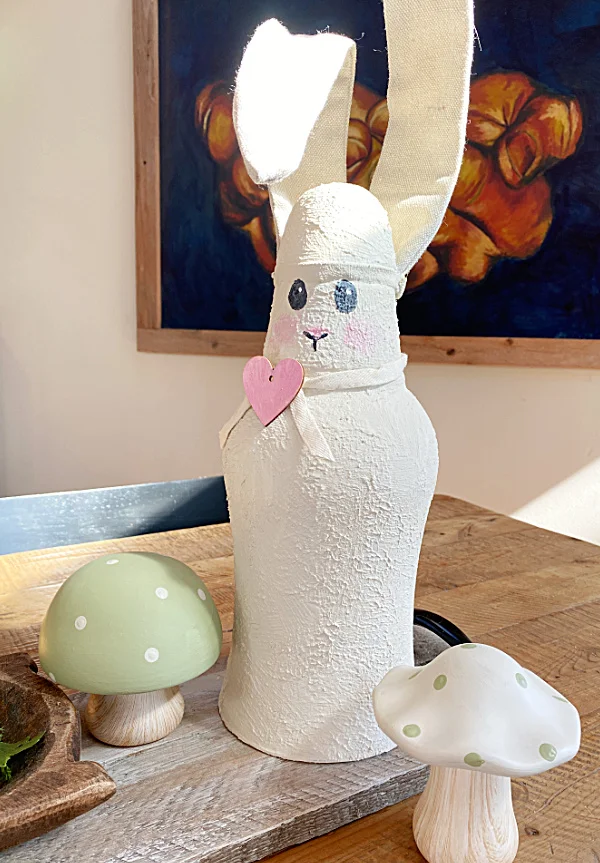
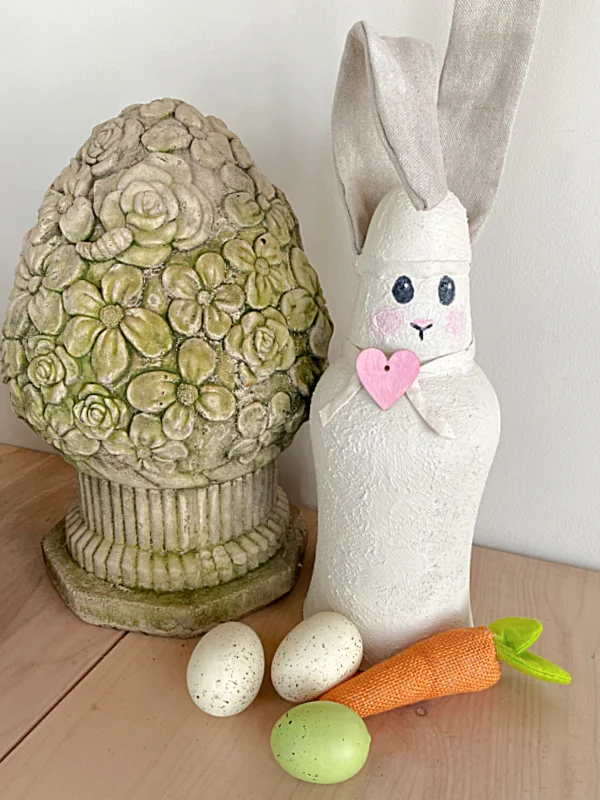
I added a face to the bunny and added more ribbon and a wooden heart.
I think he turned out pretty cute! Like I said, the details are up to you! I think he would look pretty cute in a cement color too!
He reminds me of another crazy bunny I made a while back using repurposed lamp parts.
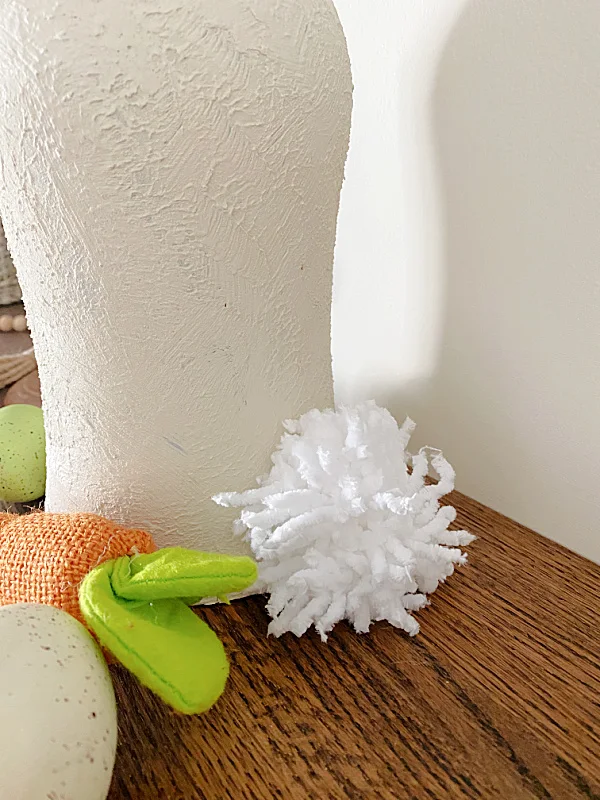
And in case you're wondering if he has a tail... I made a cute little pom pom for the tail!
READ MORE: EASTER PROJECTS
Those cute little mushrooms were another repurposed project!
Ya gotta have a good imagination for this one but it was fun to create from random pieces in my workshop.
The HOME sign can be found here.
Pin to Pinterest for later --->>
READ MORE: JUNK CREATIONS
Thanks so much for visiting and before you go please sign up for the Homeroad emails so my next DIY tutorial will go out straight to you!


