Stenciled Blanket Basket Gift
I love it when I find great baskets at the thrift store.
This weekend I found a beautiful one and while I could have left it as it was, I decided to make it even cuter with a stenciled design.
I saw a similar basket on another website and there is no reason why you couldn't quickly and easily make one yourself!
Take a look ...
I began with this large thrifted basket and an idea. The basket I coveted was from the Liz Marie Blog. I'm not really sure if she made it or not but you certainly can, go take a look!
As you're reading through this post please pay attention to the bold blue links that will take you to more information and the products I used for this project. Also the READ MORE sections will take you to related Homeroad projects.
I began by cutting out an oval and numbers using my Cricut Joy vinyl cutting machine. If you don't have one, well I highly recommend you add it to your craft supplies because I use it ALL THE TIME.
You can also make this by cutting vinyl into an oval and using store bought number stencils for the inside.
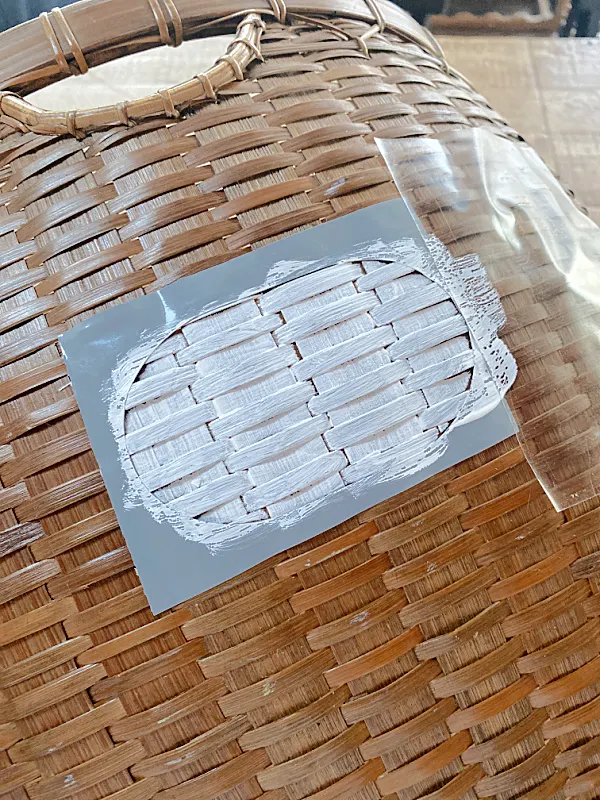
Once my vinyl designs were cut, I applied the oval to my basket.
I painted the inside of the oval with 2 coats of white craft paint and let it dry.
Remove the oval when the paint is wet to avoid any peeling.
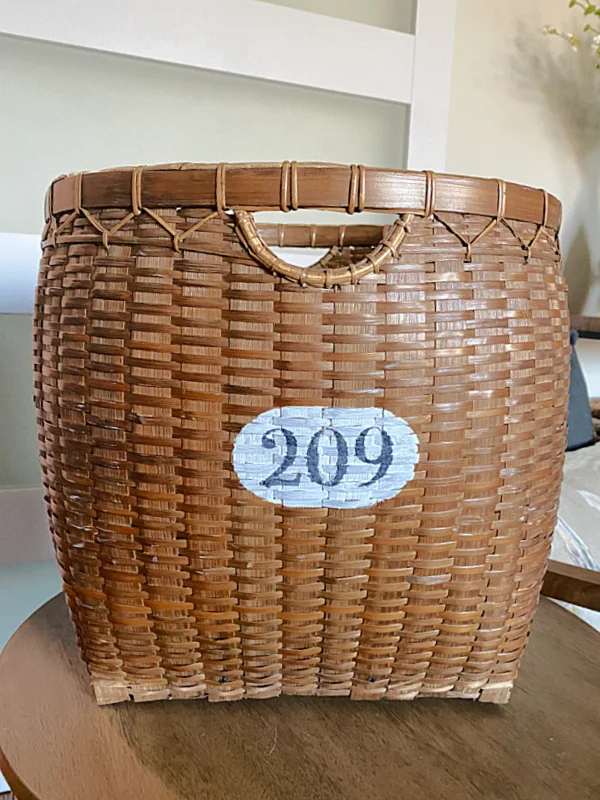
Next, I used my number stencil and dark grey craft paint to stencil in the numbers.
The number I chose is my anniversary date, February 9, we have been married 32 years! I don't know where that time has gone other than 4 daughters and 7 grandchildren and counting...
This would make a great gift for someone using their special numbers! Maybe even a special birthday.
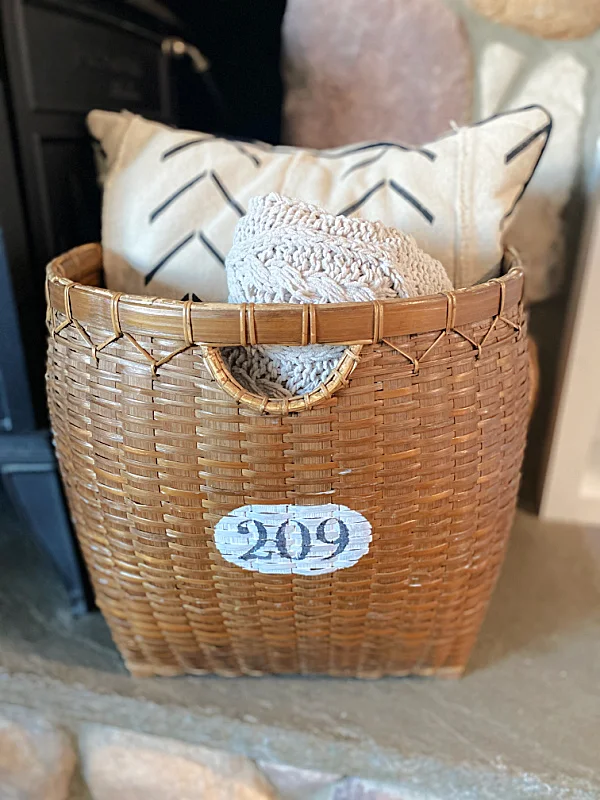
Let the paint dry and fill the basket with blankets and pillows.
READ MORE: UPCYCLED BASKETS
Please pin for later --->>
It is the cutest! I was so lucky to find such a great basket but there are millions out there. I've upcycled many baskets in my time!
READ MORE: THRIFTED PROJECTS
Look around your house, you probably already have a basket that you could add a quick stencil to.
Thanks so much for visiting and before you go please take a minute to sign up for the Homeroad emails so my next DIY tutorial will go straight to your inbox!


