Crafty Girl Craft Organizer Tote
Today's project fills a need for sure!
I have a workshop in my basement but I work all over the house. I craft in the office and right on our huge kitchen island.
I am forever forgetting things that I need in the basement. Or if I try to bring up everything I need I usually have my hands and my pockets full on the way up the stairs.
Today I'm going to fix that problem...
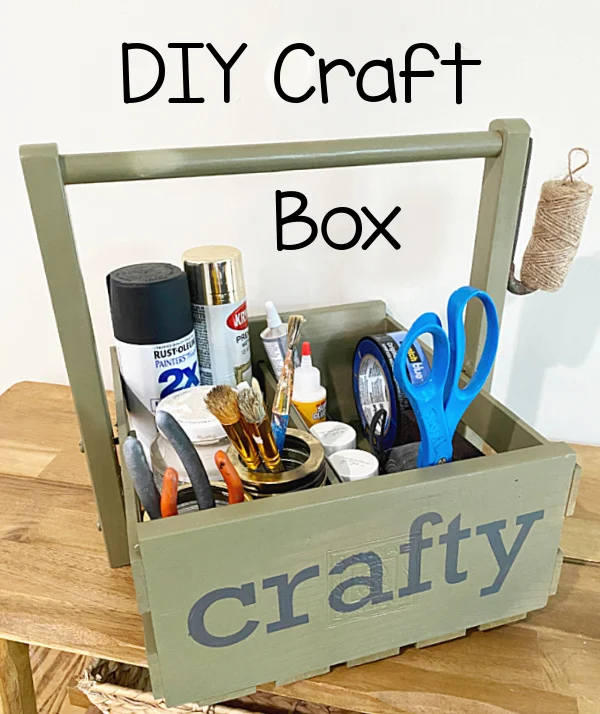
The need was for an organizer I could fill with the tools and craft supplies I use all the time that I could carry around.
As you're reading through this post please pay attention to the bold blue links that will take you to more information and the products I used for this project. Also the READ MORE sections will take you to related Homeroad projects.
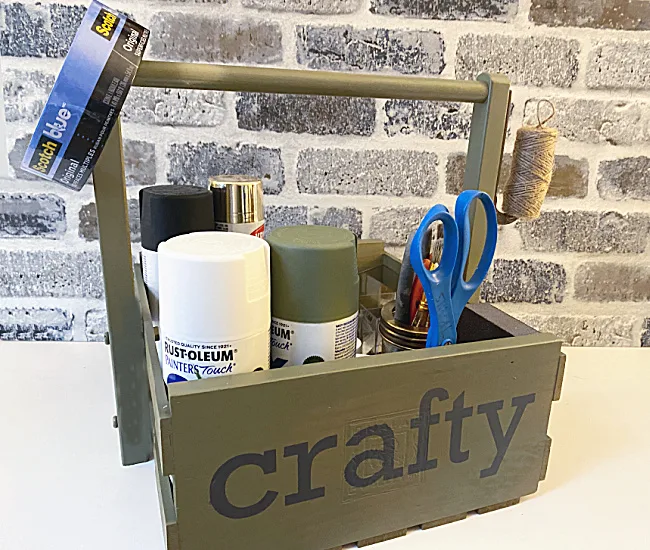
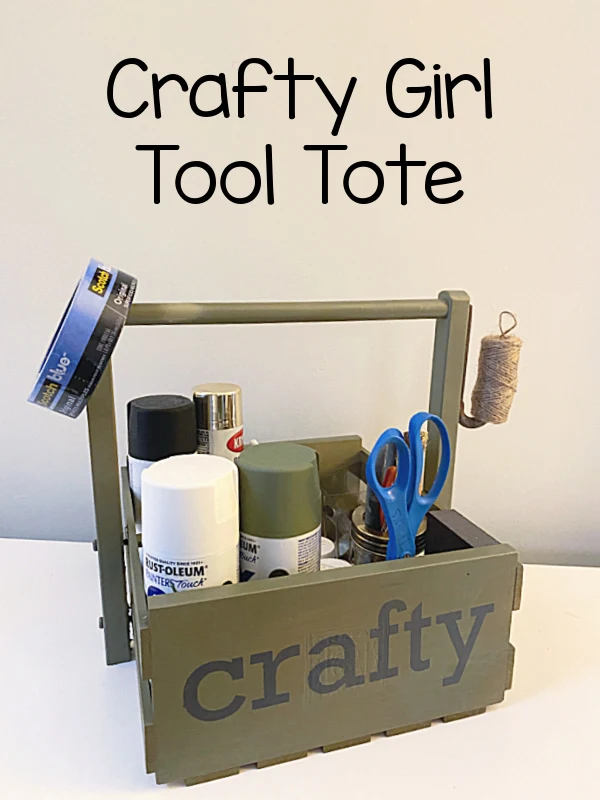
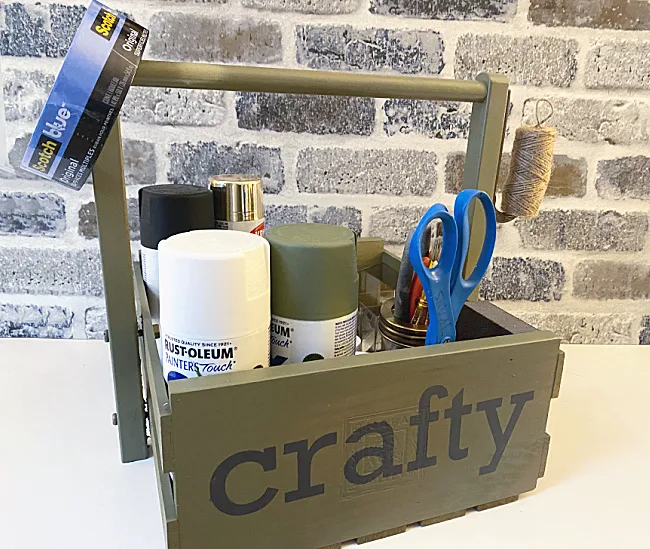
A crate with a handle!
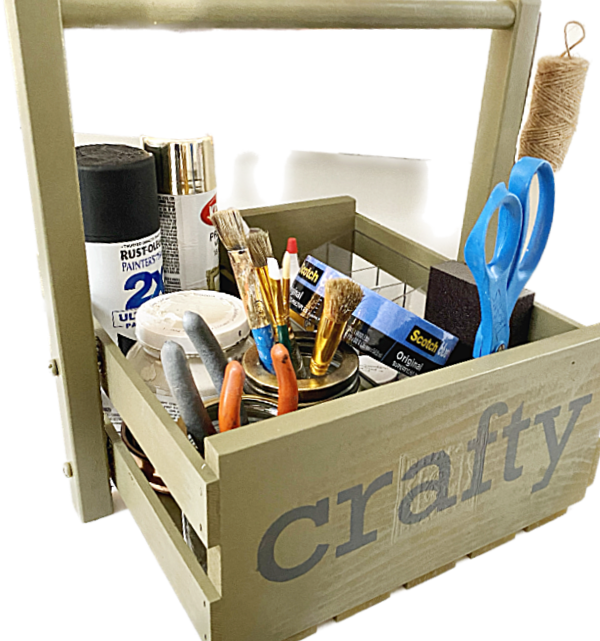
A crafty crate filled with everything I need for my projects.
I began with the absolute perfect handle that was what was leftover from the tray table I cut apart for this project.
I also just happen to have a divided wooden crate that the handle fit on perfectly.
I drilled a couple holes on each side and inserted a screw and bolt to hold on the handle.
The next step was to paint the crate. I brought it out into the garage where I do a lot of my spray painting on rainy days. I used spray paint in the color Oregano which is a beautiful mossy green color. (The color doesn't show correctly in this photo because of the florescent lighting in the garage)
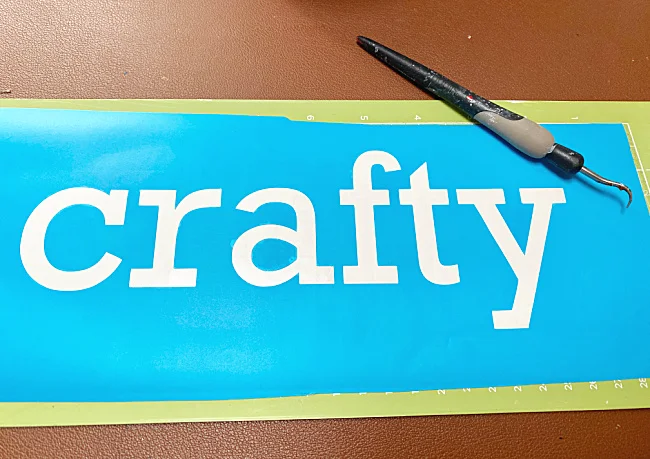
Next, I wanted to add a stencil to the front of the box. I created the word "crafty" with my Cricut Joy vinyl cutting machine.
I cut it out on stencil vinyl which is the BEST thing to use for stenciling.
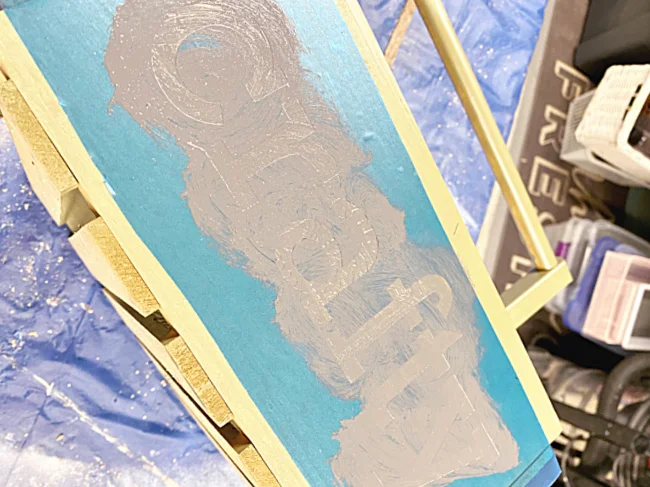
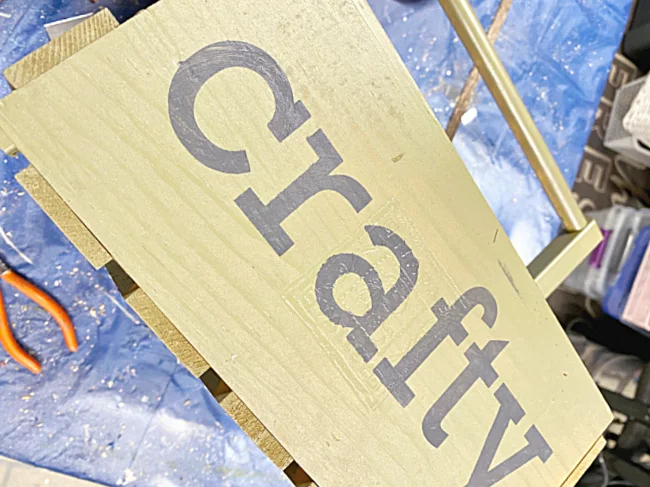
I stenciled the word "crafty" with a dark grey craft paint.
When the paint was dry I began adding fun little accessories to the crate that would hold my supplies.
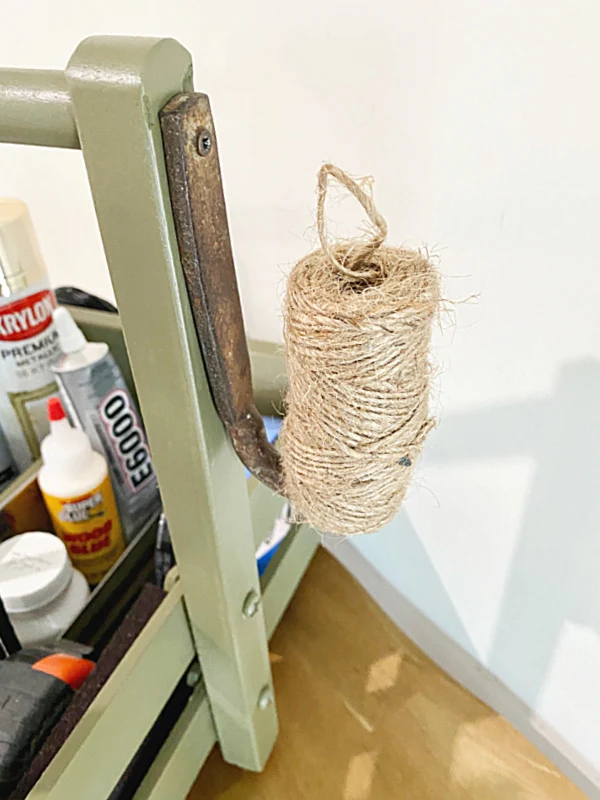
First, I added a rusty hook to the handle to hold twine.
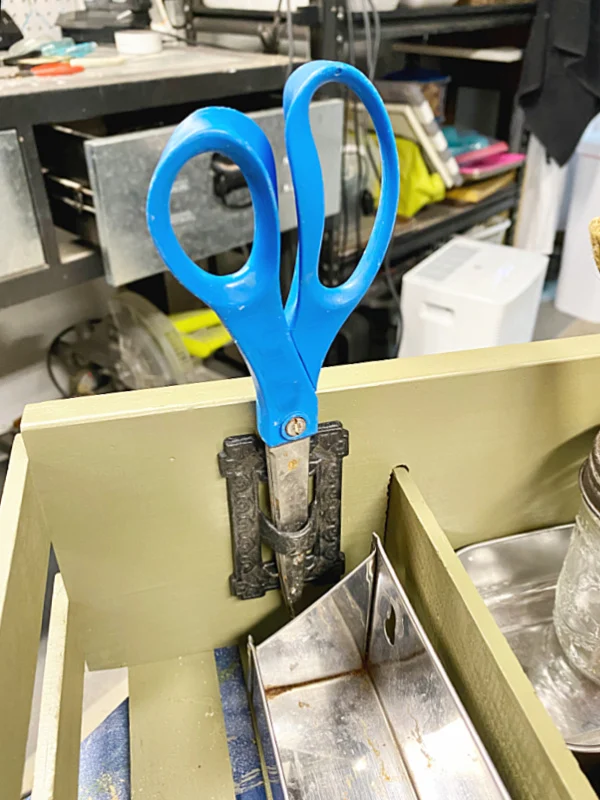
I added a random metal piece I had to hold the scissors on the inside of the crate.
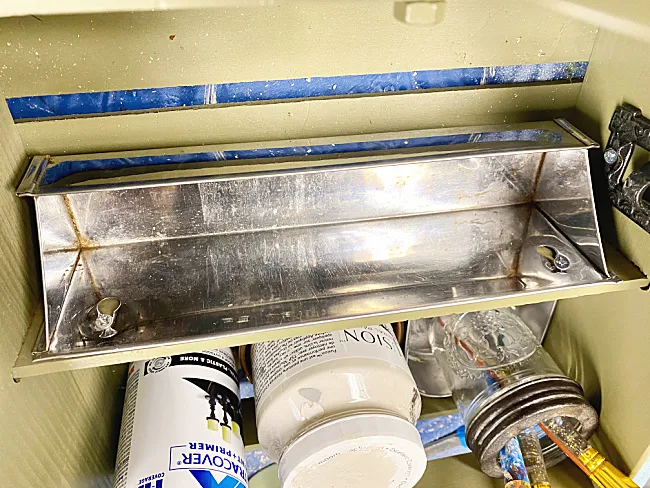
I had a metal hanging shelf that I added to the inside of the crate to hold smaller items.
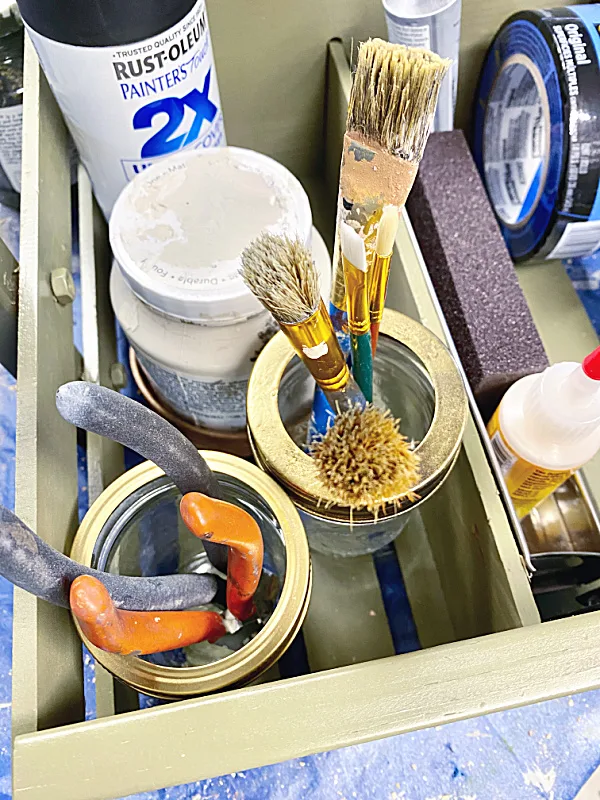
Also, a plastic organizer from the Dollar Tree is perfect for holding screws and small pieces.
Mason jars with gold painted rims hold my paintbrushes and tools.
And lastly, a hook on the outside to hold my rebar wire.
I usually have to make a couple trips to the basement for paint, tape, tools, and a tape measure. Having them all in one place that I can just grab and go is going to be a time saver!
READ MORE: DIY TOTES
Please pin for later --->>
I hope you like the crate I made, it really was an easy project with not too many cuts.
Fill a crate with your craft supplies and add a handle for the perfect craft tote!
READ MORE: CRAFT IDEAS
Thanks so much for visiting and before you go please sign up for the Homeroad emails so my next DIY tutorial will go out straight to you!


