Glass Bead and Bell Wind Chime
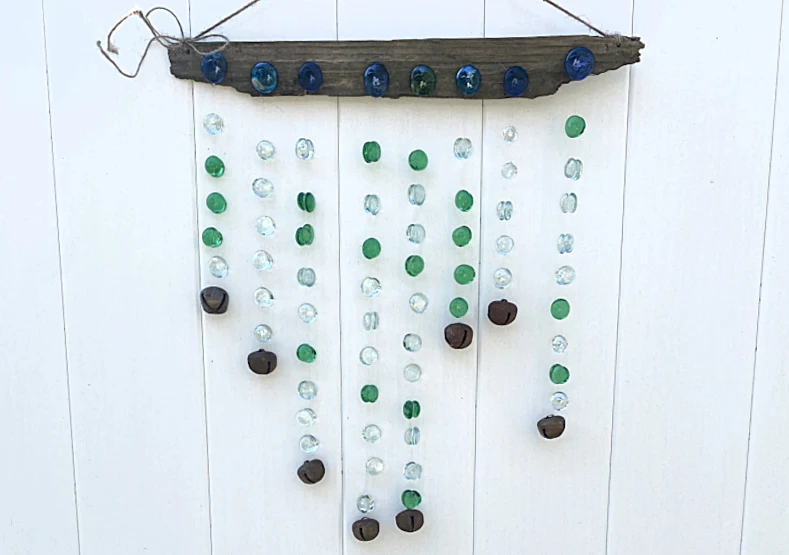
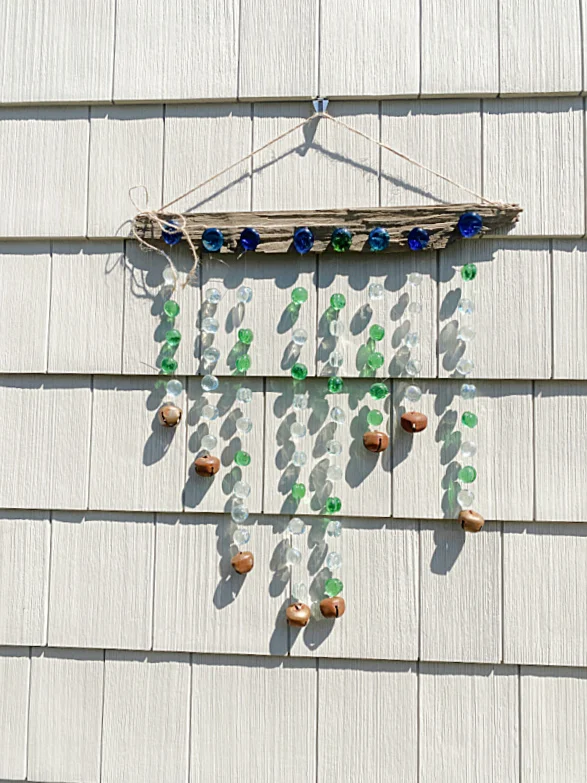
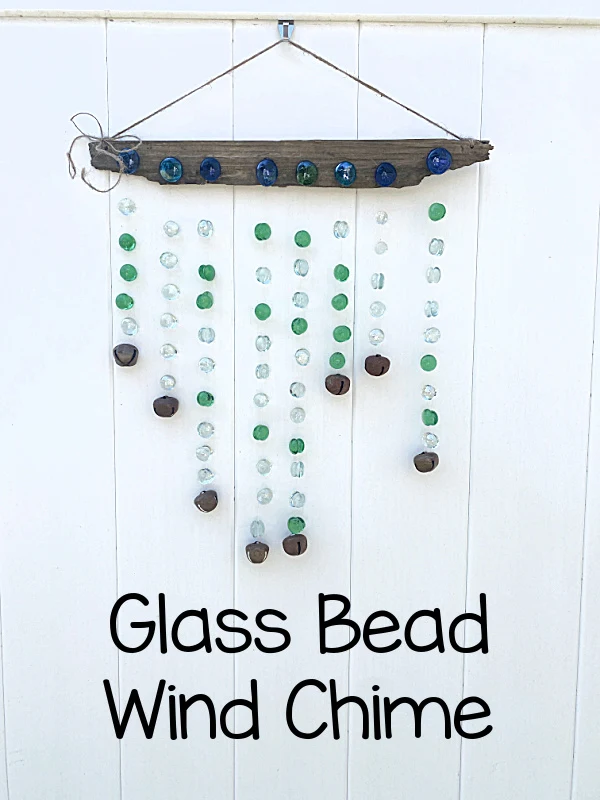
Today I made a fun and interesting wind chime to hang on my fence for cheap!
This quick little project catches the light and gives a little jingle when the wind blows.
A few supplies from the dollar store and a few more from my stash and I was ready to create!
Take a look...
As you're reading through this post please pay attention to the bold blue links that will take you to more information and the products I used for this project. Also the READ MORE sections will take you to related Homeroad projects.
I began with a few simple supplies.
- glass beads from the Dollar Tree in 2 colors
- E6000 glue (I like the minis best!)
- A piece of drift wood
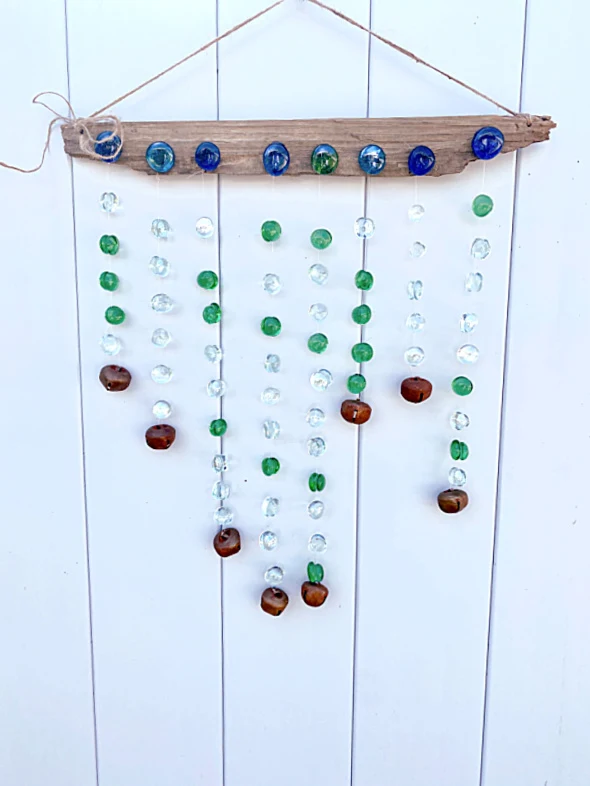
I began by tying a bell at the end of a length of fishing line. The length of the fishing line is up to you, mine are about 18 " long.
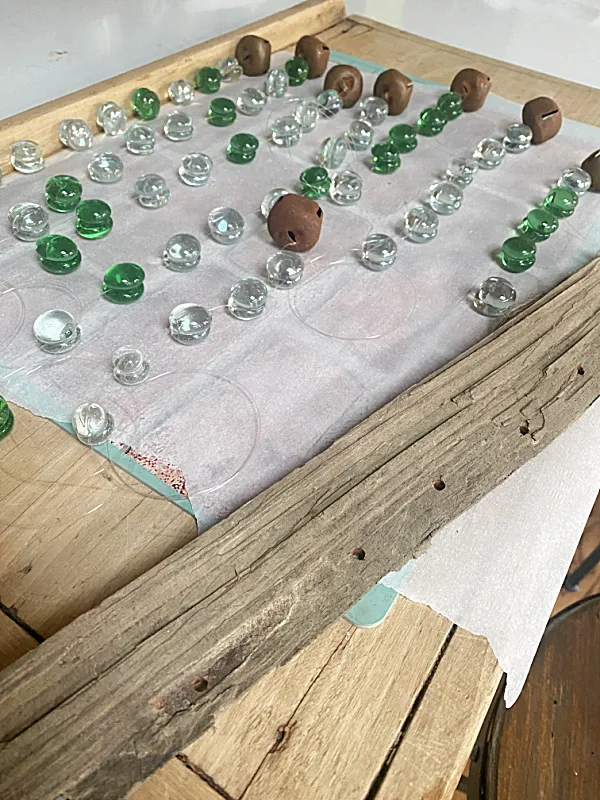
Once the bell was tied on the end I began attaching the glass beads. I used a drop of E6000 glue and sandwiched the fishing line between 2 glass beads.
I did this all the way up the length of the fishing line leaving about 4" at the end.
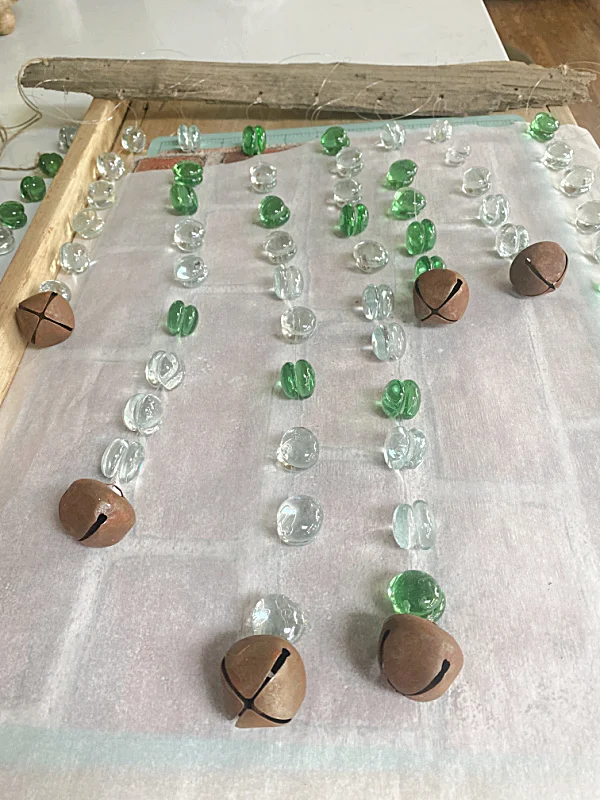
I did this to about 8 lengths of fishing line. I made some beaded strings shorter and some longer.
The longer lengths had a bell at the end and about 8 beads, the shorter had a bell and 5 beads.
I let the glue dry for about 5 hours.
Next, I found a piece of drift wood. A branch or a piece of scrap wood would work too.
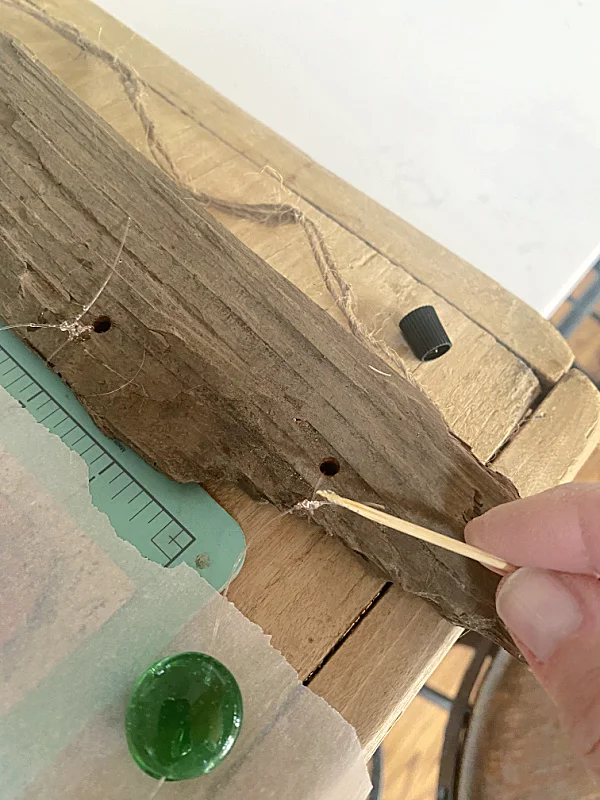
I drilled 2 holes for a hanger and 8 holes for my beaded strings.
I tied each of the beaded strings in random order through the drilled holes and added a tiny drop of E6000 to secure the knot.
At the end I added some larger glass beads I had in my workshop but this part was not necessary.
READ MORE: BACKYARD IDEAS
That's it!
I wish you could see the sparkle!
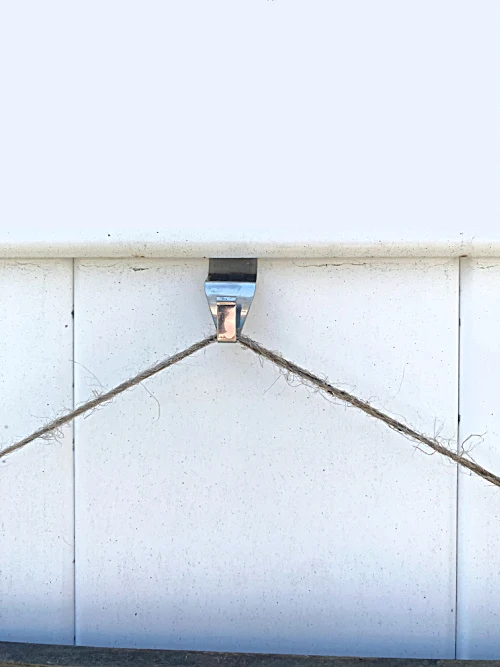
I hung the wind chime on the fence with these cool fence and siding hangers I ran across recently on Amazon!
Please pin for later --->>
I love the sparkle and the jingle this easy project gives to my backyard.
See what else I've made using these glass beads.
Thanks so much for visiting and before you go please sign up for the Homeroad emails so my next DIY tutorial will go out straight to you.

