Thrifted Old Frame Projects
I've been collecting inspiration for this project for a long time now.
All I really needed was to find the right frame.
I had a lucky day at the thrift store this weekend and came home with not one frame but two. And don't you know I had a good idea for both of them!
Take a look ...
I wasn't looking for frames this time at all. I was looking for something to complete my solar fountain project.
As you're reading through this post please pay attention to the bold blue links that will take you to more information and the products I used for this project. Also the READ MORE sections will take you to related Homeroad projects.
I ran across a wrapped set of 2 frames that were just what I had been looking for so I got started right away!
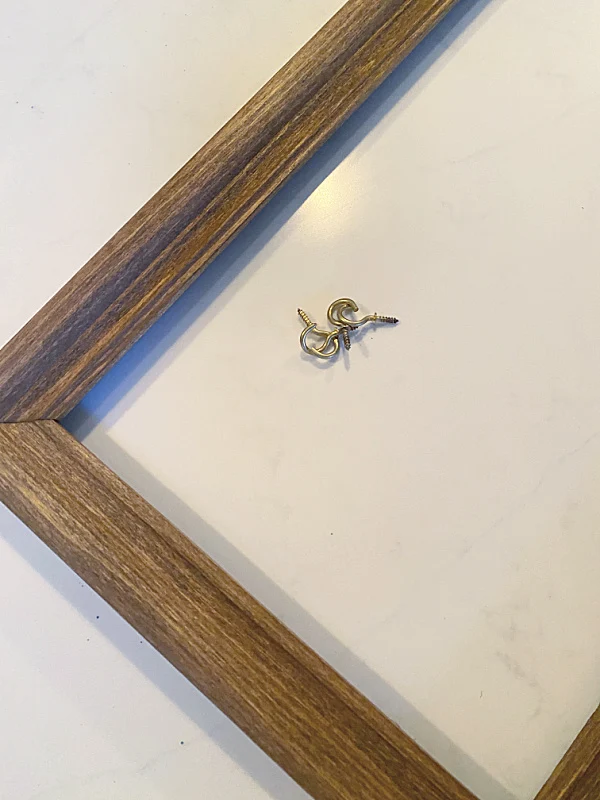
First, I removed the small screw hooks that were on the side of the frames.
I searched my workshop and found a whole bunch more screw hooks that I may use for this project.
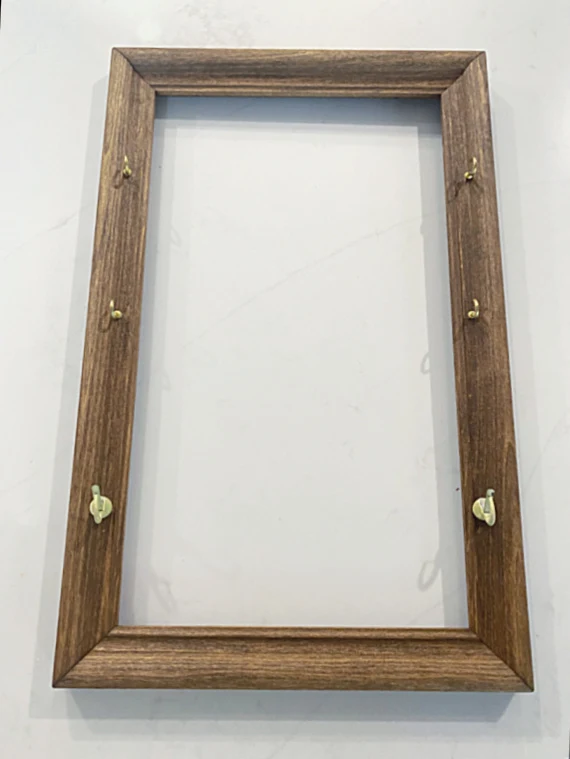
I moved the screw hooks to the front of the frame and added a couple more.
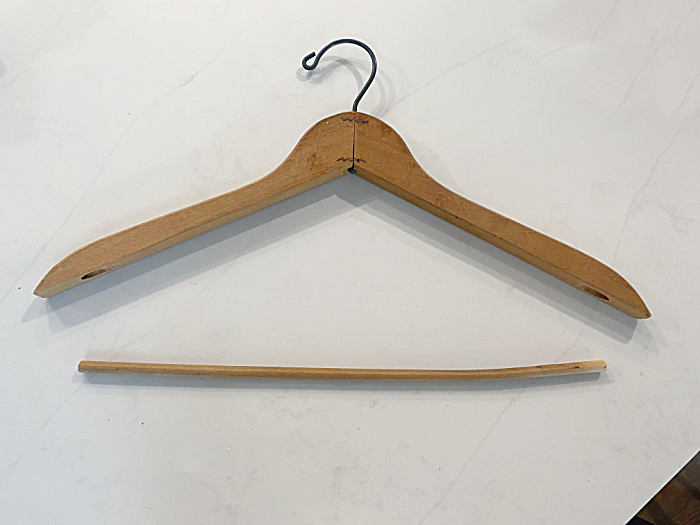
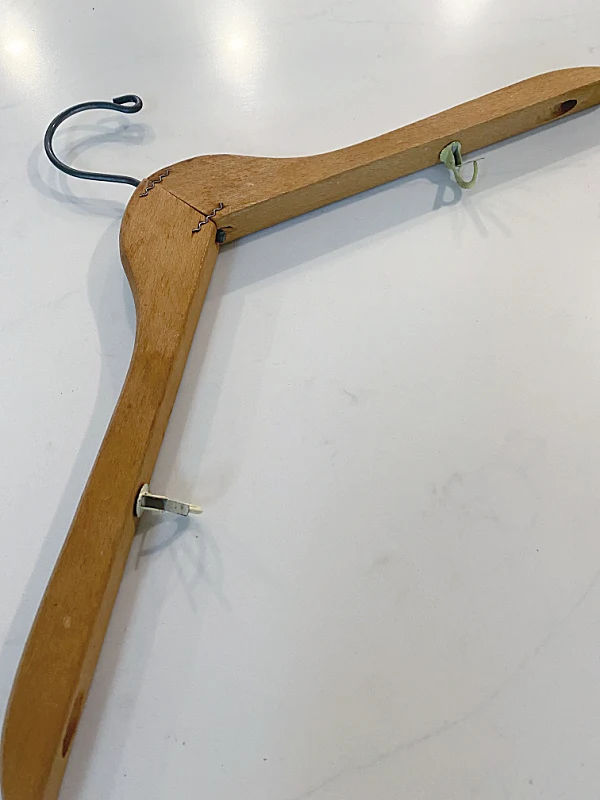
Next, I grabbed 3 vintage wooden hangers and removed the sticks on all of them. I had to use a small saw to cut one side of the stick and then it slid right out of the hanger.
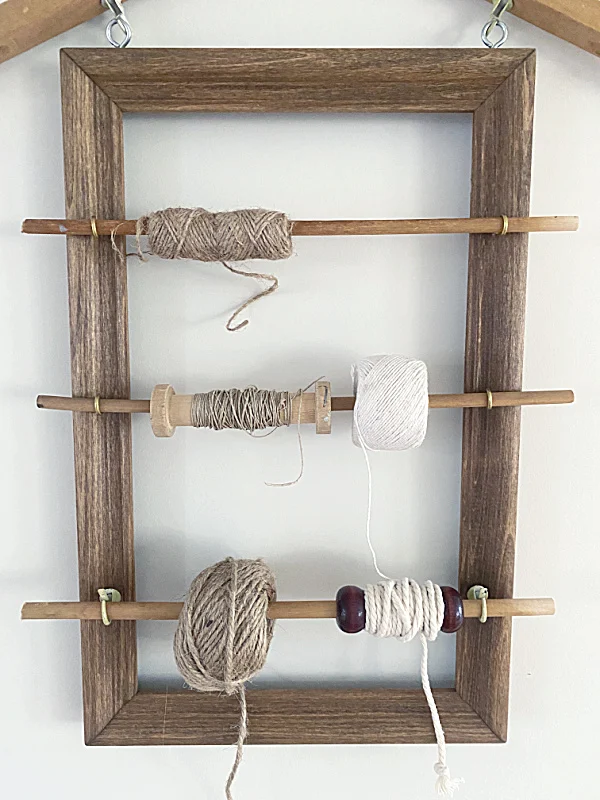
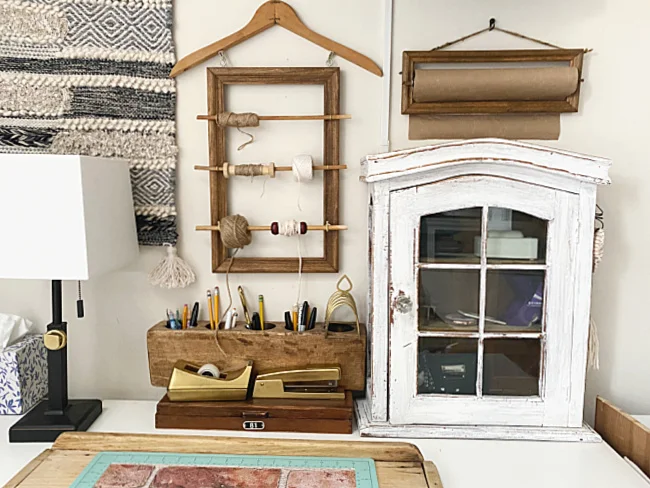
Now I was ready to use the sticks and one of the hangers. First I slid the sticks right into the hooks on the frame.
Then I gathered all the string and spools I could find and slid them right onto the sticks.
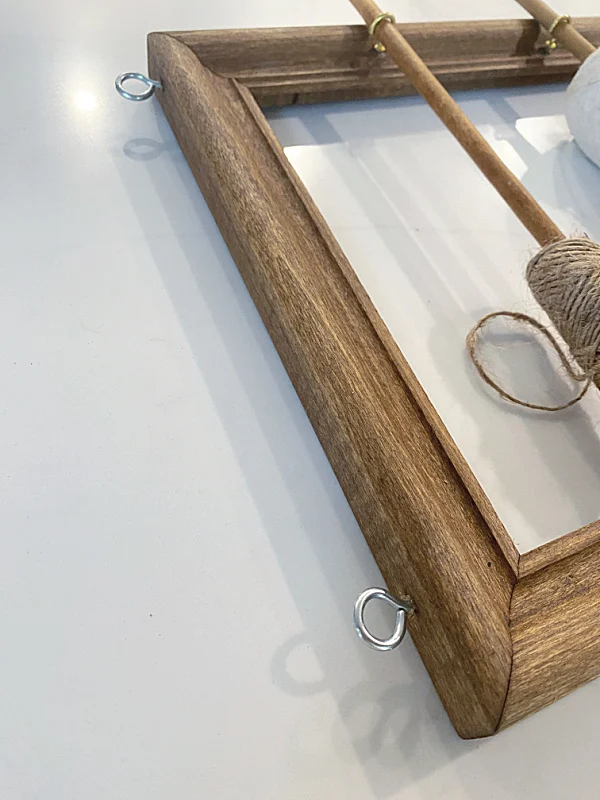
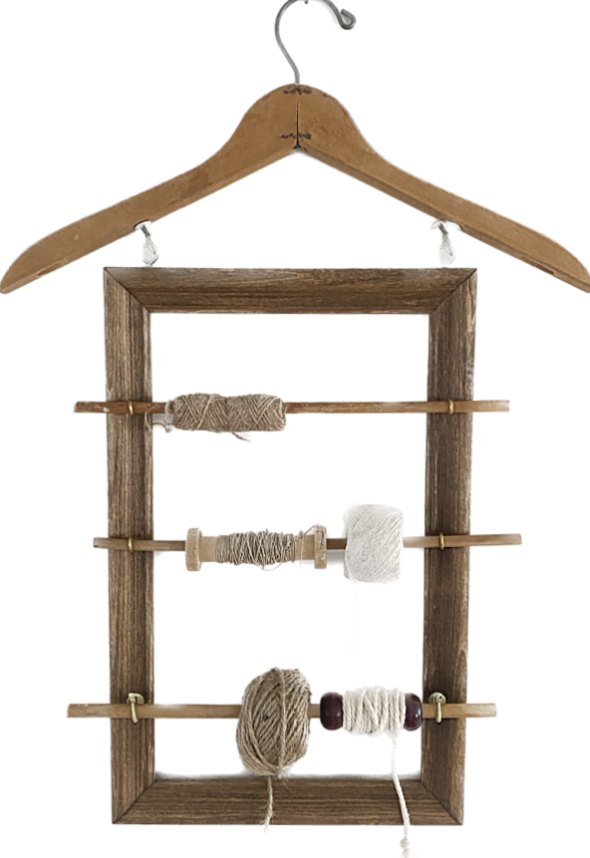
Now I needed to hang my string holder so I put 2 screw eyes in the top of the frame.
I drilled holes in the bottom of the hanger and added a couple of screw hooks that lined up with the screw eyes on the frame.
All I had to do was to clip them together and I had the perfect "hanger" for my string holder.
If you have some string that is not on a spool you can create your own spool using a long bead like this one.
Another idea is to save old spools when you've used the wire or string and re-string them.
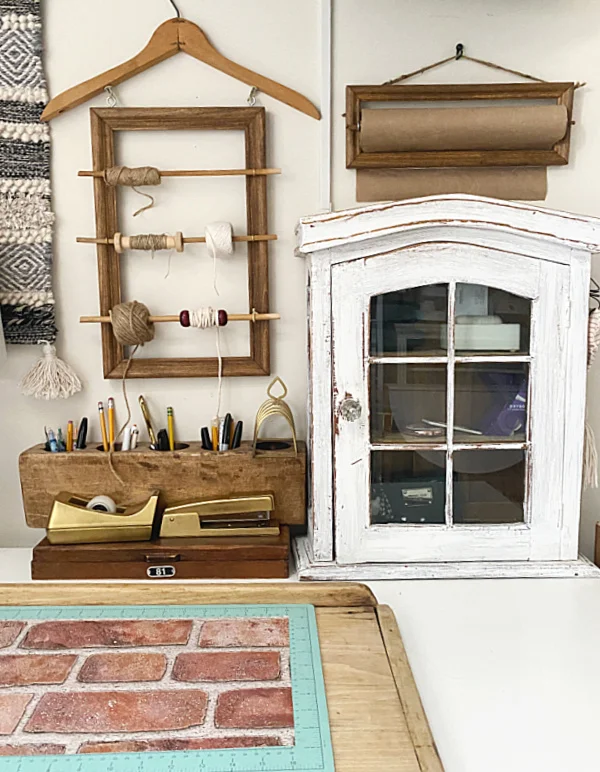
This project is perfect to hang in my office next to the metal mug holder I have hanging on the side of an old cabinet. That string holder holds a ton of crafty things!
READ MORE: CRAFT ROOM IDEAS
Now it's time to do something with the other frame. I bet you thought I'd hang on to it for a while... nope! I had an idea right away.
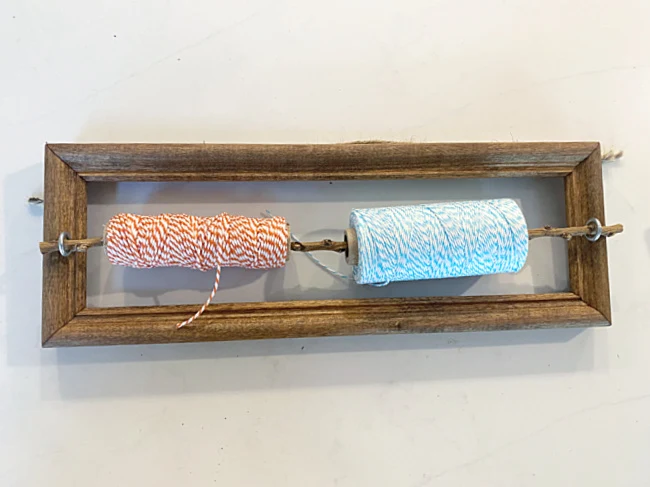
Actually I had a few ideas. First I put 2 screw eyes in the front of my frame then I used a straight stick to slide into the screws.
This is another place to hang baker's twine!
Another idea would be to use it as a washi tape organizer! Depending on the holes in your washi tape you may need a thicker dowel.
But the best idea was to use it as a brown paper holder. I don't know how it worked out but the roll of paper I had fit perfectly inside this frame! If it didn't you could always cut your paper roll to size, I've done it with a jigsaw!
The best idea yet though was to grab the serrated edge from the aluminum foil box and hot glue it to the back bottom edge of the frame.
Now you can cut the paper by just dragging it across the serrated edge!
Please pin for later --->>
I'm going to love adding both of these projects to my craft room and I just love the vintage vibe of both of them.
Thanks so much for visiting and before you go please sign up for the Homeroad emails so my next DIY tutorial will go out straight to you!


