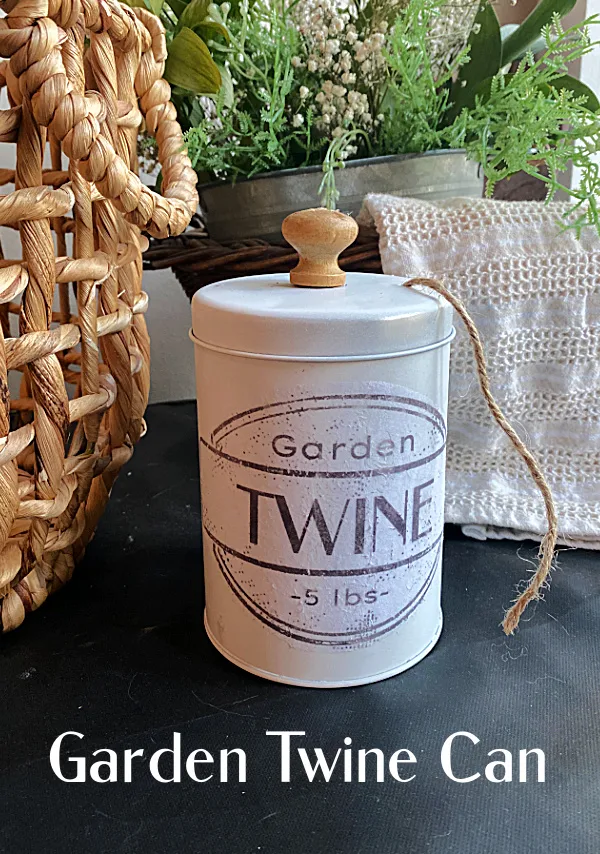
Recycled Garden Twine Can
If you've been following along for a while you know I often get inspired by things I see online and make them with my own spin.
I encourage everyone to do that giving credit where credit is due of course.
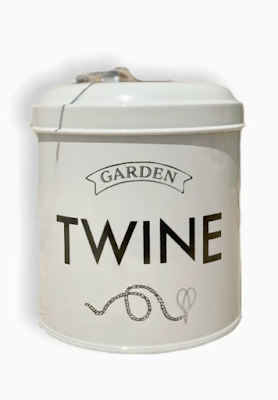
Today I saw the cutest can that holds twine and I knew it would be an easy project using a recycled can.
Take a look...
So I happen to be addicted to all things twine, especially twine holders. I've made a ton of them, you can find the links below...
As you're reading through this post please pay attention to the bold blue links that will take you to more information and the products I used for this project. Also the READ MORE sections will take you to related Homeroad projects.
Every kind of twine holder captures my attention and this one is no different. This gorgeous can is sold on French Mercantile Home and can be purchased for a great price.
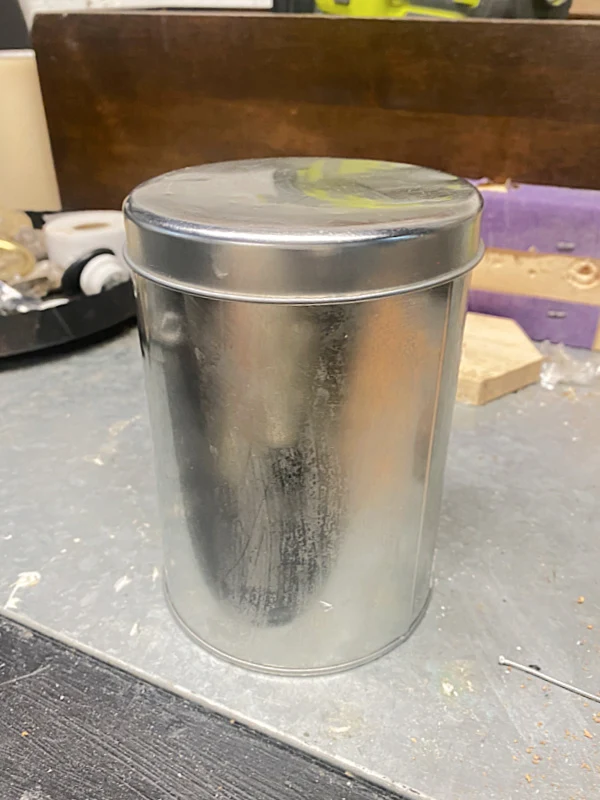
Today I'm going to make my own version using this old dusty can I've been hanging onto. You can also use a coffee can.
Supplies to make a twine holder can:
- metal can with lid (see some suggestions below)
- printer
- matte Mod Podge
- brush
- knob
- white spray paint
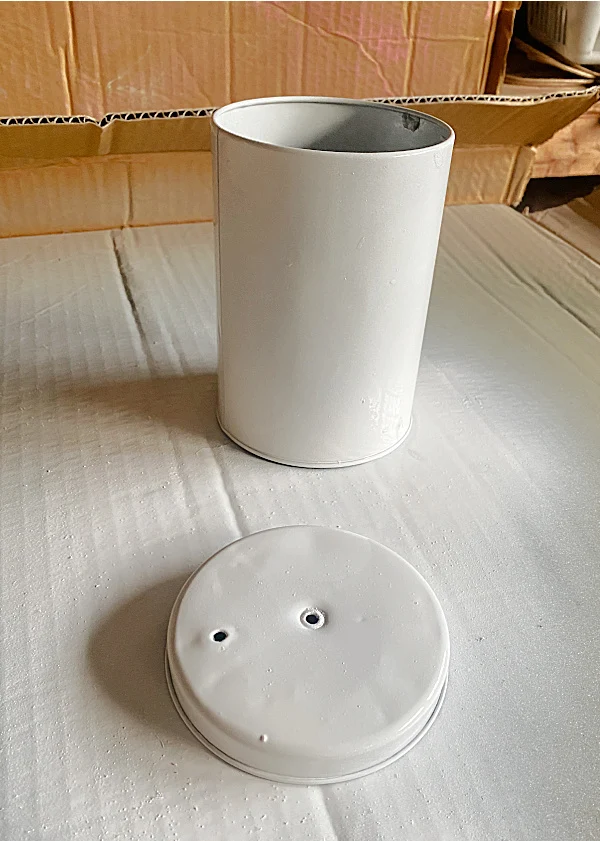
The first thing I did was to bring the can out in the garage and spray paint it using a matte finished white spray paint.
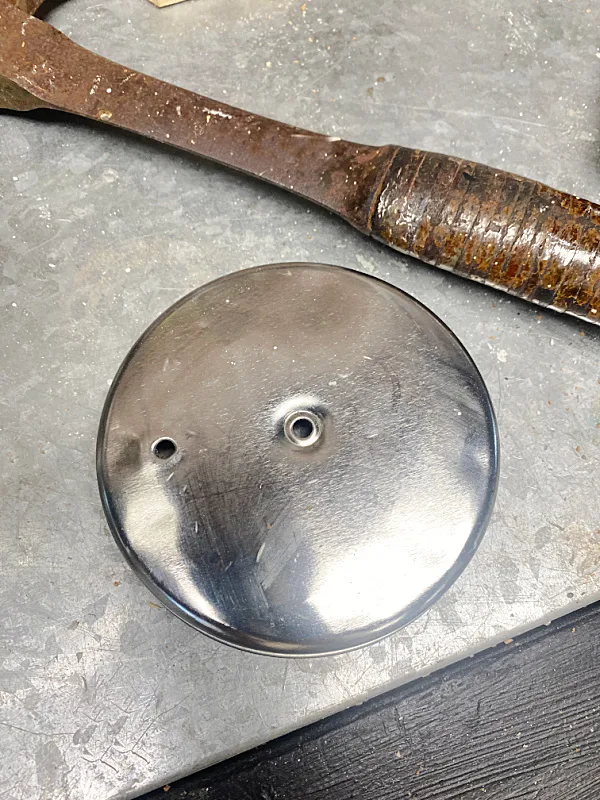
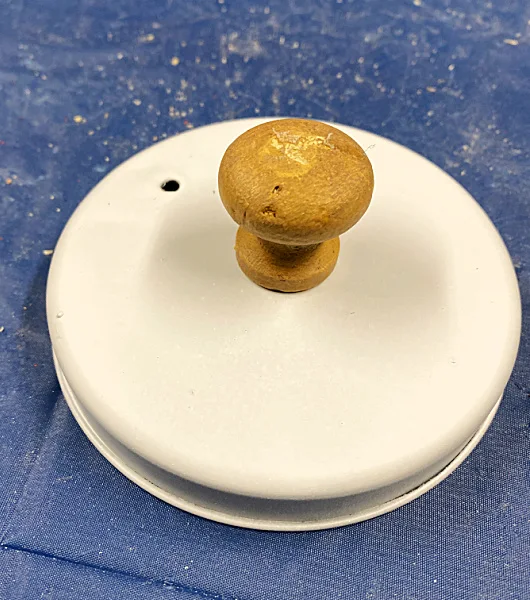
Before I painted it I drilled two holes into the top of the can, one in the center and one off to the side.
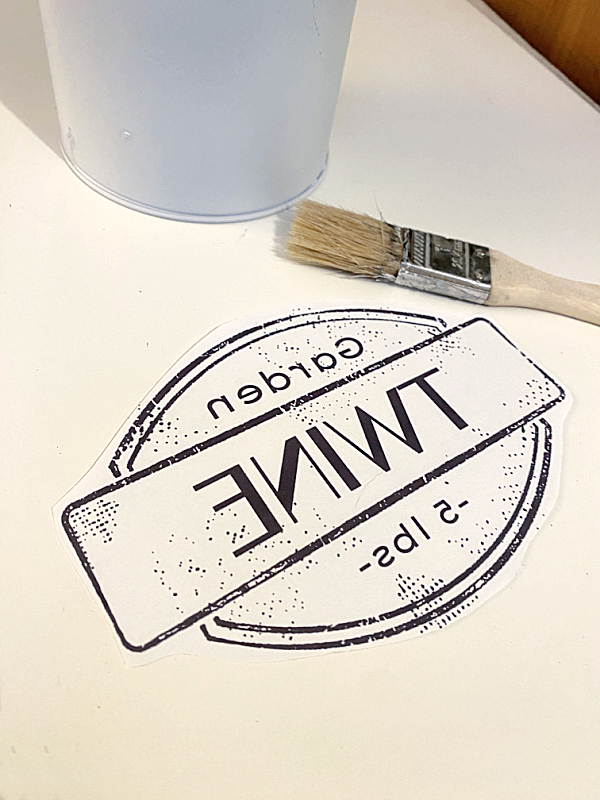
I created a vintage looking label using PicMonkey and I'm sharing my design with you below. I'm using my Epson Ecotank Printer, the best investment I have made for my business and my teaching career. It uses so little ink and the ink lasts for a year!
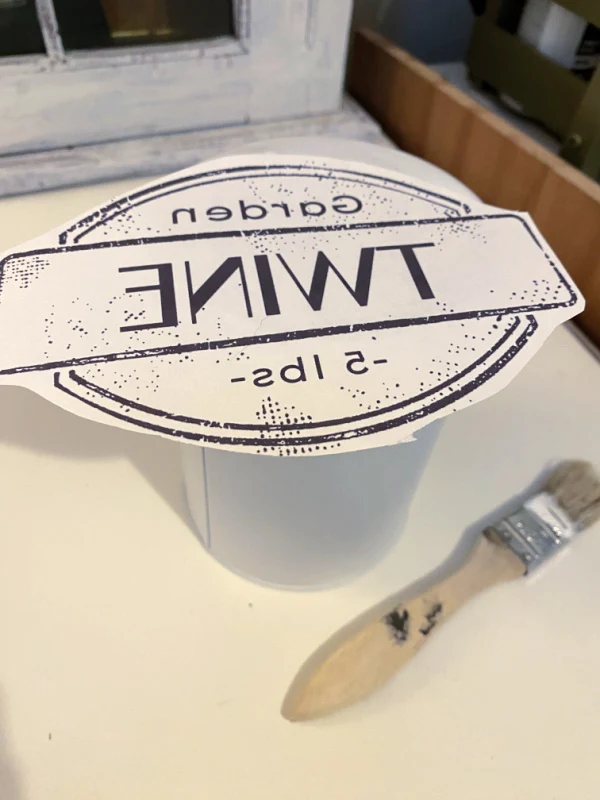
Yes, the design is in reverse, you will need that for this project. You can use this one, just adjust it when you print for the size of your can:
I cut out the label then painted Mod Podge to the inked side of the design.
I adhered it to the can then left it overnight to dry. This technique occasionally fails and I believe it is because it is not left to dry long enough.
In the morning I used a tiny bit of water on my hands to rub off the paper. Keep rubbing gently until the design is all that is left on the can.
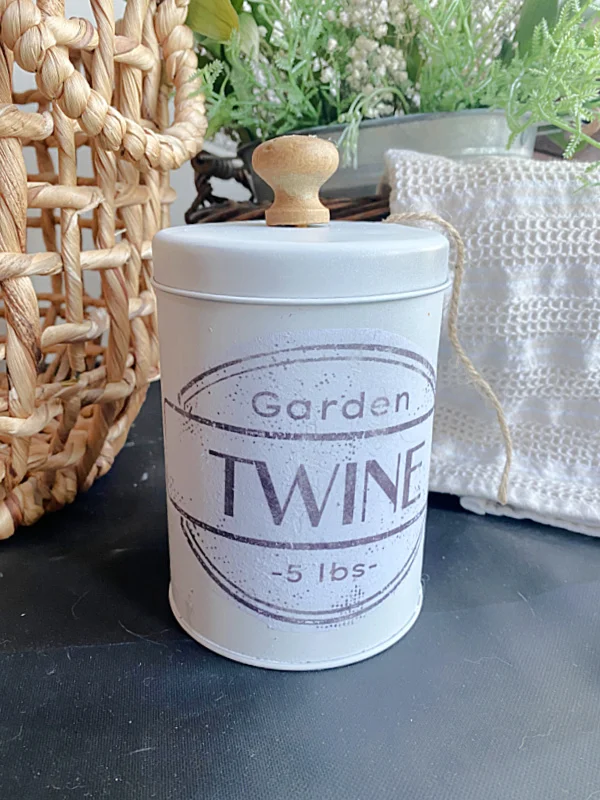
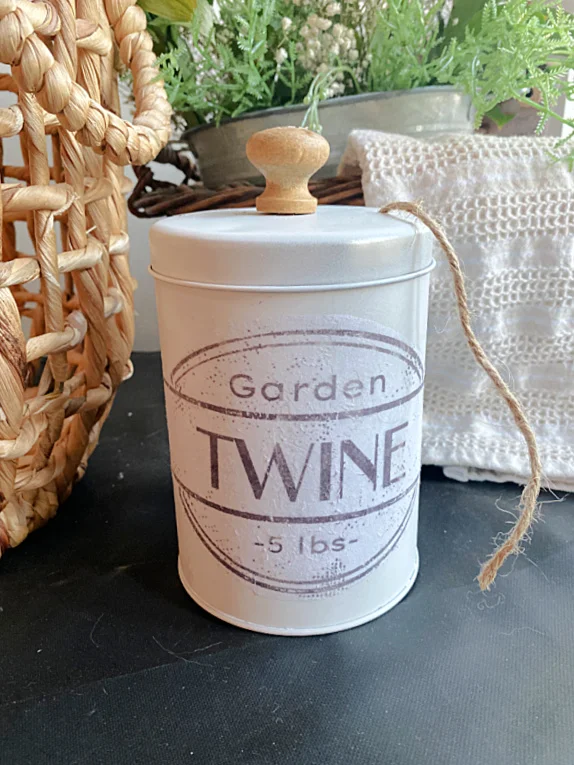
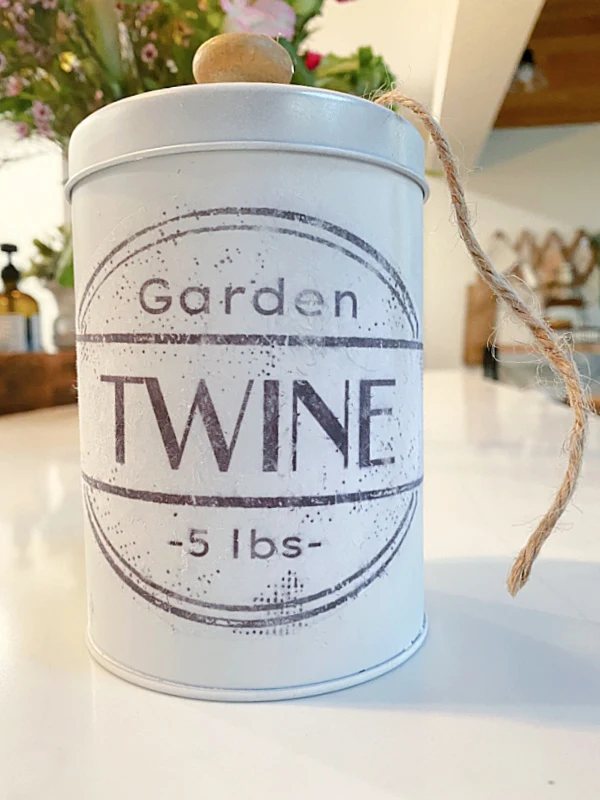
The design stayed on the can perfectly this time! If you did have any of the image rub off you could either go with that distressed look or use a Sharpie marker to draw in the holes. Even the most experienced crafters cheat a little LOL!
I usually give it a day to dry then I rub a little more to remove all the paper remnants if there are any. After that I give it a spray coat of sealer. You can read more about this technique in this post.
For the top I searched my collection for the perfect knob for the top and I think I found it! I glued the knob into the center hole on the lid.
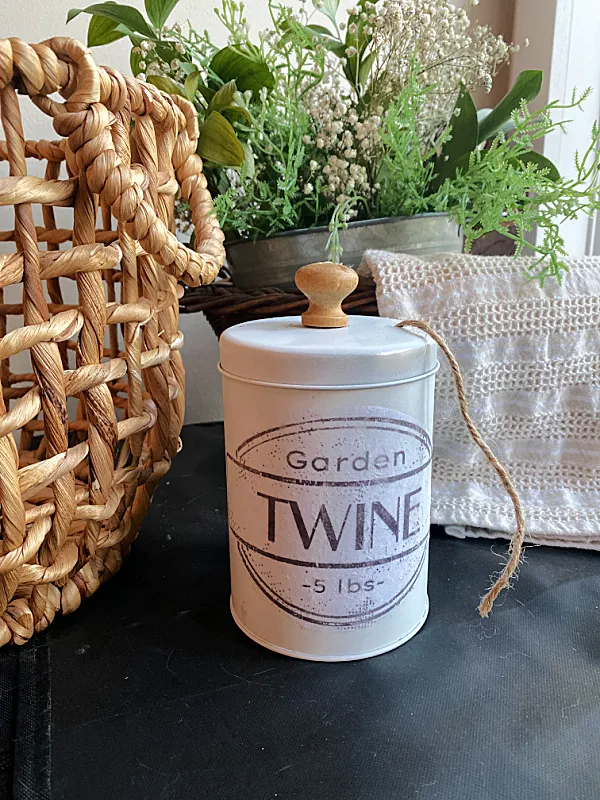
All that was left to do now was to drop in a ball of twine!
At this point, after you've sealed your label, you can use dark wax to "dirty it up", add black sharpie to give it an enamelware look, or leave it as is!
PLEASE PIN FOR LATER >>
READ MORE: DIY GARDEN IDEAS
I think this turned out amazing and since I am a string holder hoarder I'm adding it to my collection.
READ MORE: DIY STRING HOLDERS
Thanks so much for visiting and before you go please sign up for the Homeroad emails so my next DIY tutorial will go out straight to you!


