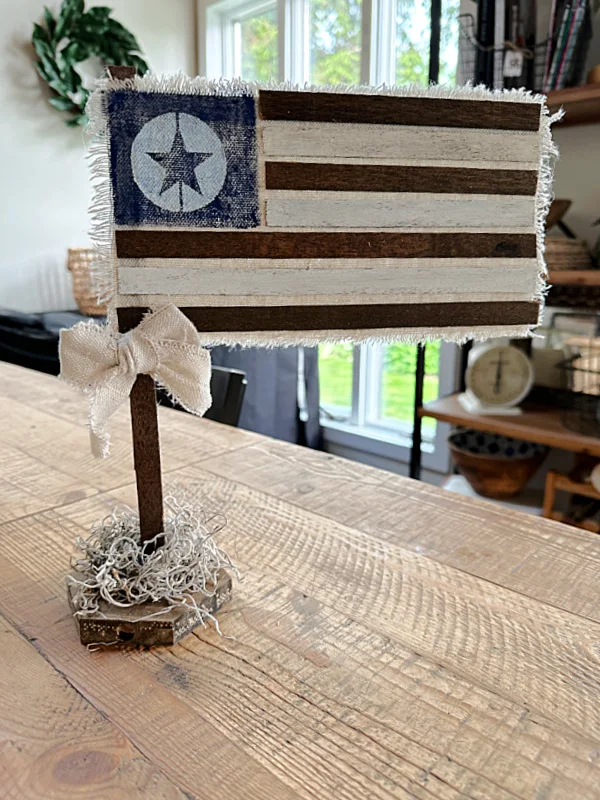
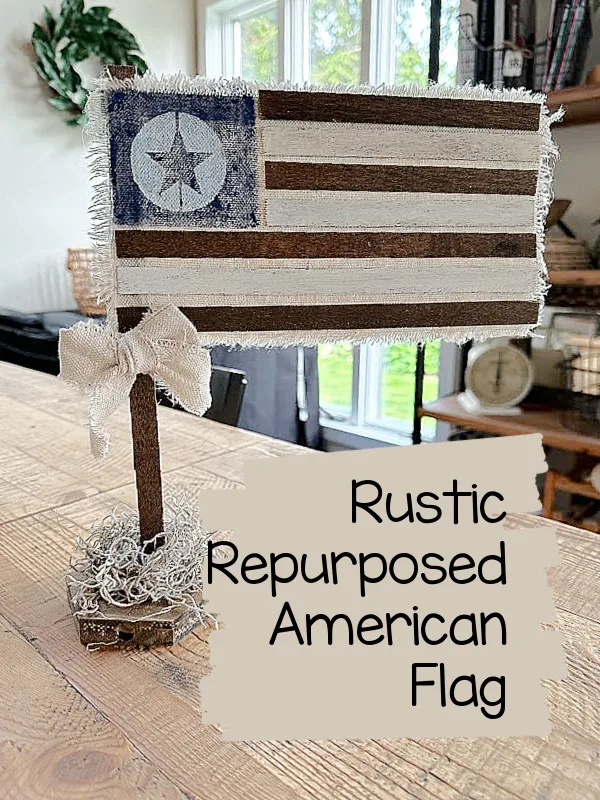
Rustic American Flag Shelf Sitter
My advice for today is to never throw out an old wooden roller shade, especially the ones with the larger slats.
I have made a ton of projects using just one broken wooden roller shade including the fun patriotic one today!
Take a look!...
First of all I began with a wooden roller shade.
You can often find them in the thrift store or if you use them in your home like I do, you know the cord gets tangled, the wood gets dry, and they need to be replaced. I have one hanging in my basement and since I've been using it on so many projects, it is getting smaller and smaller!
As you're reading through this post please pay attention to the bold blue links that will take you to more information and the products I used for this project. Also the READ MORE sections will take you to related Homeroad projects.
Today I'm creating a rustic American flag on a flagpole to decorate for the summer months and you can bet I'm using the crafty tote I made recently to store my supplies.
These are the supplies you will need to make a repurposed American flag:
- an old wooden roller shade
- blue and white paint
- hot glue
- a stand of some kind
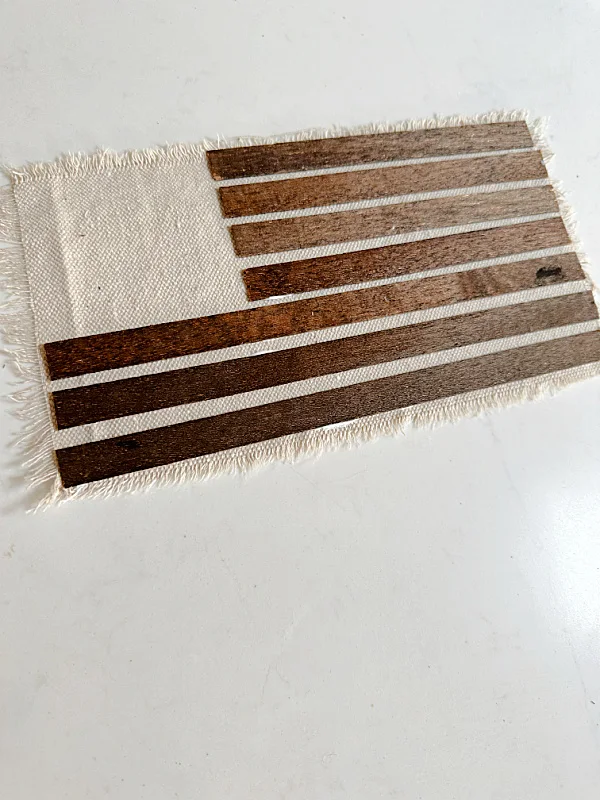
First I cut and frayed a piece of drop cloth material into the size I wanted my flag to be.
Next I cut 3 longer wooden "stripes" and 3 shorter stripes for my flag. If you don't have a wooden shade you can use popsicle sticks but your flag will be smaller.
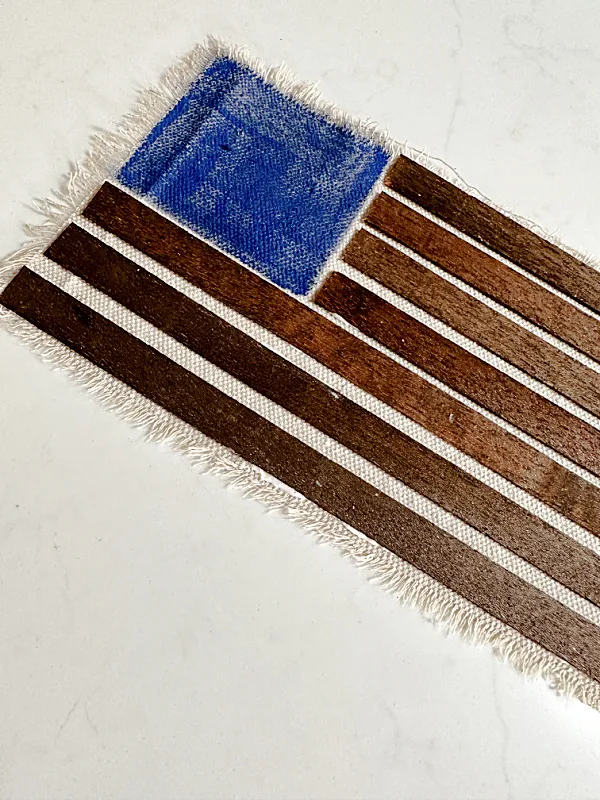
When all the stripes were in place it was time to do the field of blue and the star.
Next, I painted the square of drop cloth that was left in the corner blue with craft paint.
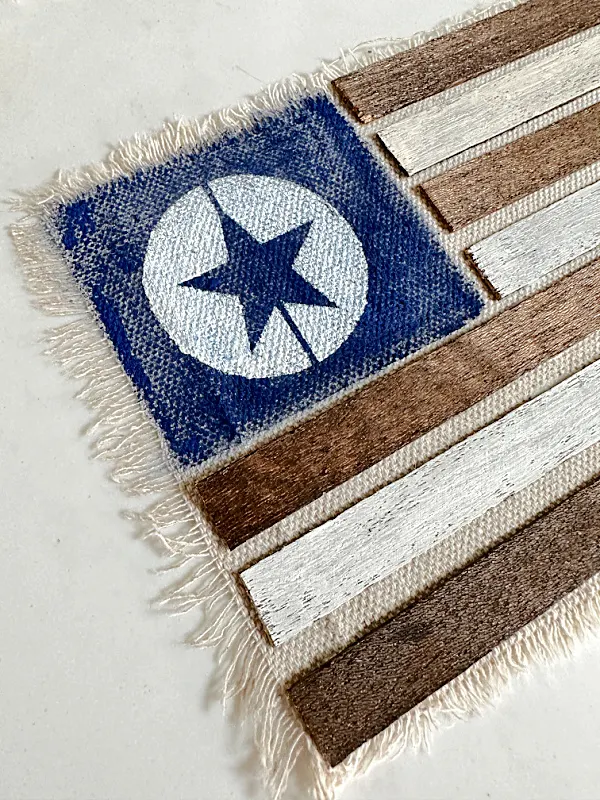
How to make a field of blue with a star on an American flag:
Now it was time for the star. I'm using a star from the large Bingo stencil from Old Sign Stencils. It was the perfect size for my field of blue! I just love how you can use bits and pieces of the Old Sign Stencils for many projects!
I stenciled the star with the same white craft paint as the stripes. Then using white craft paint I painted every other stripe in my flag. I'm leaving the "red" stripes the natural wood color.
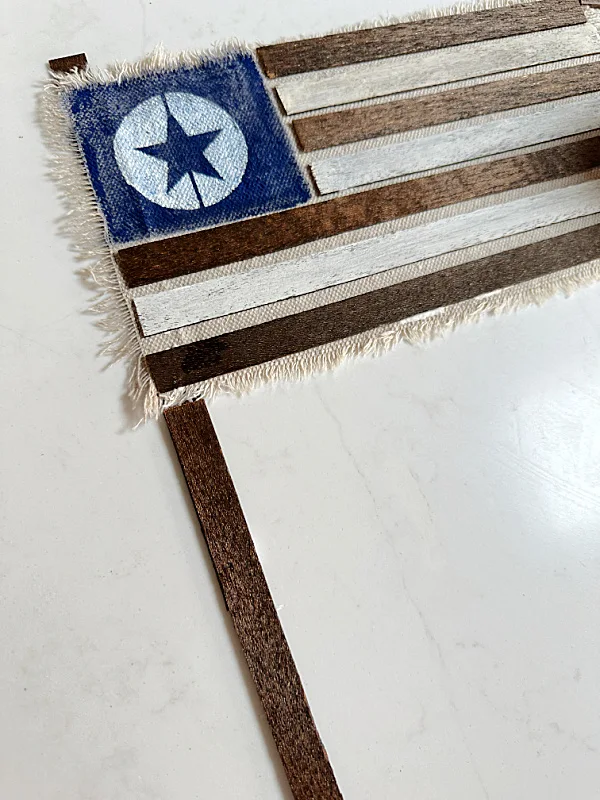
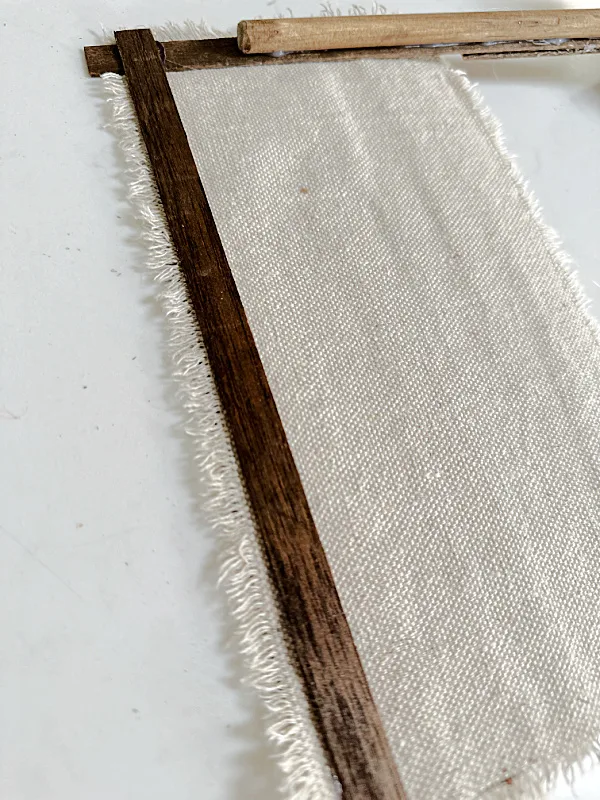
Next, I attached another wooden slat from the shades to the side of the flag.
I hot glued another wooden slat to the top-back of the flag so it would stand out straight.
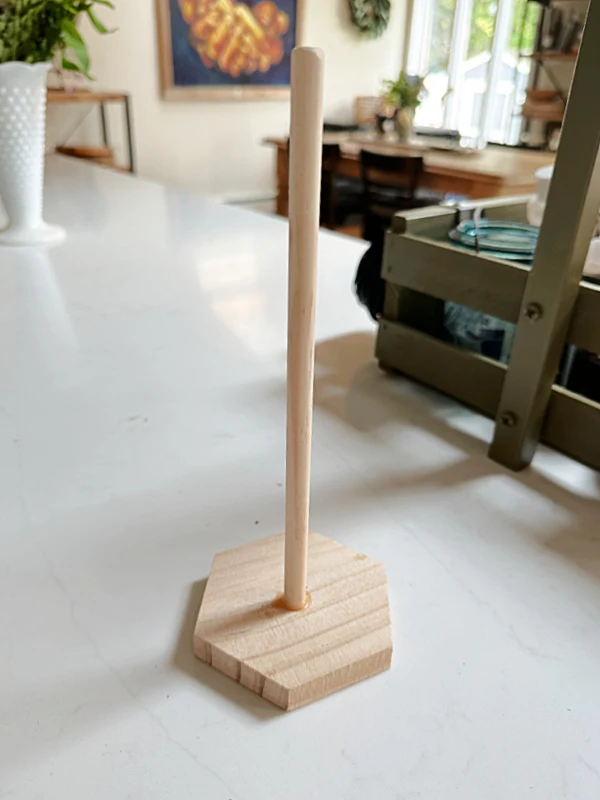
I needed a flagpole now so I used a dowel drilled and nailed into a wooden base. If you don't want to use a flagpole, you can attach something to the back of the flag to hang it.
I stained the base and the flagpole with a stain that would match the slats from the shade.
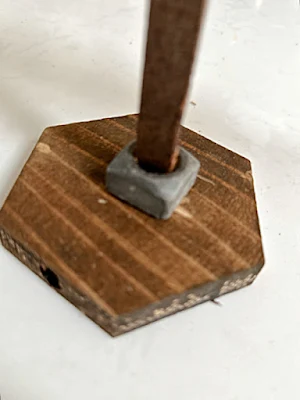
I realized at this point that I was going to need to add some weight to my flagpole so I slid a heavy metal nut to the bottom of the base.
Lastly, I glued the flag to the flagpole with hot glue.
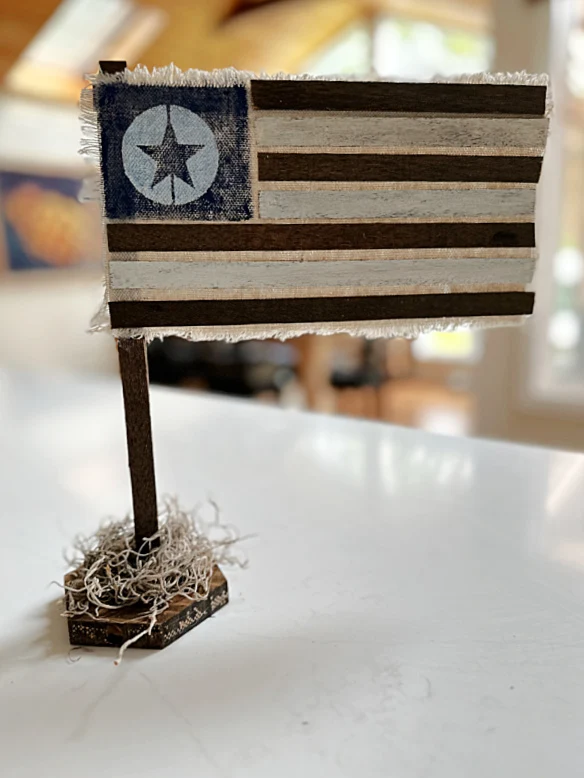
I covered the nut and the base with Spanish moss to cover the base and it looks great!
I decided in the end to tie a small drop cloth bow around the flagpole and I was done!
Please pin for later >>
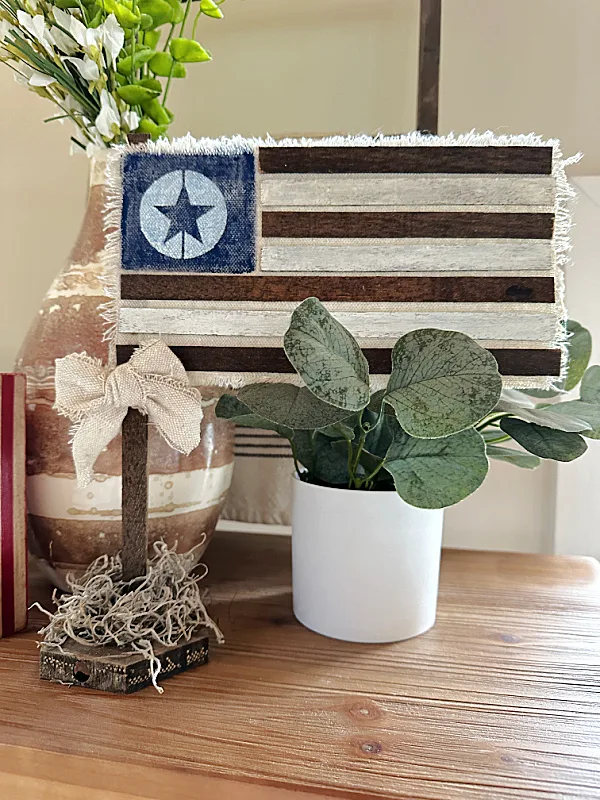
I think this little flag looks adorable and has a great rustic vintage feel too!
READ MORE: AMERICAN FLAG PROJECTS
You can read all about my rustic wooden table runner in this post.
Read about the fun American flag firecrackers in this post.
READ MORE: REPURPOSED PROJECTS
Thanks so much for visiting today and before you go don't forget to sign up for the Homeroad emails so my next DIY tutorial can be sent straight to you!


