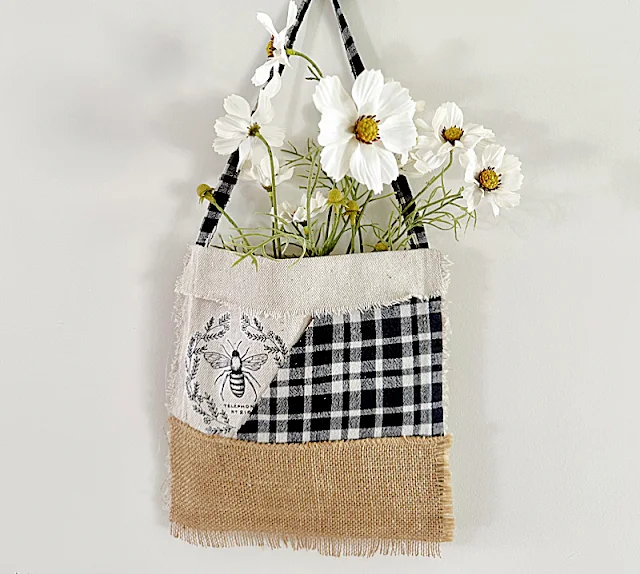
Patchwork Flower Pocket with a Transfer
Today's project is an easy one using fabric scraps and no sewing!
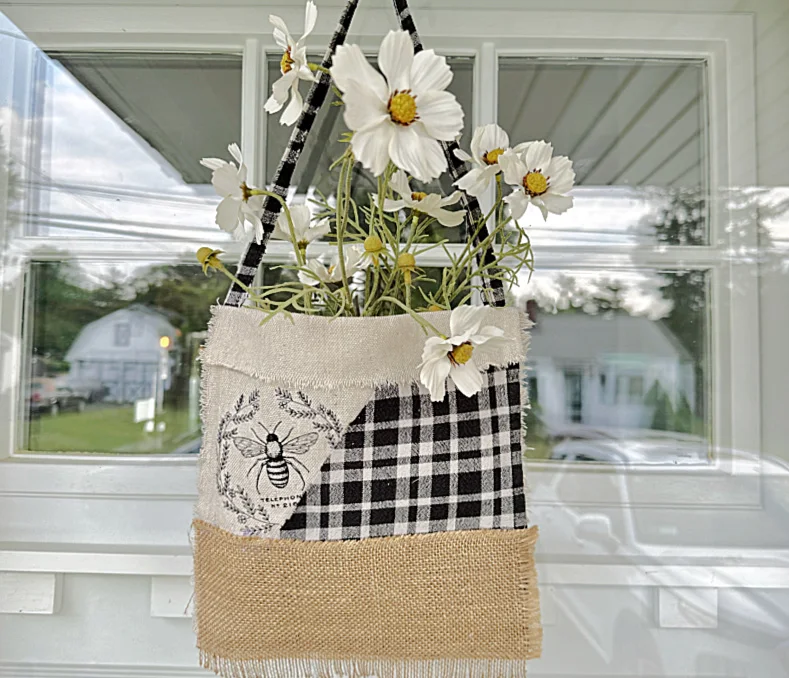
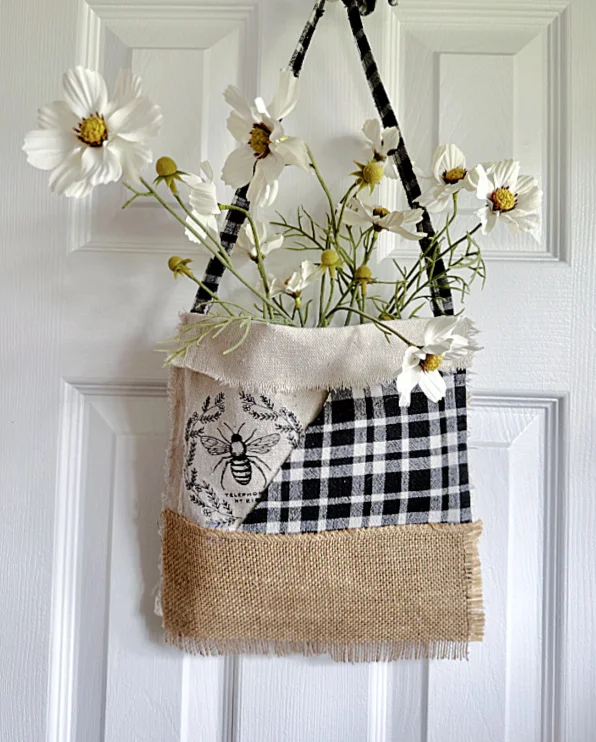
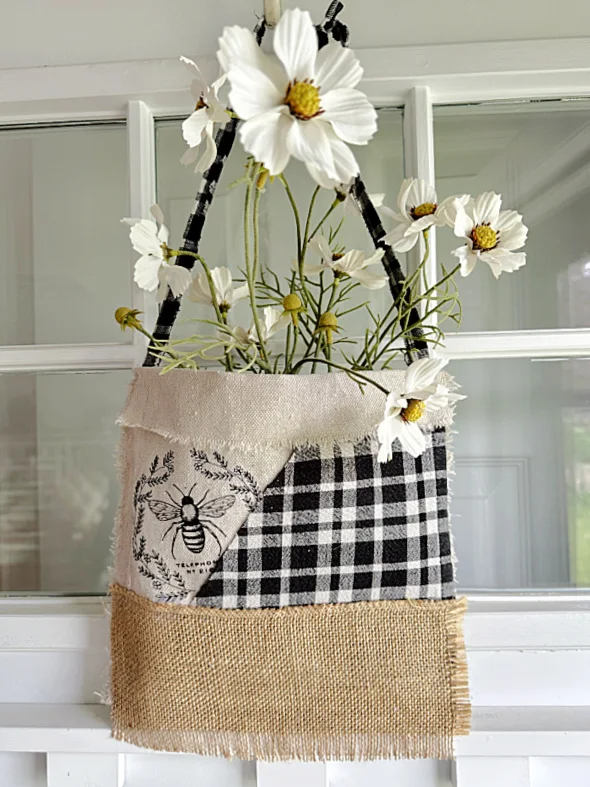
I even added a cute little bee to one of the patches and it looks adorable filled with faux flowers hanging on the door.
If your fabric stash is filled with small pieces then this is a project for you! The best part is there is no sewing involved!
Take a look...
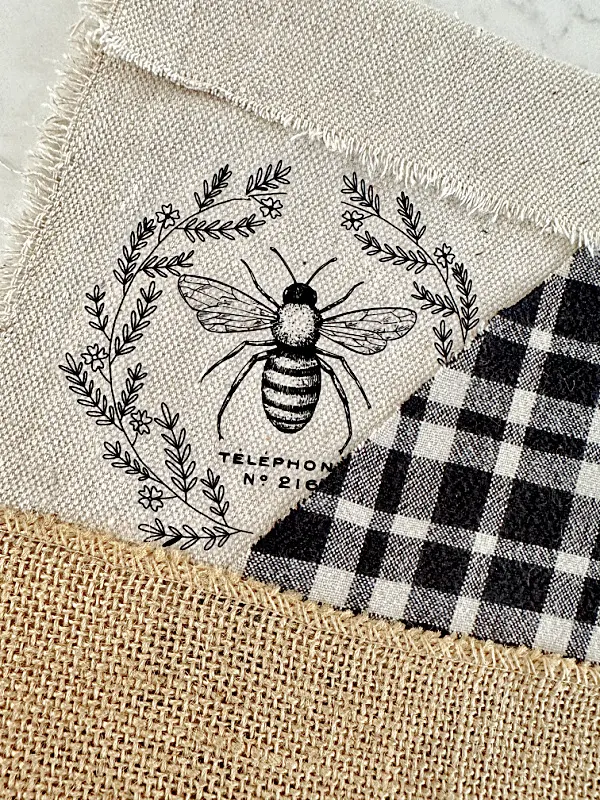
I began with a few different fabrics, burlap, an old tea towel and fabric drop cloth.
As you're reading through this post please pay attention to the bold blue links that will take you to more information and the products I used for this project. Also the READ MORE sections will take you to related Homeroad projects.
First, I cut a length of drop cloth about 18" x 8" and frayed the edges all the way around then folded the fabric in half.
Next, I cut a piece of the black and white tea towel into a big triangle and ironed it flat.
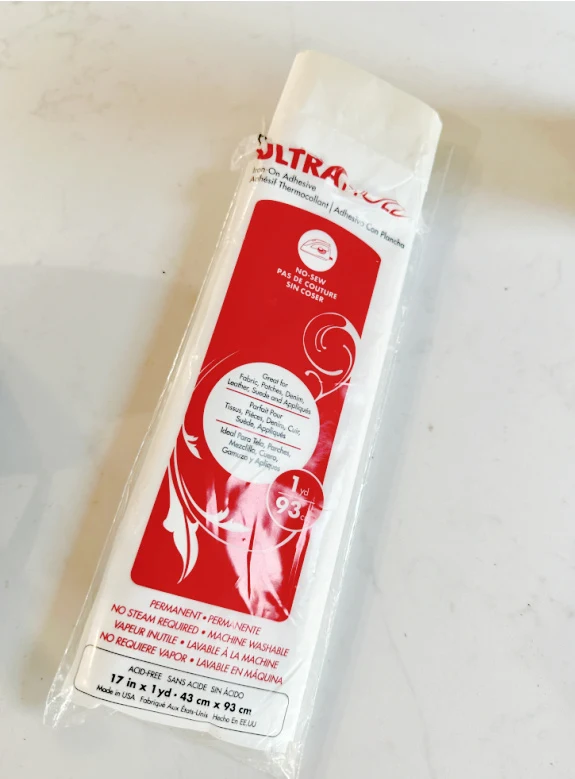
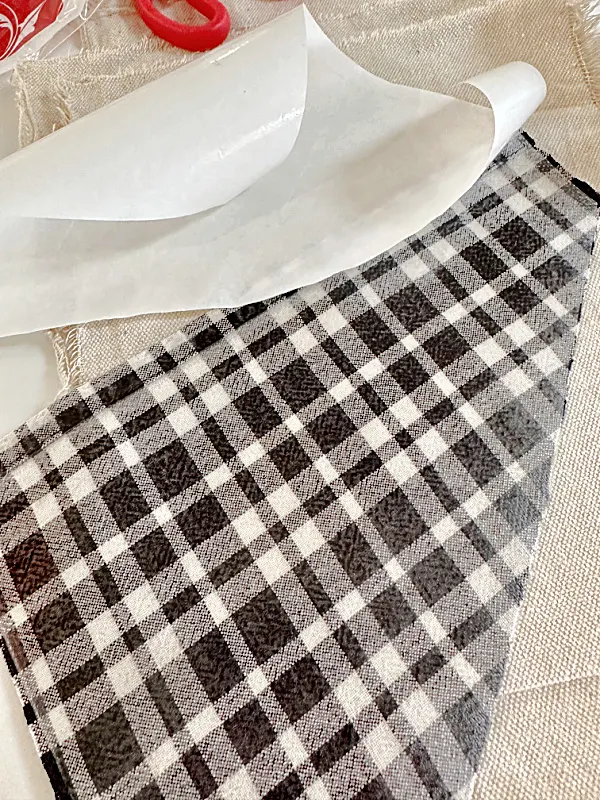
I'm using a fabric iron on adhesive called HeatnBond and ironed a piece of it the same size as the tea towel triangle to the back of the fabric. When it cooled you just peel off the paper, flip it over and iron it to the folded drop cloth piece.
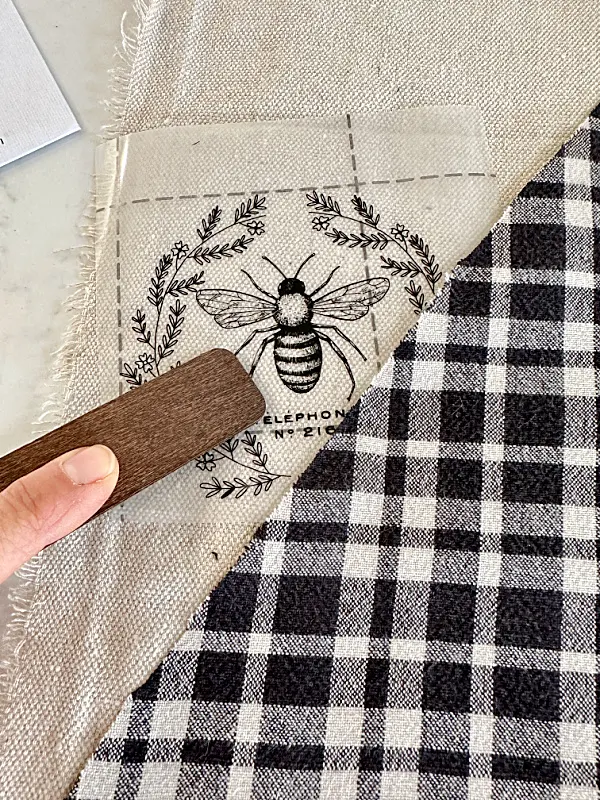
Next, I'm using a transfer called Classic Vintage Label Transfers from Piglet's Closet. The tube comes with 3 sheets of transfers to use for many projects, I chose the bee to rub onto the small area of drop cloth on my project.
I rubbed the back of the transfer with the included wooden stick until the transfer got lighter, indicating that it was sticking to my surface. If you'd like to you can paint the surface of the drop cloth fabric before you add the transfer but it is not necessary for it to stick to the fabric.
Next, I cut a piece of burlap with a frayed edge and ironed it onto the bottom of my project in the same way as before.
The mini iron can be found here.
Lastly, I folded over the top edge of the bag and used hot glue to glue the edges of the bag closed. I added a piece of cardboard inside to give the bag stiffness.
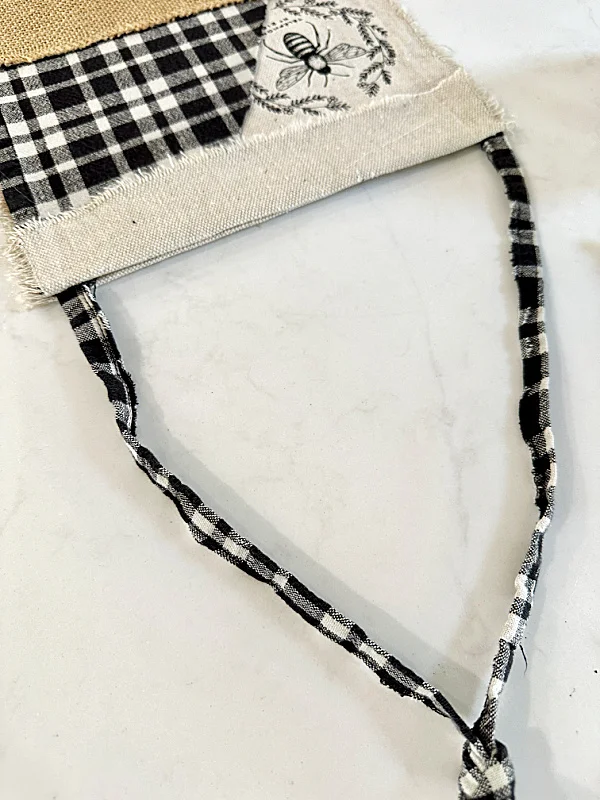
All that was left to do now was to add a string. I tore the hemmed edges off the tea towel, tied them in a knot and then glued the ends into the bag.
Next, I filled the bag with faux flowers and hung it up!
It looks great hanging on a wall or on an inside door.
It can also be hung on the front door behind the storm door as a wreath alternative!
Please pin for later >>
Give this easy no-sew project a try, the transfer looks great and I can't wait to try them again on my next project!
Thanks so much for visiting and before you go please sign up for the Homeroad emails so my next DIY tutorial will go out straight to you!
Piglet's Closet sent me the transfer to use on this project. All opinions are my own!

