Repurposed American Flag
I love making American flags and through the years on Homeroad I've made a ton of them!
I found a great set of star stencils that takes the work out of making the stars on the flags I make.
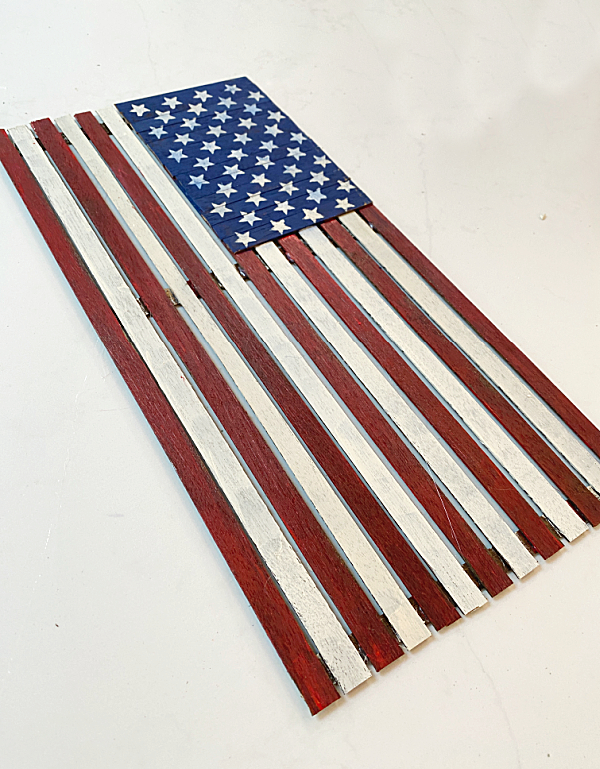
Today I'm repurposing something pretty weird to make an adorable wooden American flag.
Take a look...
The wooden slats from the broken roller shade that I've made a whole bunch of project with are perfect for the flag I'm making today.
As you're reading through this post please pay attention to the bold blue links that will take you to more information and the products I used for this project. Also the READ MORE sections will take you to related Homeroad projects.
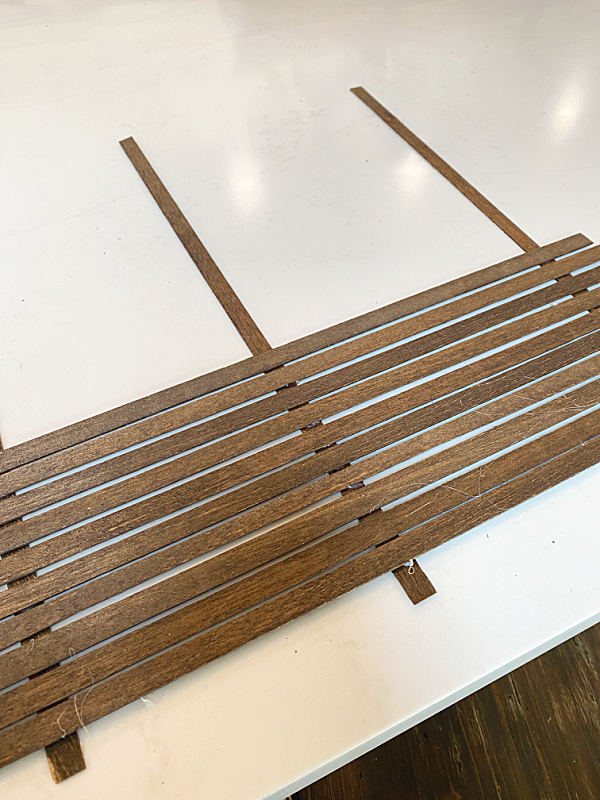
I laid out the wooden strips to plan my attack on this flag.
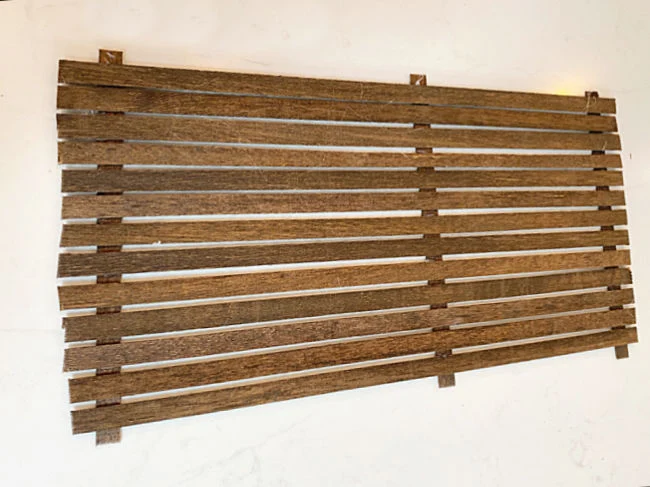
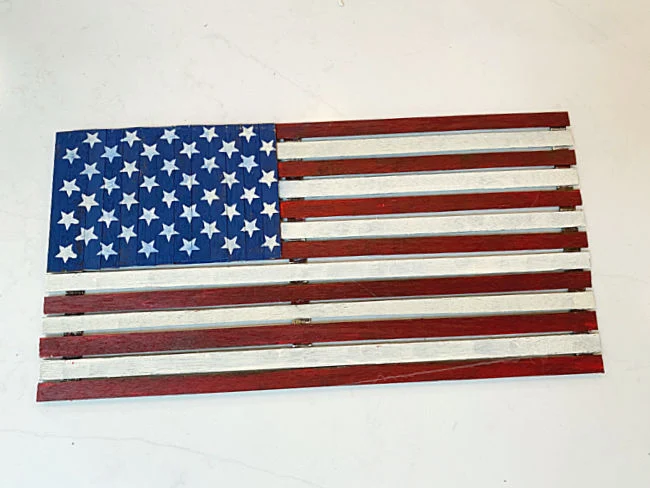
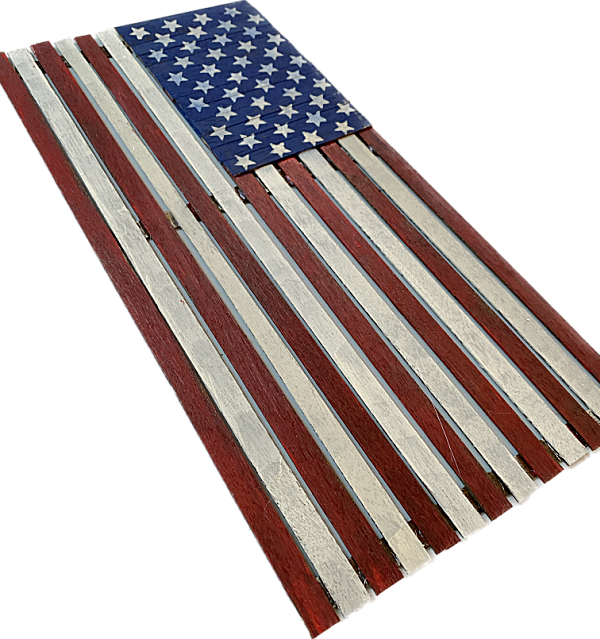
I laid out 3 horizontal strips of wood and hot glued 13 stripes beginning at the bottom and leaving a little space between each one.
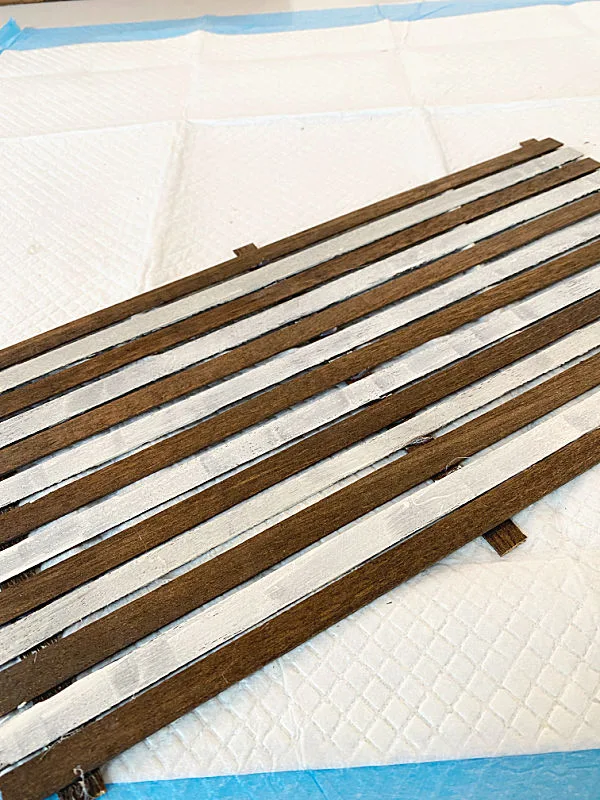
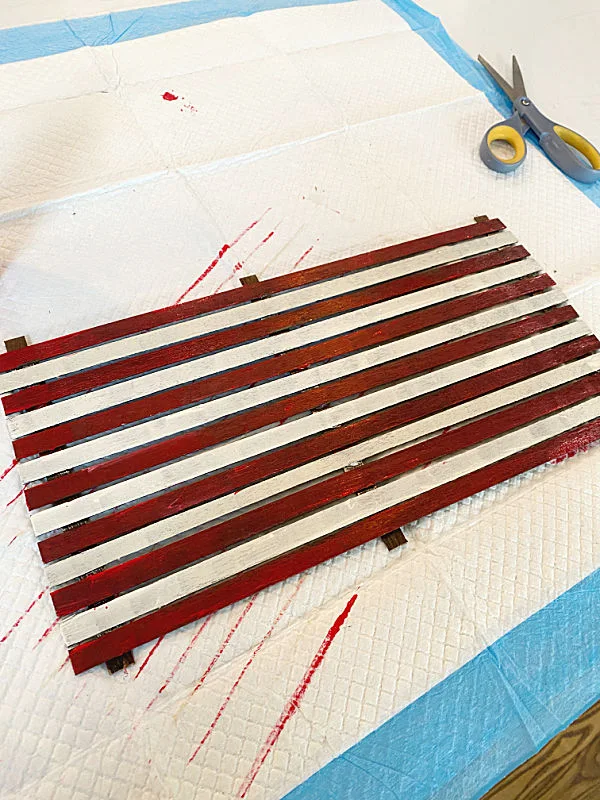
When the wooden stripes were finished I began painting them with red and white craft paint.
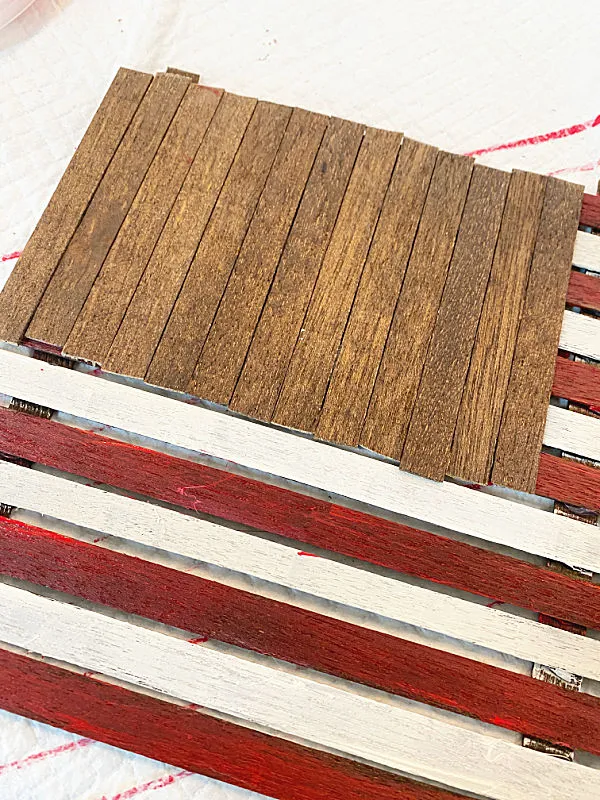
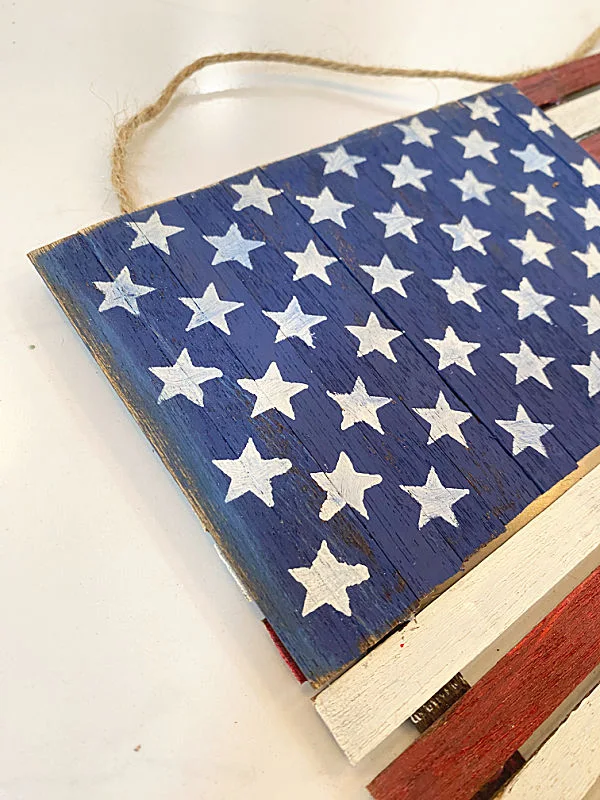
When the red and white stripes dried I glued down shorter strips of the slats in the opposite direction for the field of stars.
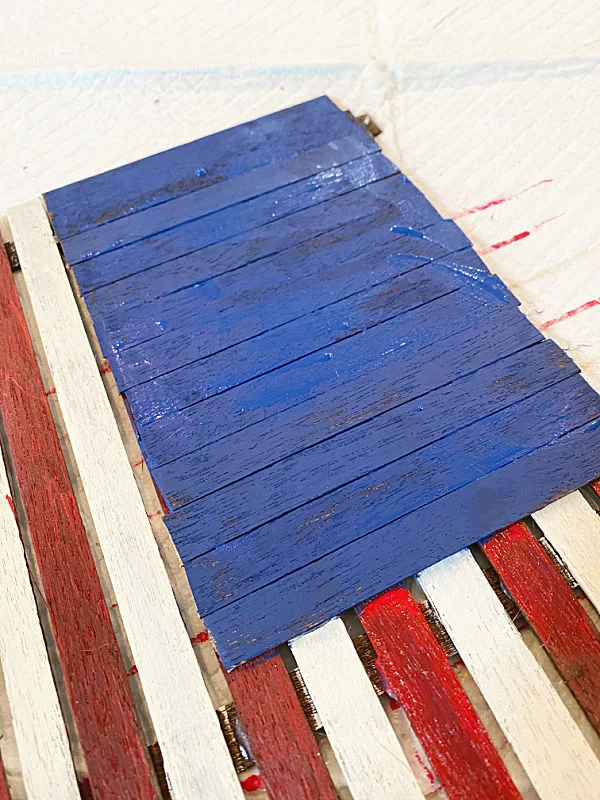
I painted the field blue and let it dry.
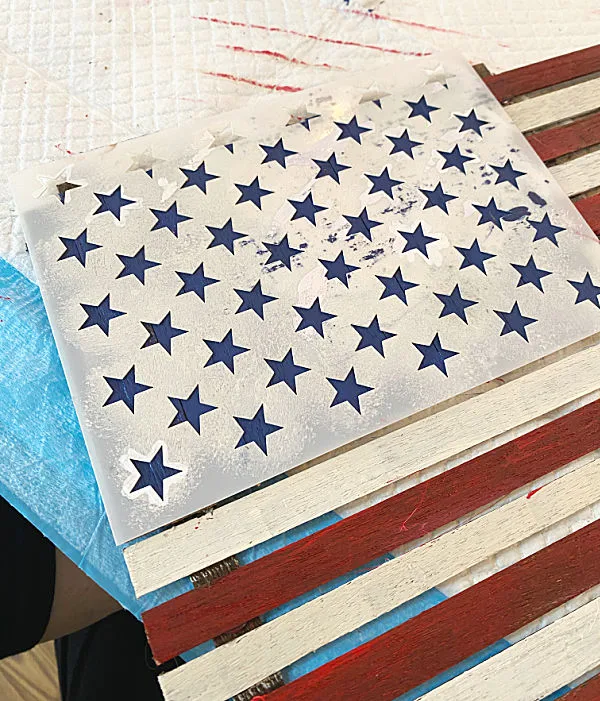
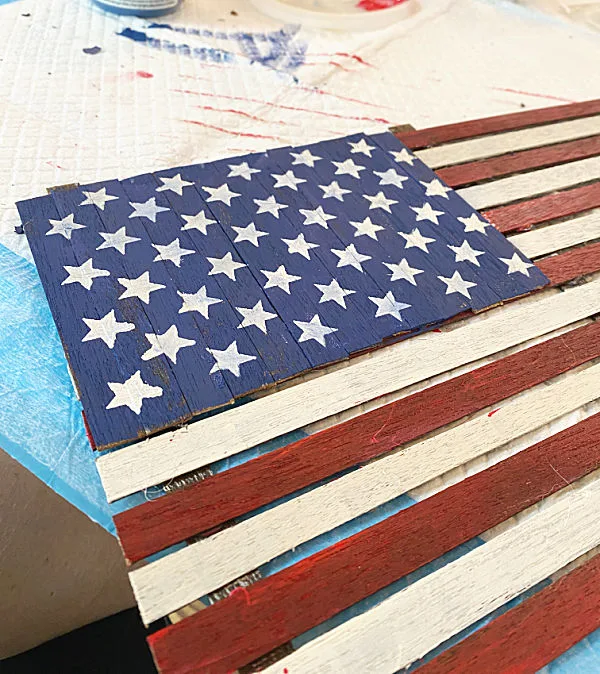
Next, I used the star stencil from this great set of stars and stripes stencils I bought on Amazon. These star stencils sure save a lot of time when making American flags!
Lastly, I used a pair of sharp scissors to trim the edges of the flag then gently sanded the edges with fine grit sandpaper.
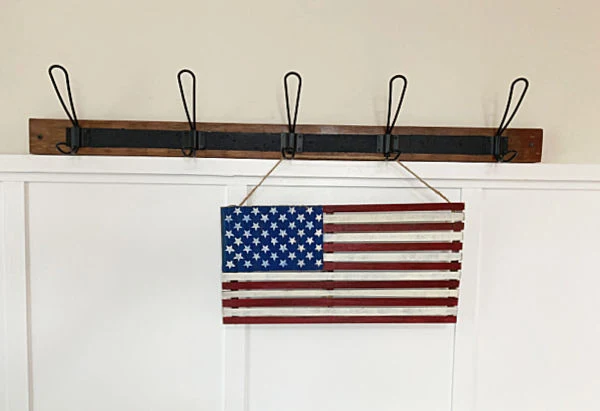
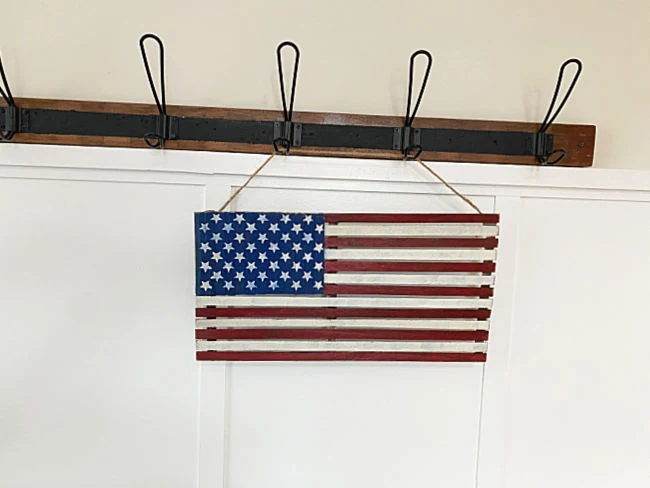
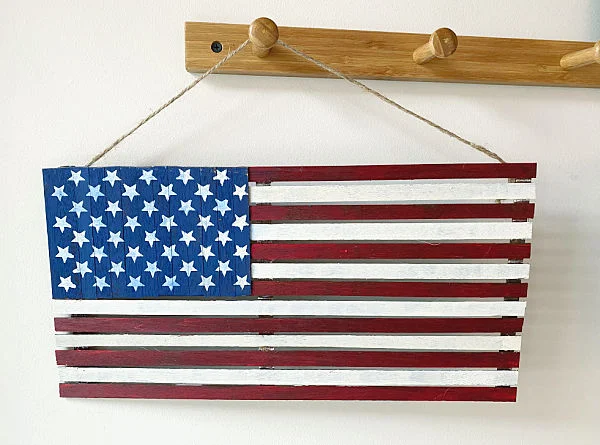
I hung the flag with a piece of jute and it looks great!
Please pin for later --->>
Who would know this used to be a window roller shade?!
READ MORE: AMERICAN FLAG PROJECTS
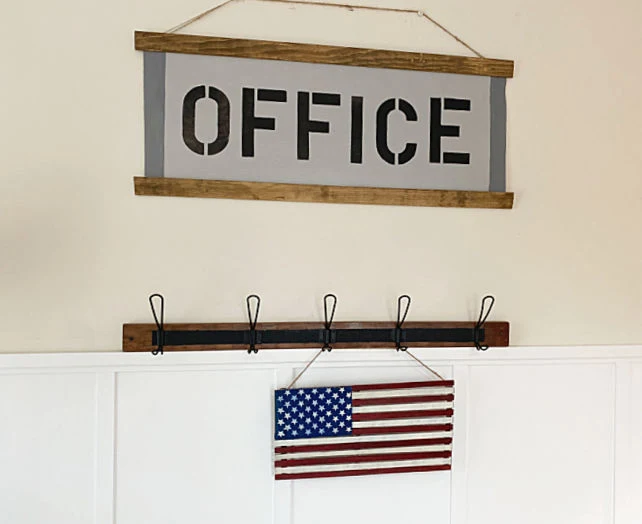
You can visit the DIY canvas office sign here.
READ MORE: RED, WHITE AND BLUE PROJECTS
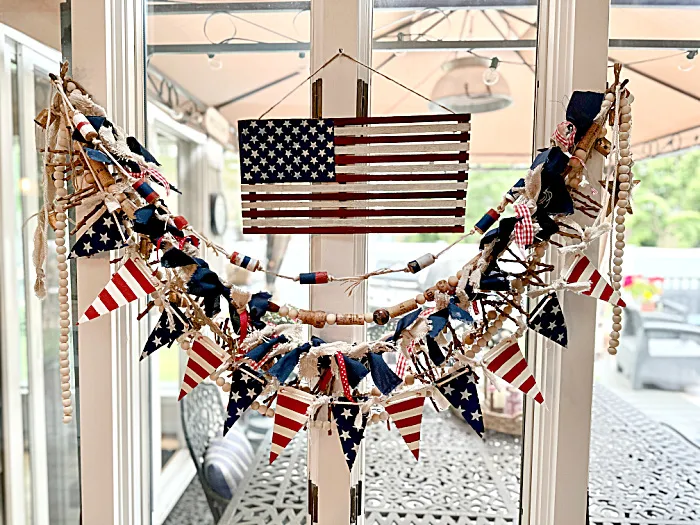
I just love how the flag looks on my window hanging with all the garlands and banners I've made recently!
Check them out here:
- Rag Bell Garland
- Wine Cork Buoy Garland
- Red, White & Blue Pennant Banner
- Stick Garland
- Red, White & Blue Rag Garland
- Beaded Garland
Thanks so much for visiting and before you go please sign up for the Homeroad emails so my next DIY tutorial will go out straight to you!


